Snipping Tool is one of the built-in features of Windows that is very useful for taking screenshots or screenshots of certain parts of your screen.
You can use the Snipping Tool to capture, edit, and save the images you want easily and quickly. However, sometimes the Snipping Tool can run into problems and not work properly.
If you’re having issues with the Snipping Tool not working on Windows 11, don’t worry. There are several ways you can try to fix this problem and get the Snipping Tool back to normal.
This article will discuss how to fix the Snipping Tool not working on Windows. Bardimin will discuss various solutions that you can try, ranging from simple to more complex solutions.
What is a Snipping Tool?
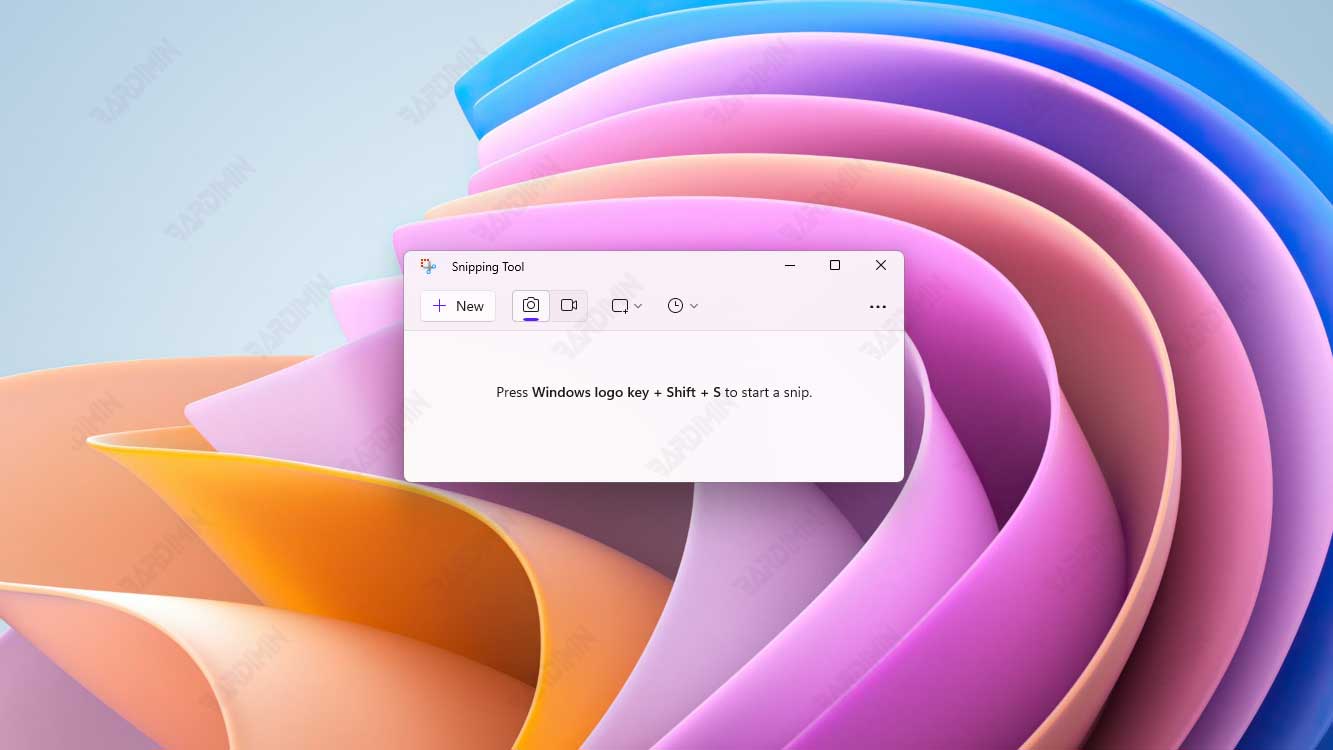
Snipping Tool is a small application included with Windows. The application allows you to take screenshots of specific areas of your computer screen.
There are several ways to open the Snipping Tool. One of the easiest ways is to press the keyboard shortcut (Windows + Shift + S).
Once you open the Snipping Tool, you can select the area you want to take a screenshot of. You can select the area freely, or use one of the modes provided by the Snipping Tool, such as:
- Square Mode: Select a square-shaped area with an adjustable size.
- Free Mode: Select a freeform area with an adjustable size.
- Window Mode: Take a screenshot of the currently active window.
- Full-Screen Mode: Take a screenshot of your entire computer screen.
How to Fix Snipping Tool Not Working
There are several solutions you can try to fix the Snipping Tool not working. These solutions include:
- Restart the Snipping Tool: Restarting the Snipping Tool can help a malfunctioning Snipping Tool.
- Restart the computer: Restarting the computer can help fix minor issues that cause the Snipping Tool to malfunction.
- Updating graphics card drivers: Outdated or corrupted graphics card drivers can cause various issues on Windows, including a malfunctioning Snipping Tool.
- Reset Snipping Tool: Resetting the Snipping Tool can help fix problems caused by corrupted files or settings.
- Update Windows: Windows updates often include bug fixes and performance improvements that can help fix the Snipping Tool not working.
1] Restart the Snipping Tool
If the Snipping Tool suddenly does not work, try to restart the application through the Task Manager. Here are the steps:
- Press the keys (Ctrl + Shift + Esc) to open the “Task Manager”.
- Then look for “Snipping Tool” under the “Processes” tab.
- Right-click on the application and select “End task”.
After that, try reopening the Snipping Tool and see if the problem is resolved.
2] Restart Windows File Explorer
One of the most common reasons why Snipping Tool doesn’t work is because File Explorer is having problems or is unresponsive. Since the Snipping Tool is part of File Explorer, if there is a problem with this program, then the Snipping Tool will also be affected.
Therefore, you can try to restart Windows File Explorer and see if it can fix the Snipping Tool.
To restart Windows File Explorer, follow these steps:
- Press the keys (Ctrl + Shift + Esc) to open the “Task Manager”.
- In the “Task Manager” window, click on the “Processes” tab and find “Windows Explorer” from the list of running processes.
- Right-click on “Windows Explorer” and select “Restart” from the context menu that appears.
- Wait for a while for Windows File Explorer to restart and then try opening the Snipping Tool again.
3] Restart the computer
Restarting the computer can help fix minor issues that cause the Snipping Tool to malfunction. Therefore, if you have not tried to restart the computer, you can try it first.
To restart the computer, you can use the keyboard shortcut Windows + R to open a Run dialog box. Then, type shutdown /r and press Enter.
4] Update Your Graphics Card Driver
Another problem that can cause the Snipping Tool not to work is if your graphics card driver is outdated or incompatible. A graphics card driver is software that connects your graphics card with the Windows operating system.
If your graphics card driver is outdated or incompatible, then it may cause problems or conflicts with certain programs that use graphics features, including the Snipping Tool. To solve this, you can try updating your graphics card driver to the latest version that suits your graphics card model and brand.
There are two ways to update your graphics card drivers: manually or automatically. The manual way requires you to visit your graphics card manufacturer’s website and look for the latest driver that matches your graphics card model and brand. You will then have to download and install those drivers yourself. This method requires technical skills and a long time.
The automated way is easier and faster. You just need to use a Windows update tool that can scan your system and detect outdated or inappropriate drivers automatically.
5] Run the Windows Update Troubleshooter
Another problem that can cause the Snipping Tool not working is if there is a problem with an unfinished or corrupted Windows update. Windows updates are one way to keep your operating system secure and optimized, but sometimes they can cause problems or conflicts with certain programs, including the Snipping Tool.
To resolve this, you can try running the Windows Update troubleshooter provided by Microsoft to scan and fix update-related issues.
To run the Windows Update troubleshooter, follow these steps:
- Open the “Start” menu and click the “Settings” icon(gear-shaped)to open the “Settings” window.
- In the “Settings” window, click “Windows Update” from the list of categories on the left side.
- On the right side, click “Check for Update”.
- Download and install available updates.
Conclusion
In most cases, any of the steps above will help you solve the Snipping Tool not working issue on Windows. However, if the problem persists, there may be deeper issues that require expert technical assistance. Feel free to contact Windows technical support or a skilled IT professional.
By following this guide, you can make sure that the Snipping Tool on your Windows is working properly and helps you take screenshots with ease. Hope this article will be useful for you in addressing any problems you may be experiencing.