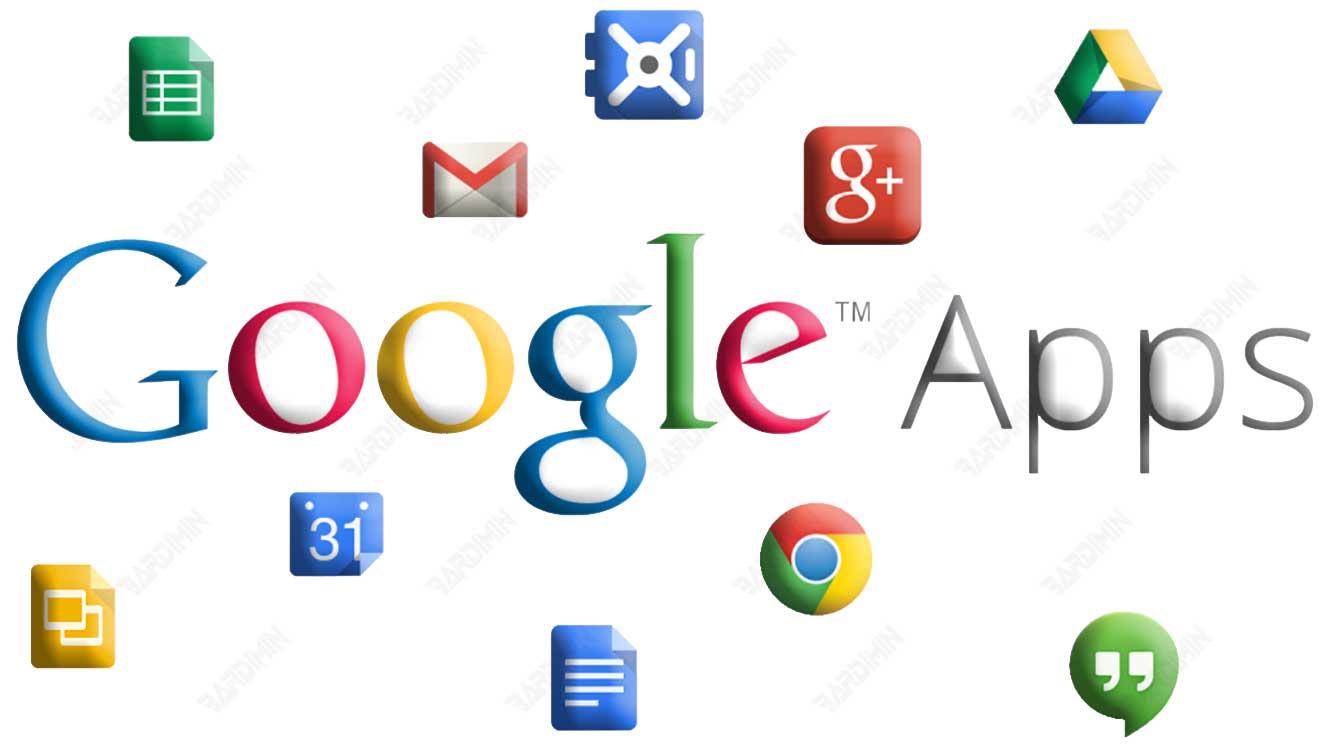
Windows 11 is the latest operating system from Microsoft that offers many new features and changes, such as a fresher interface design, various widgets, to the ability to run Android applications without emulators. However, what if you want to install Google apps on Windows 11, such as Google Chrome, Google Drive, Google Photos, or Google Play Store? Is it possible to do so?
The answer is yes, you can install Google apps on Windows 11 easily and quickly, as long as you follow the right steps. In this article, we will explain how to install Google applications on Windows 11 with two different methods, namely using an APK file and using the Windows Subsystem for Android (WSA). We’ll also provide some tips and tricks to improve your experience using Google apps on Windows 11.
Why Do You Need to Install Google Apps on Windows 11?
Maybe you are wondering why you need to install Google applications on Windows 11, when there are already built-in applications that can be used, such as Microsoft Edge, OneDrive, Photos, or Microsoft Store. What are the advantages and disadvantages of installing Google apps on Windows 11?
Here are some reasons to install Google apps on Windows 11:
- You’re used to using Google apps on other devices, like smartphones, tablets, or laptops. By installing Google apps on Windows 11, you can sync your data and preferences across all your devices, so you don’t have to repeat logins, settings, or file transfers.
- You want to access Google services and features that aren’t available in Windows 11 built-in apps, such as Google Assistant, Google Lens, Google Photos, Google Play Store, or Google Workspace. By installing Google apps on Windows 11, you can enjoy complete and integrated Google services and features without the need to switch to another browser or device.
- You want to improve the performance and security of your device, especially if you frequently use the internet for browsing, streaming, or gaming. By installing Google apps on Windows 11, you can get better speed, stability, and protection, because Google apps are always up to date and optimized for various conditions.
Of course, installing Google applications on Windows 11 also has some disadvantages, such as:
- You’ll have to sacrifice your device’s storage space and resources, as Google apps are usually bigger and heavier than Windows 11’s built-in apps. In addition, you will also have to download and install the APK or WSA files, which can take up your time and internet quota.
- You’ll have to adjust to a different interface and navigation, as Google apps are usually designed for Android devices, not Windows 11. You might find it unfamiliar or difficult to use Google apps on Windows 11, especially if you don’t have a supported mouse, keyboard, or touchscreen.
- You should be careful with compatibility and security issues, as Google apps may not work properly or even be dangerous on Windows 11, depending on the source, version, and settings you are using. You should always download and install the APK or WSA file from an official or trusted site, and follow the official or latest guidelines available.
How to Install Google Apps on Windows 11 Using APK File
One way to install Google applications on Windows 11 is to use an APK file, which is an Android application installation file that can be downloaded from the internet. This way, you can install Google apps on Windows 11 without needing to activate or download Windows Subsystem for Android (WSA), which is an additional component needed to run Android apps on Windows 11.
Here are the steps to install Google apps on Windows 11 using an APK file:
- Download the APK file of your desired Google app from an official or trusted website, such as APKMirror, APKPure, or Uptodown. Make sure the APK file you download matches the version and architecture of Windows 11 you are using, which is 32-bit or 64-bit. You can check your version and architecture of Windows 11 by going to Settings > System > About. Save the APK file in an easily accessible folder, such as Downloads or Desktop.
- Download and install the Installer APK on your Windows 11 device. APK Installer is a free application that allows you to install APK files on Windows 11 easily and quickly. You can download the Installer APK from the official website here. Follow the installation instructions that appear on the screen, and make sure you grant the necessary access permissions.
- Run APK Installer on your Windows 11 device. Once the app opens, select the Select button. Then locate the APK file you have saved and download it in the storage folder. Make sure you’ve also downloaded ADB Bridge, an app that connects your Windows 11 device with Android apps. You can download ADB Bridge from the official website here. After that, select the Launch button, to run Google apps on Windows 11 without an emulator.
- Enjoy Google apps on your Windows 11 device. Once the Google app opens, you can sign in with your Google account, set your preferences, and access the Google services and features you want. You can also add Google app shortcuts to the Start Menu or Taskbar, to make them more accessible. For that, right-click on the Google app icon in the Taskbar, then select Pin to Taskbar or Pin to Start.
How to Install Google Apps on Windows 11 Using Windows Subsystem for Android (WSA)
Another way to install Google apps on Windows 11 is to use Windows Subsystem for Android (WSA), which is an additional component needed to run Android apps on Windows 11. In this way, you can install Google applications on Windows 11 more completely and integrated, because you can access the Google Play Store, which is the official application store from Google.
Here are the steps to install Google apps on Windows 11 using Windows Subsystem for Android (WSA):
- Uninstall Windows Subsystem for Android if you have installed it before. This is necessary to avoid conflicts or problems when installing Google applications on Windows 11. For that, go to Settings > Apps > Apps &; Features, then find and click Windows Subsystem for Android. Select Uninstall and follow the instructions that appear on the screen.
- Enable Developer Mode on your Windows 11 device. This is necessary to allow you to install apps that aren’t from the Microsoft Store, including Google apps. For that, go to Settings > Privacy & Security > For Developers, then select Developer Mode. You may be asked to enter your password or PIN or download additional packages. Follow the instructions that appear on the screen and restart your device if needed.
- Download Windows Subsystem for Android Files from official or trusted sites, like here. This is an installation file that contains the components needed to run Android apps on Windows 11, including the Google Play Store. To do so, double-click on the file you’ve downloaded, then follow the instructions that appear on the screen. You may be asked to enter your password or PIN or download additional packages. Once the installation process is complete, restart your device if needed.
- Run Windows Subsystem for Android on your Windows 11 device. Once your device turns back on, you can run Windows Subsystem for Android by opening the Start Menu and then finding and clicking Windows Subsystem for Android. You’ll see a new window that shows the Android interface, just like the screen of a smartphone or tablet. Here, you can access the Google Play Store, which is the official app store of Google.
- Sign in with your Google account in the Google Play Store. To install Google apps on Windows 11, you must log in with your Google account on the Google Play Store. To do so, go to the Google Play Store and select Sign In. Enter your Google account email and password, then follow the on-screen instructions. You may be asked to verify your identity or agree to applicable terms and policies.
- Search and install the Google app you want on the Google Play Store. After you log in with your Google account, you can search and install the Google apps you want in the Google Play Store, such as Google Chrome, Google Drive, Google Photos, or Google Play Store. For that, type the name of the Google application you want in the search box, then select the appropriate application from the search results. Select Install, then wait for the installation process to complete.
- Enjoy Google apps on your Windows 11 device. Once the Google app is installed, you can open it by tapping its icon on the Android screen, or by searching for it in the Start Menu or Taskbar. You can sign in with your Google account, set your preferences, and access the Google services and features you want. You can also add Google app shortcuts to the Start Menu or Taskbar, to make them more accessible. For that, right-click on the Google app icon in the Taskbar, then select Pin to Taskbar or Pin to Start.
Tips and Tricks for Using Google Apps on Windows 11
Installing Google apps on Windows 11 can give you many advantages, but it can also cause some problems or obstacles. For that, we will provide some tips and tricks to use Google apps on Windows 11 better and safer, such as:
- Update Google apps regularly, to get better and more secure versions and the latest features. You can check for updates to Google apps in the Google Play Store, or Settings > Apps > Apps & Features, then select the Google app you want to update. Select Advanced Options, then select Check for Updates.
- Set the size and position of Google app windows according to your needs, to increase your convenience and productivity. You can change the size and position of the Google app window by dragging its edges or corners, or by using the Maximize, Minimize, or Close buttons in the top-right corner. You can also set the Google Apps window to split screen mode, to show two apps side by side, by dragging the Google Apps window to the left or right side of the screen.
- Use your mouse, keyboard, or touchscreen to operate Google apps, depending on your device and preferences. You can use your mouse to click, scroll, or drag elements in Google apps, such as buttons, menus, or sliders. You can use your keyboard to type, select, or execute commands in Google apps, such as text, options, or shortcuts. You can use the touchscreen to tap, pan, or zoom elements in Google apps, such as icons, images, or videos.
- Delete Google apps that you don’t use anymore, to save your device’s storage space and resources. You can delete Google apps in the Google Play Store, or Settings > Apps > Apps & Features, then select the Google app you want to remove. Select Uninstall, then follow the instructions that appear on the screen.
Conclusion
That’s how to install Google applications on Windows 11 easily and quickly, using APK files or Windows Subsystem for Android (WSA). By installing Google apps on Windows 11, you can enjoy complete and integrated Google services and features, without the need to switch to another browser or device. However, you should also be careful with compatibility and security issues, as well as set the size and position of Google app windows according to your needs. Hope this article was useful and good luck!