A computer can work well for more than five years if properly maintained, but if the user does not protect his hardware, the computer will not last long. This is why taking care of a computer is so important.
Today’s computers come in all shapes and sizes and help us stay connected to the digital world whenever we need them. If you rely on your device for work or pleasure, it is very important to keep it in perfect condition without traces or damage.
Computer or laptop hardware maintenance is a set of measures performed to maintain and ensure optimal performance of computer hardware. It involves maintenance, cleaning, testing, and replacement of damaged or obsolete hardware components.
Your computer can experience problems like a broken screen, slow processor, or undetectable memory. These problems can make your computer stop working properly. And don’t forget that over time, your computer’s components can break down and get old.
Computer equipment also follows the same rules of physics as our bodies. That is, if we do not take proper care of it, the computer can break down in various ways over time.
Taking good care of your PC will help it last longer, both inside and out. An unstable computer system, a hot computer processor, or a battery that drains quickly are problems that can be prevented by taking regular care of your computer.
This article will guide you to keep your computer working properly. If you want to keep your device secure, you can follow this procedure:
1] Make a note of the CMOS settings
Make sure you note the hard drive, serial/parallel port, PCI, and other settings in CMOS before removing the case cover. This is especially important when you want to replace the motherboard or retrieve a hard drive that you want to use on another computer to retrieve your files.
2] Check the Power Supply
If your device keeps restarting or if the components break down too quickly, try using a voltmeter to measure the mains voltage on the 5-volt and 12-volt pins. If you notice a difference of more than 0.2 volts (greater or less), it is recommended to replace the power supply. In simpler terms, the 5-volt voltage should not differ by more than 5% in any direction.
Voltmeters are quite inexpensive and you can find them easily in stores that sell home improvement supplies or electronics. Do this before installing a new Hard Drive or replacing the Motherboard as voltage issues can damage the hard drive.
To do this, take one of the power connectors with 4 pins and check it. The two Black wires in the middle are the wires we use for grounding. The Yellow Wire has a mains voltage of 12 Volts, and the Red Wire has a mains voltage of 5 Volts. If the measurement results of the power supply, the voltage differs in the range of plus or minus 5%, you should immediately replace it.
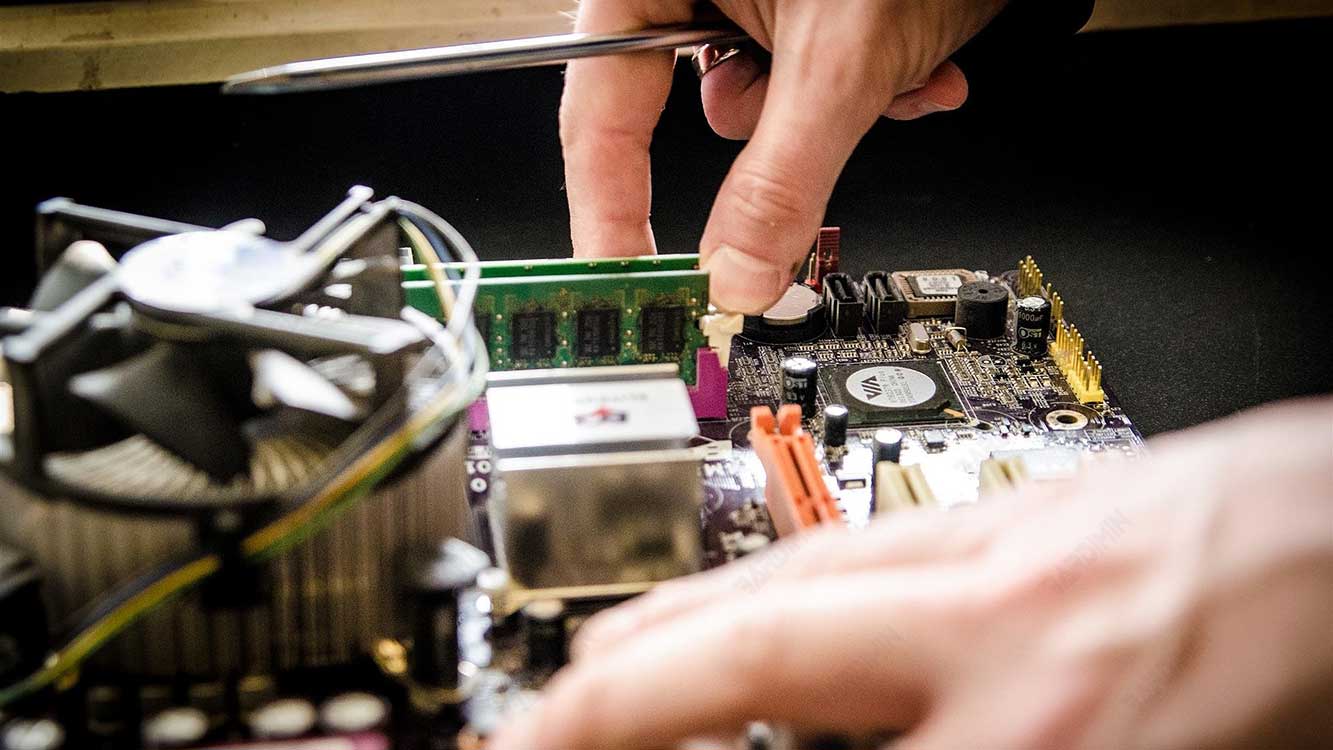
3] Install RAM properly
Make sure your RAM is fully installed. Do not push or forcefully insert it into the memory slot. If the RAM chip is difficult to insert, you can drag the clip slightly before inserting it. To insert the RAM chip, first, pull the clip back. Then, enter the RAM slowly without using excessive force. Finally, apply a little pressure on one side at a time until it is properly seated.
4] Check the Power Supply cable connection
Make sure the power cable connected to the motherboard is securely plugged in. A poor cable connection can result in unstable or intermittent electrical power. This can cause the device to shut down unexpectedly or restart randomly, which can corrupt data or lead to loss of unsaved work.
Weak power cord connections can lead to high resistance, which means more heat is generated. This can increase the risk of sparks or even fires if the conditions are not handled properly.
5] Clean dust
You can use compressed air (blower) to clean the fans inside your CPU and computer case. Gently blow air into vents, fans, coolers, and other areas where dust is present.
Make sure you do this carefully and avoid spraying the air too close or too forcefully, as it can damage components. And also make sure to carefully clean the dust accumulated on the cooling fins of the CPU heatsink.
Use a soft brush or cotton swab moistened with a small amount of isopropyl alcohol to gently clean the fan and propeller. Make sure the fan is completely dry before reinstalling it.
Remove dust from the power supply by blowing it using air from the back of the case and from inside the case. Clean all holes through which air escapes on the case. The things on the front collected a lot of dust. You need to do this every three month.
6] HDD not working
If your hard drive isn’t working properly, start by making sure the data cable is securely connected to the drive and system board, as well as to the power cable. If the cable seems too loose to connect to the motherboard or device, replace it with a new, tightly attached cable.
7] Check nuts and bolts
Be sure to tighten the nut on the back of your card. Use a small nut driver to tighten it, but be careful not to tighten it too tightly. If one of the nuts is absent, install a new nut in place. Use your finger to keep the bolt in place on the inside of the card while tightening the very loose nut.
Check for loose screws or nuts on the bottom of the case. Sometimes, if you hear something but can’t see it, you may need to tilt or flip the object to let it go. This is especially important if you notice nuts on the back of the card or ports are missing.
8] Check the CPU Fan
If your computer’s CPU fan makes a loud noise, try buying a new fan. To find out if the component is causing the loud noise while the system is running, try stopping the fan with your finger to see if the sound stops. Make sure the fan is spinning quickly.
If there is a problem, you can usually remove the CPU fan, remove the label on the bottom, put some light oil on the pad, and then put the label back on. If you accidentally spill oil on the label, wipe the fan and replace the label to protect it from dust.
Some people believe that using a small amount of viscous motor oil for cars is the best option. Use what you currently have because it is only temporary.