All Windows updates and upgrade process will cause a $WinREAgent folder.
In updating and upgrading Windows will create many files and folders during downloading and installing the update. The location of files and folders that are created automatically is on the drive where Windows is installed.
These files and folders are hidden and you won’t see them until you change the settings and how they are displayed. You can see it by following other Bardimin articles. Easy Way to Show Hidden Files and Folders in Windows.
Get to know the $WinREAgent Folder
The $WinREAgent folder is a folder that is created automatically during the Windows update and upgrade process. This folder contains temporary files that will be useful for restoring Windows if the update or upgrade process experiences problems.
This folder was created by the Windows Recovery Environment to prevent the operating system from failing to boot because there was a problem during the Windows update or upgrade process.
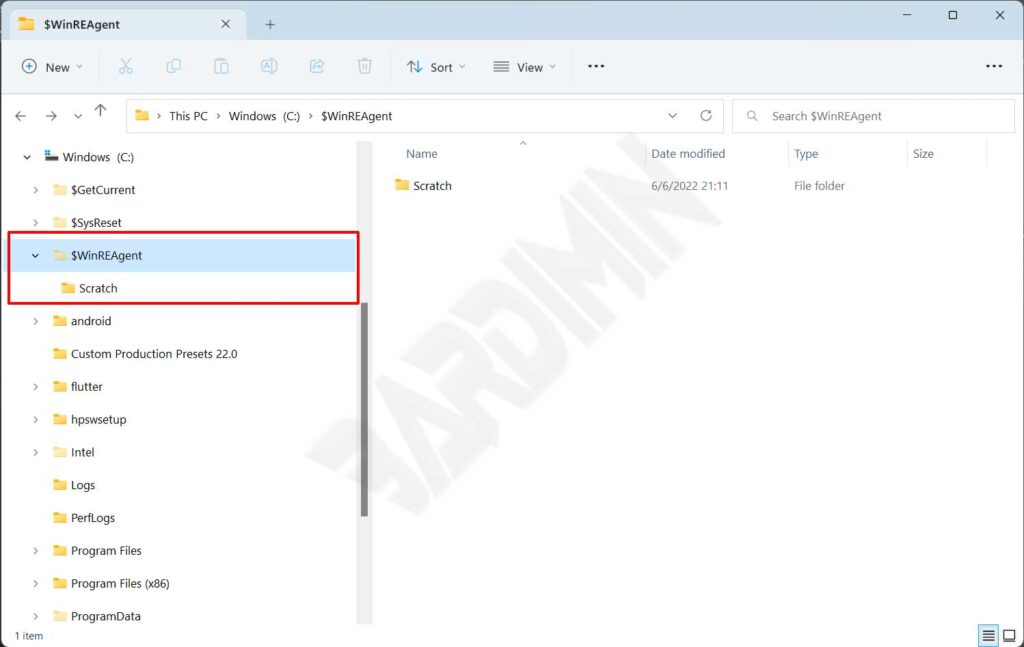
$WinREAgent is one folder that is hidden by default, to see it change your File Explorer settings. This folder is only an empty folder with one that has a sub-folder called “Scratch” which is also empty.
The size of the $WinREAgent folder is 0 kb.
How to Safely Delete $WinREAgent Folder
The $WinREAgent folder is safe for you to delete. Before deleting this folder, pay attention to the following things.
If the size of the $WinREAgent folder is 0 kb, you safely delete this folder. This means that all the update and upgrade processes have been successfully carried out by the operating system.
On upgrading Windows 11, the $WinREAgent folder may contain files to restore the operating system to an earlier version. These files will be deleted automatically after 10 days. Removing it can cause you to miss the opportunity to revert to a previous version if you’re having problems with the new operating system.
If you experience failed Windows updates, deleting the $WinREAgent folder can also be one solution that can help you restart windows updates.
Conclusion
Based on the foregoing, if you have finished upgrading either through Windows Update or Update Assistant, you can safely delete the WinREAgent $ folder.
If you haven’t finished it, the $WinREAgent folder will contain various important files to support the update process, so as long as the update process is not complete, it’s a good idea to leave it alone.