Is your computer feeling sluggish? Are you frustrated by slow load times and laggy performance, but don’t want the expense of a brand new system? The most cost-effective solution is often a strategic component upgrade. By swapping out key parts inside your PC, you can breathe new life into it and achieve the speed you crave.
In this comprehensive guide, we’ll walk you through the five most impactful PC component upgrades that deliver the best performance boost for your money. We’ll provide expert advice on what to look for and detailed, safe installation steps.
The 5 Most Impactful PC Upgrades for Performance
Not all upgrades are created equal. The best upgrade for you depends on your specific use case—whether you’re a gamer, a content creator, or just want a faster general-use PC. Below, we break down the upgrades that will make the biggest difference.
1. RAM (Random Access Memory) Upgrade
Why it matters: RAM is your PC’s short-term memory. It stores temporary data for all active applications and operating system processes. Insufficient RAM forces your PC to use the much slower storage drive (HDD or SSD) as “virtual memory,” leading to significant slowdowns and stutters, especially when multitasking.
Expert Recommendation (2024): For modern Windows 11 systems, 16GB is the sweet spot for smooth multitasking and gaming. 8GB is considered the absolute minimum, while 32GB or more is recommended for heavy-duty tasks like video editing, 3D rendering, or advanced simulation software.
- Check Compatibility: Ensure the new RAM matches your motherboard’s type (DDR3, DDR4, or the newer DDR5), form factor (DIMM for desktops, SODIMM for laptops), and speed (e.g., 3200MHz). Using tools like CPU-Z can help you identify your current RAM specs.
- Respect Maximum Limits: Check your motherboard’s manual for the maximum supported RAM capacity and the number of available slots.
- Prioritize Brand & Warranty: Purchase from reputable manufacturers (e.g., Corsair, G.Skill, Crucial) that offer a solid warranty.
How to Install New RAM:
- Power down the PC completely and unplug it from the wall. Press the power button a few times to discharge any residual electricity.
- Open the PC case and locate the RAM slots on the motherboard.
- To remove old modules, push down on the plastic retention clips at both ends until the RAM pops up. Gently pull it straight out.
- Align the notch on the new RAM stick with the key in the slot. Press down firmly on both ends until you hear a definitive click and the retention clips snap into place automatically.
- Close the case, reconnect all cables, and power on. Verify the new RAM is detected in your System Information or BIOS/UEFI.
2. SSD (Solid State Drive) Upgrade
Why it matters: This is, without a doubt, the single most transformative upgrade for any PC still using a traditional Hard Disk Drive (HDD). SSDs use flash memory with no moving parts, resulting in dramatically faster boot times, near-instant application loading, and quicker file transfers.
| Feature | HDD (Hard Disk Drive) | SSD (Solid State Drive) |
|---|---|---|
| Speed | Slow (Mechanical parts) | Extremely Fast (Flash memory) |
| Durability | Susceptible to physical shock | More resistant to shock and vibration |
| Noise & Power | Audible noise, higher power use | Silent, more energy-efficient |
| Reliability | Higher failure rate over time | Generally more reliable |
Expert Recommendation (2024): For your operating system and main applications, a 500GB to 1TB NVMe M.2 SSD is ideal. If your motherboard doesn’t support NVMe, a 2.5-inch SATA SSD is still a massive improvement over an HDD.
- Check Your Ports: Identify if your motherboard has an M.2 slot (and if it supports NVMe PCIe or just SATA) or available SATA ports for a 2.5-inch drive.
- Choose the Right Capacity: Don’t just match your old HDD’s size. Consider your future needs. A 1TB SSD offers a great balance of price and performance.
How to Install a New SSD:
- Follow the same initial safety steps: power down and unplug.
- For M.2 SSDs: Locate the M.2 slot on your motherboard. Remove the mounting screw, insert the SSD at a 30-degree angle, press it down, and secure it with the screw.
- For 2.5-inch SATA SSDs: Connect the SATA data cable to the motherboard and the SATA power cable from your power supply to the drive. Mount the drive in a 2.5-inch bay in your case.
- After installation, you will need to clone your old drive or perform a fresh OS installation onto the new SSD to benefit from the speed.
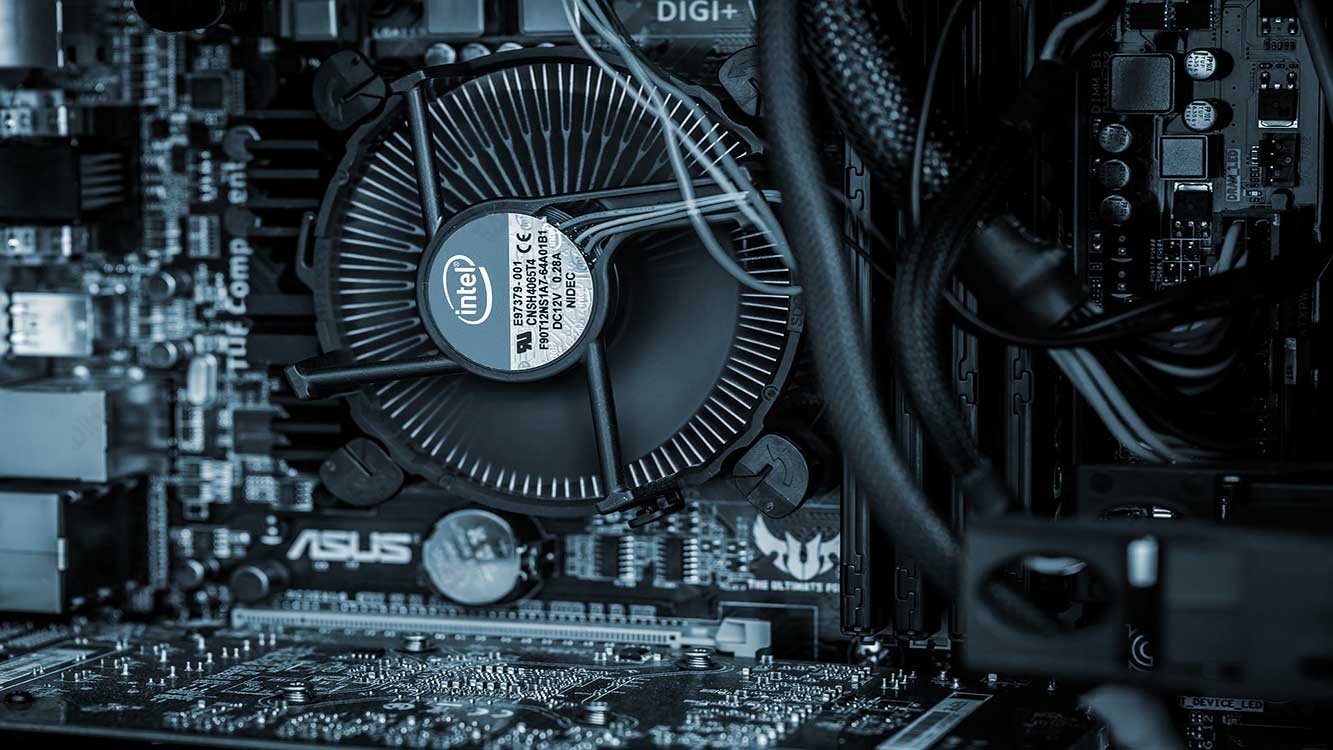
3. CPU (Central Processing Unit) Upgrade
Why it matters: The CPU is the brain of your computer, handling all instructions. A CPU upgrade can significantly improve performance in CPU-intensive tasks like video editing, software compilation, and modern games that rely heavily on processor power.
Important Note: This is one of the most complex and compatibility-dependent upgrades. It often requires a motherboard replacement as well.
- Socket & Chipset Compatibility is Critical: The new CPU must fit the physical socket (e.g., LGA 1700, AM5) and be supported by the chipset on your existing motherboard. Consult your motherboard’s manufacturer website for a CPU compatibility list.
- BIOS/UEFI Update May Be Required: Your motherboard might need a BIOS update to recognize a newer generation CPU.
- Power and Cooling: A more powerful CPU may draw more power (check your PSU wattage) and generate more heat, potentially necessitating a better CPU cooler.
How to Install a New CPU:
- Power down and unplug the PC. Remove the CPU cooler.
- Lift the retention arm on the CPU socket. The old CPU can now be lifted out gently.
- Clean the old thermal paste from the cooler and the CPU lid using isopropyl alcohol and a lint-free cloth.
- Align the new CPU using the golden arrow on the corner with the arrow on the socket. It should drop into place without any force. Secure the retention arm.
- Apply a small, pea-sized amount of new thermal paste to the center of the CPU.
- Reattach the CPU cooler, ensuring it is firmly and evenly seated.
4. GPU (Graphics Processing Unit) Upgrade
Why it matters: A GPU upgrade is essential for gamers, 3D artists, and video editors. It directly impacts frame rates, rendering times, and the ability to run games at higher resolutions and detail settings.
- PCIe Slot Compatibility: Modern GPUs use a PCIe x16 slot, which is universally available. However, ensure your motherboard has a free and accessible slot.
- Power Supply (PSU) is Key: High-end GPUs consume a lot of power. Check that your PSU has both the total wattage and the necessary PCIe power connectors (e.g., 6-pin, 8-pin). An underpowered PSU can cause system instability.
- Physical Dimensions: Measure the available space in your PC case! High-performance GPUs can be very long and thick (multi-slot design).
How to Install a New GPU:
- Power down and unplug the PC.
- Remove the screw(s) securing the old GPU to the case bracket.
- Press the small plastic release latch at the end of the PCIe x16 slot, then gently but firmly pull the old GPU straight out.
- Insert the new GPU into the PCIe x16 slot, pushing down until you hear a click and the latch engages.
- Secure the GPU to the case with the screw(s) and connect the required PCIe power cables from the PSU.
5. Motherboard & PSU: The Foundation Upgrades
While not a single component, upgrading your motherboard (often alongside the CPU and RAM) is necessary to access the latest technologies like DDR5 RAM, PCIe 5.0, and newer CPU sockets. A Power Supply Unit (PSU) upgrade is crucial if your current unit is underpowered, inefficient, or unreliable, as it powers all your new components. Never cheap out on the PSU.
Final Thoughts & Proactive Maintenance
Upgrading your PC can be a rewarding and cost-effective experience. Always research compatibility thoroughly before purchasing any component. For YMYL (Your Money or Your Life) decisions like these, trusting authoritative sources and quality products is paramount.
To maintain your upgraded PC’s performance:
- Keep your operating system and drivers updated.
- Regularly clean out temporary files and uninstall unused programs.
- Physically clean dust from your PC’s filters, fans, and heatsinks every few months to prevent overheating.
- Use built-in Windows tools or third-party software to monitor your system’s health and temperatures.
By following this expert guide, you can make informed decisions and successfully upgrade your PC, ensuring it runs smoothly and efficiently for years to come.