Windows 11 is an operating system that supports multi-users. You can create multiple user accounts and set permissions from each of those user accounts.
If one of the user accounts runs the application, Windows launches a new process under that user account. If the system has multiple users, you can run the program as a separate user as long as you have access to the credentials of another account.
Windows only run the process for each user account. If you start the application, then sign out of the account and log in again as another user, the application will not be displayed in the other account.
Running applications as a separate user is a built-in function of Windows 11, so no additional software is needed. You can use this feature for already installed applications or run executable files.
There are several ways to run the application as a different user in Windows 11. In this tutorial, Bardimin will provide a guide to do it in a very simple way.
Run The Application As A Different User From Desktop or File Manager
You can do this by utilizing the Context Menu from Windows. In general, the Context Menu will only show “Run as administrator” and does not provide the option to run with another user account.
To display the “Run as different user” option, the method is as follows.
- Right-click the shortcut icon on the desktop or the executable file in File Manager.
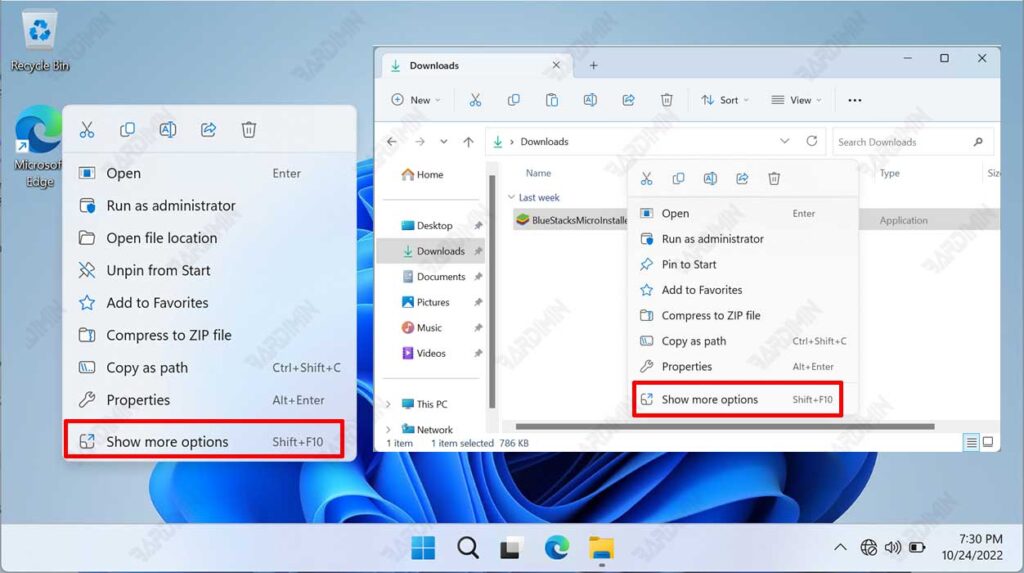
- Next press the “SHIFT” key. While holding down the button, click on the “Show more options” option.
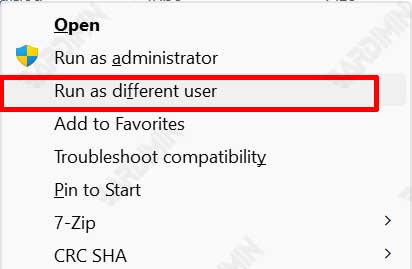
- Then click “Run as different user“.
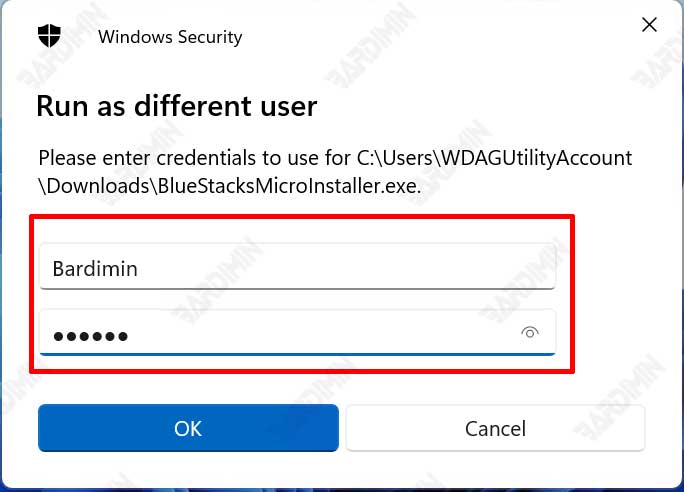
- Enter the credentials of another user account. And then click the Next button to run it.
Run The Application As A Different User via Command Prompt (CMD)
- Open the Windows 11 “Command Prompt“.
- Then type the command as follows and press Enter
runas /user:"Username" "FileExecutableLocation"
Username = another user account
FileExecutableLocation = Location where the executable file is located (does not work on shortcuts)
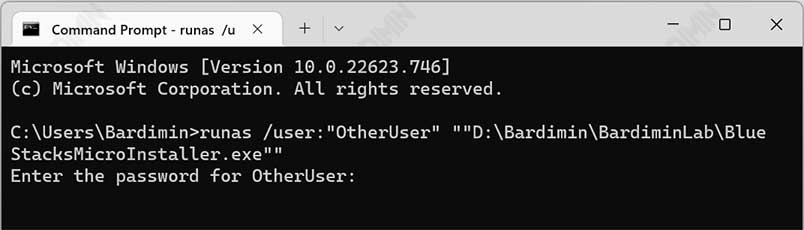
- Then type the password of the user account and press Enter.