Windows 11 lets you limit the use of data for internet access to match your internet subscription data plan.
Setting your network as a metered connection is one of the simplest ways to reduce Windows 11 data consumption. Metered connections limit the amount of data Windows uses in the background and allow limits to be set on the total amount of data your computer might use in a time.
You can apply restrictions on data usage in Windows 11 for Wi-Fi and Ethernet networks. This feature is useful for monitoring your data usage and also for making sure you don’t exceed your monthly bandwidth quota over a metered connection.
How to Set Data Usage Limits in Windows 11
- Open “Settings“. You can use keyboard shortcuts (WIN + I).
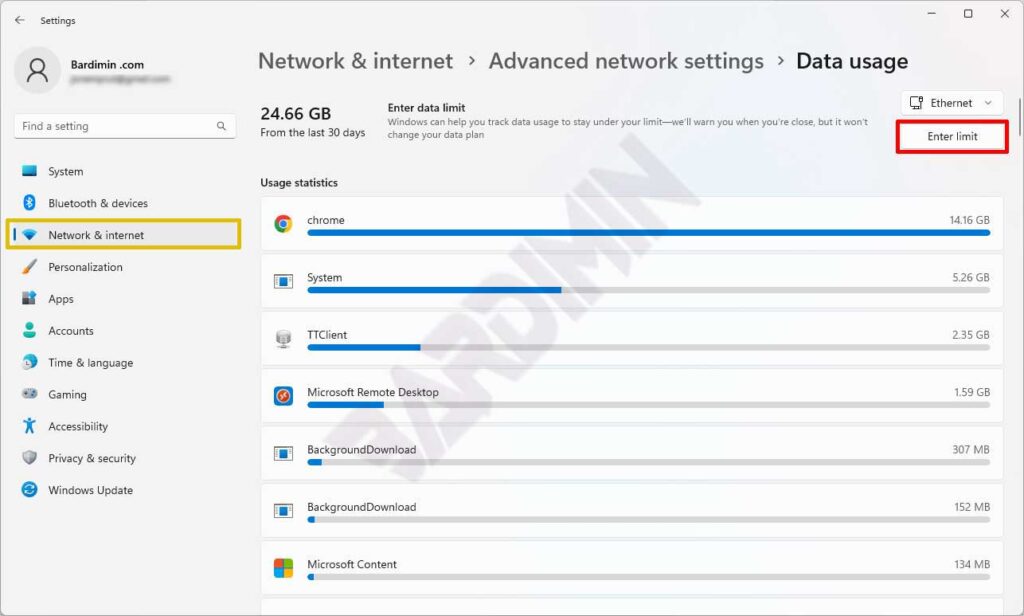
- Navigate to “Network & internet > Advanced network settings > Data usage. Then click the “Enter limit” button to set the data usage limit.
- In the dialog box, fill in the settings according to the data usage limit you set.
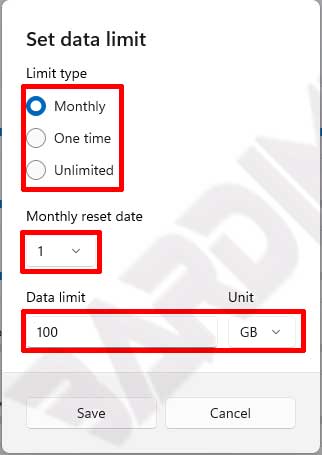
Limit type
- Monthly: data usage limit in one month
- One time: the limit of onetime data usage within the time range you specify.
- Unlimited: unlimited, just for monitoring
Monthly reset date: the date when the amount of data usage will return zero.
Data limit: the maximum limit of data usage in MB/GB units.
How to Change and Remove Data Usage Limit in Windows 11
Once you’ve added the internet data usage limit settings, as mentioned above, you can also change or remove those settings.
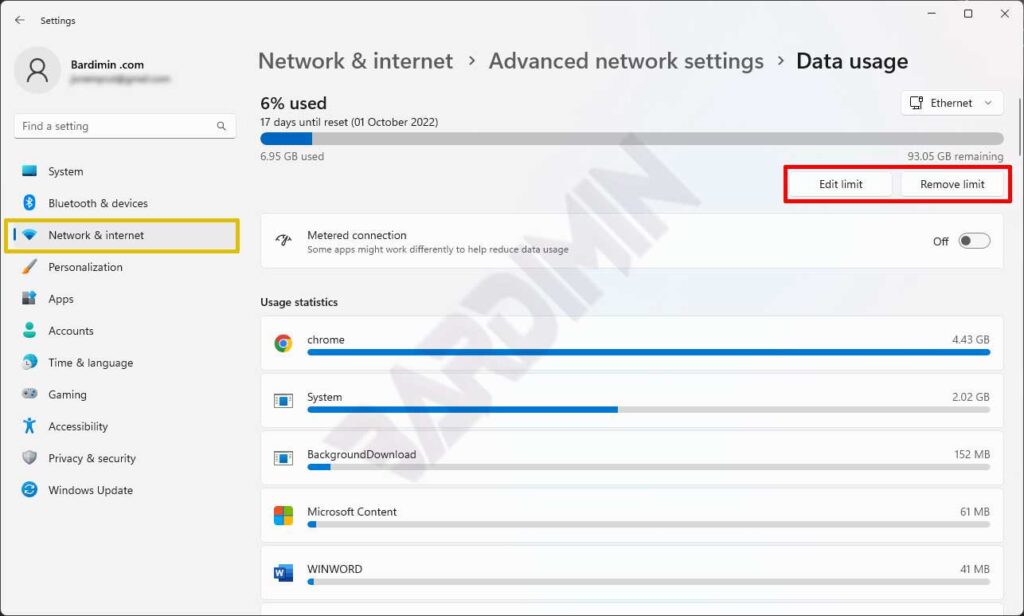
To change click the “Edit limit” button and to remove it click the “Remove limit” button.
Enabling Metered Connection to Reduce Data Usage
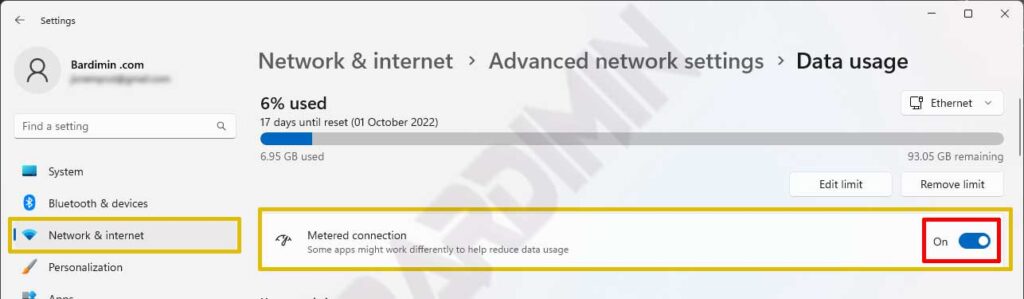
With Metered Connections, you can further reduce data usage on your Windows computer. Windows 11 uses less data for background programs and stops Windows updates when Metered Connection is enabled for the network.
To enable it:
- Repeat steps 1 and 2.
- In the “Metered Connection” section, swipe right the toggle button to turn on.