By default, Windows will store the IP address of the sites you visit on the local computer by creating a DNS cache. With this DNS cache, Windows will load it faster for subsequent access because there is no need to make requests to the DNS Server.
Invalid DNS cache because of corruption or obsolescence can also cause you to cannot connect to the internet. Like when you get a 404 error in the browser continuously. It could be something like this because the domain has changed IP and the DNS cache on your computer failed to update.
For you to reconnect to the internet, you must clear all DNS caches on your computer. After you clear it, a new DNS cache will be created by Windows.
To clear the DNS cache on Windows, you can do it via Command Prompt (CMD) or Power Shell.
Clear DNS Cache with Flush DNS
- Open CMD and run as Administrator.
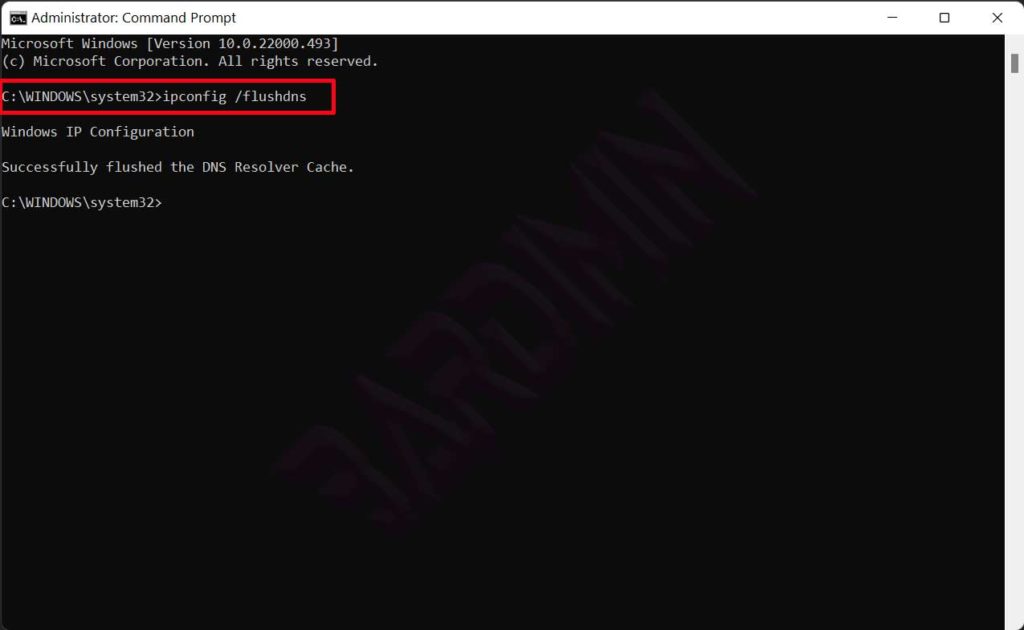
- In the CMD window, type the command
ipconfig /flushdns

Close all open browsers to clear DNS Cache
Checking DNS Cache
- Open CMD and run as Administrator.
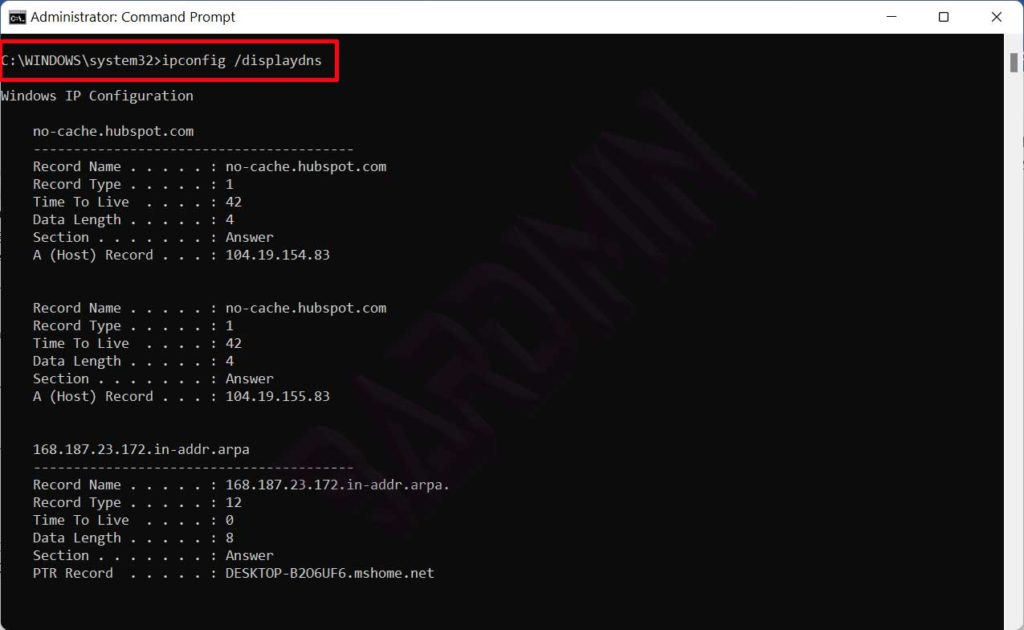
- In the CMD window type the command
ipconfig /displaydns


