By creating a server that serves Windows updates and other products from Microsoft, you can save internet consumption and speed up the update process.
Windows Server Update Services (WSUS) is a feature of Windows Server to manage the distribution of updates released by Microsoft Update to computers on your network. WSUS will be very useful if you have to manage many computers.
Updates from Microsoft products can be hundreds of Megabytes in size, and can even reach a size of over one Gigabyte. If the number of computers in the network is large, it is certainly very inefficient if each computer has to download to Microsoft. Because this will burden internet usage and require a long download time.
By creating a Server that serves an update, a direct update to Microsoft is only performed by one Server computer. Meanwhile, computers in other networks will download updates to the server. In this scenario, the update process from the computer does not require internet access because it uses a local network (LAN) and, of course, the download speed is also very fast.
This article will use Windows Server 2019 as an example and you can also use this method on Windows Server 2012, 2012 R2. Both 2016 and Windows Server 2022.
Install WSUS on a Windows Server
- Open the “Server Manager“.
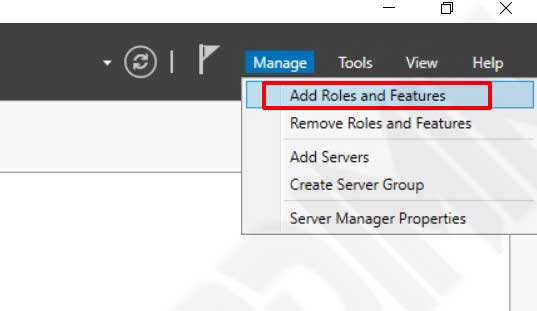
- In the Server Manager click “Manage” and then click “Add Roles and Features“.
- Next will open the Add Roles and Features Wizard window. And on “Before You Begin“, click “Next“.
- In “Installation Type“, select “Role-based or feature-based installation” and click “Next“.
- Click “Next” on “Server Selection“.
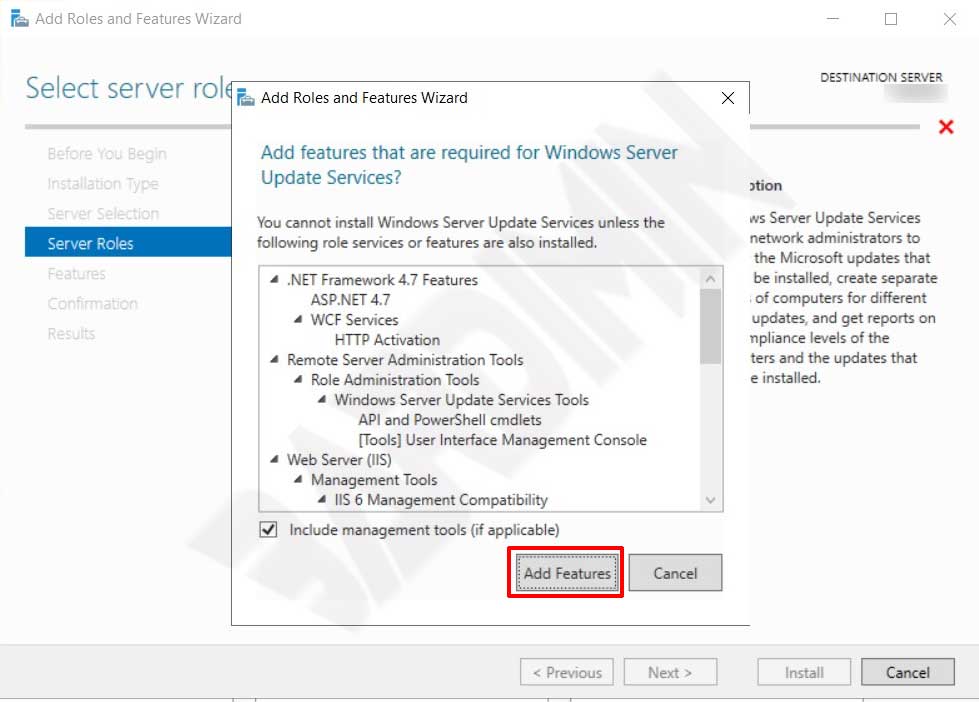
- Next on the “Server Roles“, check the option “Windows Server Update Services“. Once you have checked the option, a new window will open to confirm you all the features needed by WSUS to function correctly will also be installed. Click the “Add Features” button. Click “Next” to continue.
- On the “Features” page, click “Next“.
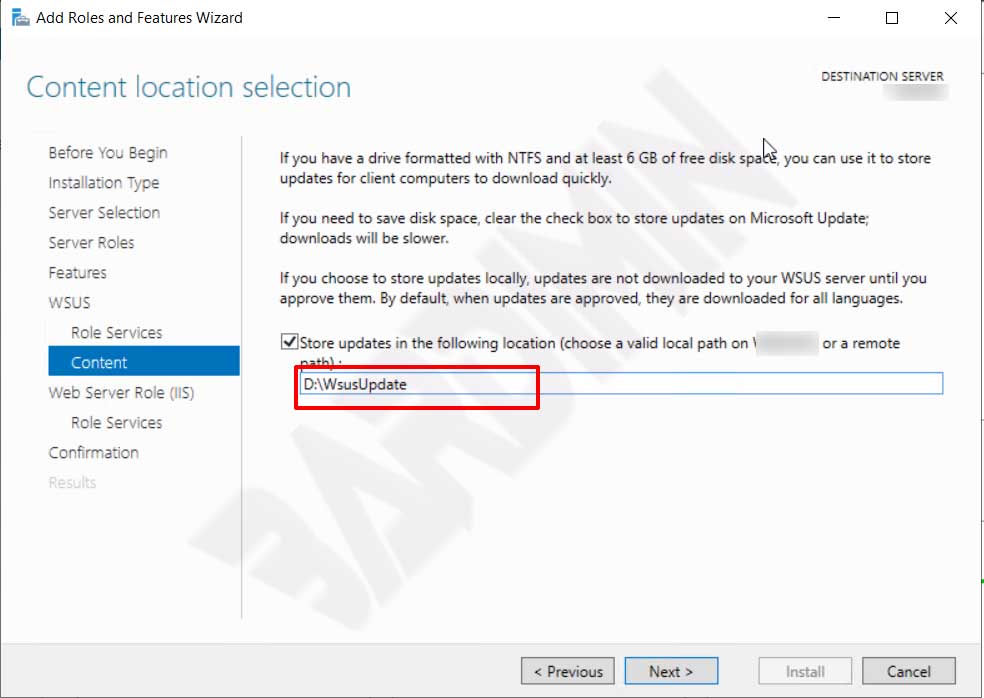
- Then on the “WSUS“, click “Next“. And click the “Next” button again on the “Role Services“. And in “Content“, specify the directory you will store the update file. Click “Next” to get to the next step.
- On the “Web Server Role (IIS)” page, click the “Next” button. And on the “Role Services“, leave the default options and click “Next“.
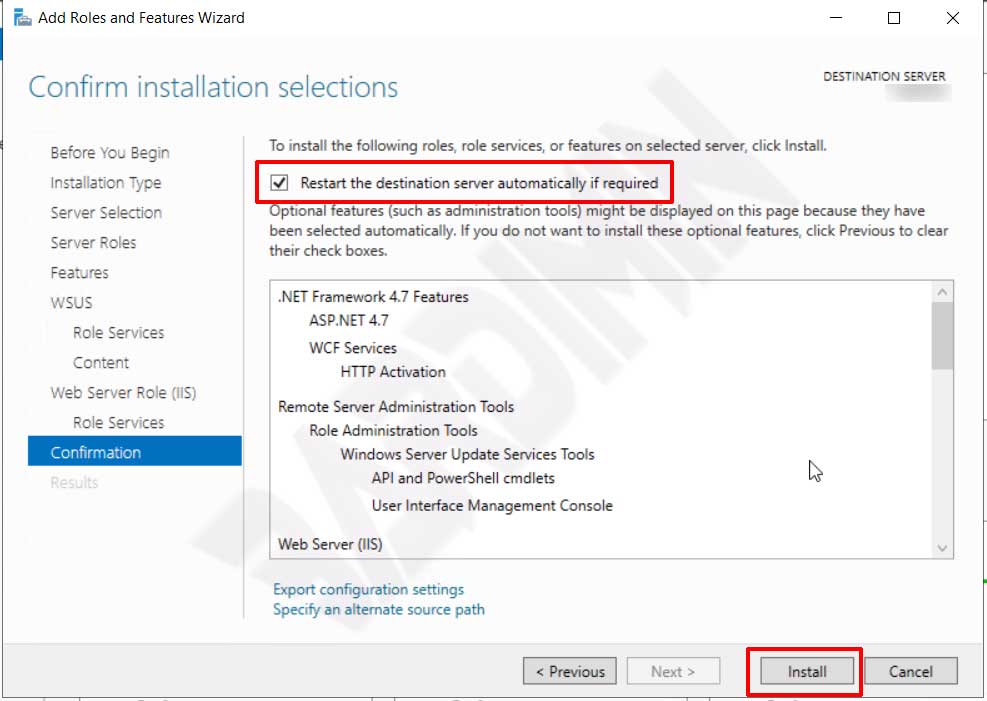
- In “Confirmation“, check the option “Restart the destination server automatically“. Then click the “Install” button to start the installation process.
- Windows Server will perform the installation process and will automatically restart if needed.
- After the WSUS installation process is complete, in the summary window, click “Launch Post-Installation tasks“. Wait until the configuration process is complete and then click “Close“.
Configuring WSUS on a Windows Server
After the installation process is complete, now is the time for you to set up the services you will provide on client computers in the network.
- Open “Server Manager > Tools > Windows Server Update Services“.
- You will be prompted to perform AWSUS configuration through the “WSUS Configuration Wizard“.
- On the “Before you begin” page, click “Next“.
- Then in “Join the Microsoft Update Improvement Program“, you can choose to join or not, and uncheck if you don’t want to join. Next click “Next“.
- Under “Choose Upstream Server“, leave it on the default option “Synchronize the updates with Microsoft Update“. Click “Next” to continue.
- Click “Next” on “Specify Proxy Server“, unless you are using a proxy for access to Microsoft Update.
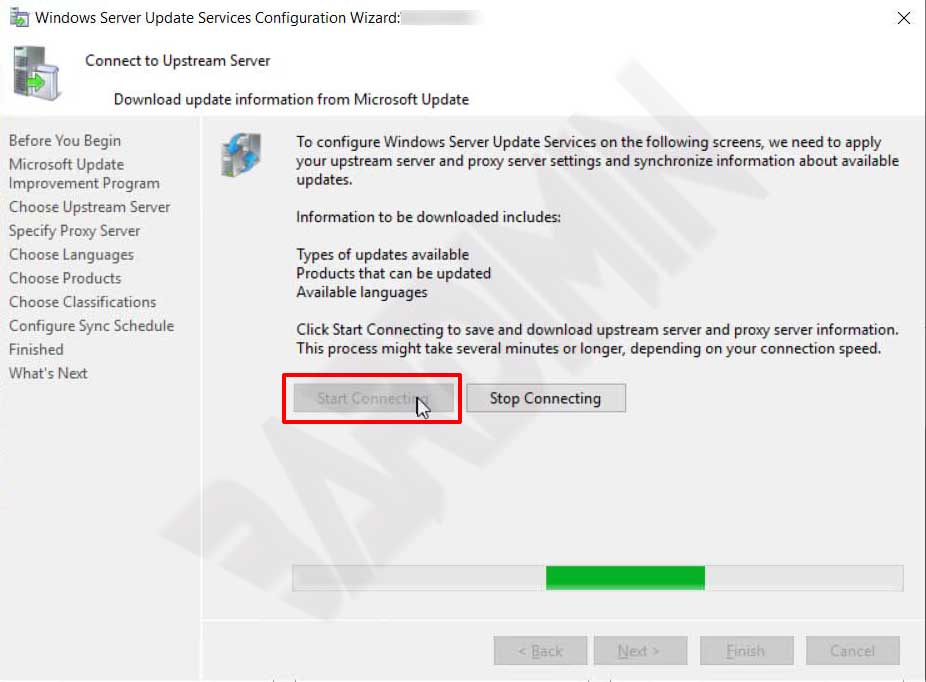
- Then click “Start Connecting” to connect to “Upstream Server“. This process will take a long. Wait for it to complete.
- On the “Choose Language” page, the default selection is in English. You can select multiple languages to speak. Click “Next” to get to the next step.
- Next in “Choose Products“, select the product from Microsoft that you will serve on WSUS. Consider the storage capacity on your server in choosing the product you will serve. Click “Next” to get to the next step.

- Under “Choose Classifications“, select the updated classification you want to serve. Next click “Next“.
- Then on “Set Sync Schedule“, select the automatic schedule. Click “Next“.
- On the “Finished” page, check on “Begin initial synchronization“. Then click “Next“.
- After the synchronization process in step 12 is completed, click on the “Finish” button. WSUS will periodically download updates from Microsoft and distribute them on computers in the network.