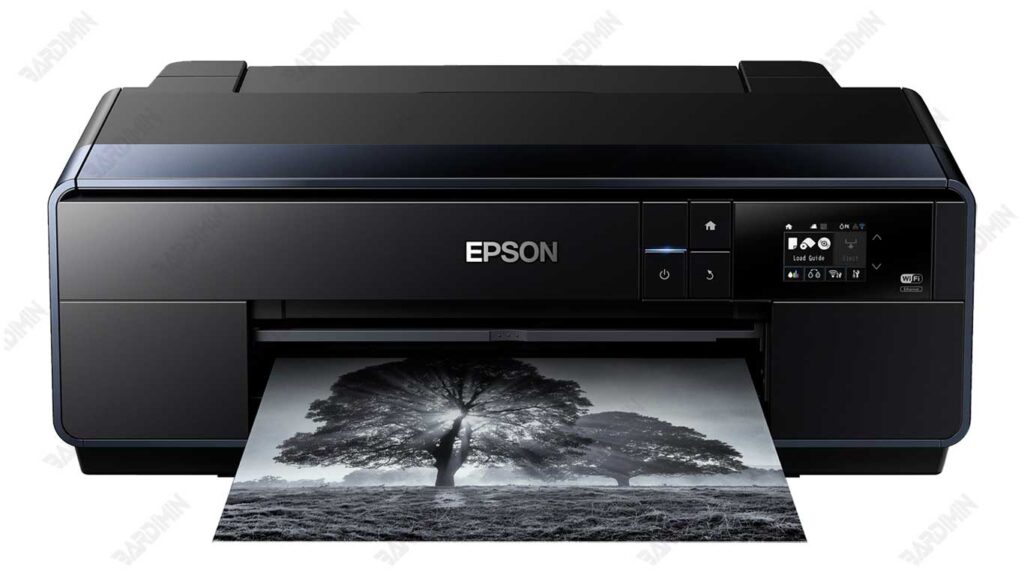
Epson SC-P600 printers are known as professional printers with high print quality, especially for photography and graphic design needs. However, like other electronic devices, these printers also have usage limitations that make them sometimes stop working. The most common problem is the error message “Waste Ink Pad Full” or “Service Required”, which indicates that the ink holding pad is considered full by the system.
This is where the role of the Adjustment-Program Epson SC-P600 (often called the Epson Resetter) becomes very important. This software serves as a quick and effective solution to overcome these errors without having to take the printer directly to the service center.
The core functions of this app include:
- Reset the Waste Ink Pad Counter, so that the printer can return to normal use.
- Error Diagnosis, to find out the technical problems that occurred.
- Maintenance Mode helps keep printer performance stable in the long run.
For printer technicians and home users, the Epson SC-P600 Adjustment-Program is a must-have tool. With this app, you can save time, money and make sure your printer stays working optimally whenever you need it.
Download Adjustment-Program Epson SC-P600
For those of you who are looking for a quick way to quickly resolve the “Waste Ink Pad Full” or “Service Required” error on the Epson SC-P600 printer, here are the details of the Adjustment-Program (Epson SC-P600 Resetter) file that can be used:
Details of the Epson SC-P600 Program Adjustment File
- File Format: .rar
- File size: ±3 MB (lightweight and doesn’t take up much storage space)
- Operating System: Windows 32-bit & 64-bit
- Copyright © 2019 micom. All Rights Reserved.
Safety Notes
Please note, some antiviruses often detect these files as false positives. This happens because the program has direct access to the printer’s system. For this reason, it is recommended to temporarily disable the antivirus during installation so that the software can run properly.
How to Install & Use the Epson SC-P600 Program Adjustment
For the software to run properly, follow these installation and usage steps in order:
1. Disable antivirus temporarily
Some antiviruses detect these programs as false positives. To prevent failure during the run, disable antivirus software until the reset process is complete.
2. Extract the downloaded file
Use an app like WinRAR or 7-Zip to extract the file. Enter the password: micom for the file to be opened.
3. Run the program as an Administrator
Right-click on the AdjProg.exe → file select Run as Administrator. This step is important so that the software has full permission to interact with the printer system.
4. Select the Epson SC-P600 printer model
Once the program is open, select the Epson SC-P600 model from the list so that the reset and maintenance function can run according to your device.
5. Reset Waste Ink Pad Counter
- Go to the Particular Adjustment Mode menu.
- Select the Waste Ink Pad Counter option.
- Click Initialize or Reset, then wait for the process to complete.
- After that, turn off the printer and turn it back on.
6. Use Maintenance Mode
This mode helps maintain the quality of the prints. You can run:
- Cleaning Head → to clean the ink line.
- Nozzle Check → to ensure the print is not streaked or dotted.
7. Diagnosis Error
The software also provides a feature to detect specific errors on the printer. By running a diagnosis, you can find out the damage faster before making further repairs.
8. Restart the printer and test print
Once all the processes are complete, restart the printer. Test print documents or images to make sure the printer is back to normal.