A complete technical guide to installing Chromium OS (CloudReady) on VMware Workstation. This article covers official image download links, system requirements, virtual network configuration, and step-by-step setup to experience Chrome OS without a Chromebook. Ideal for IT professionals, system administrators, and developers seeking a safe virtual environment to test performance and compatibility.
Chromebooks offer a distinct computing experience with Chrome OS—a lightweight, fast, and secure operating system. However, not everyone wants to invest in dedicated hardware. For IT professionals, developers, and tech enthusiasts who want to explore the Chrome OS ecosystem without purchasing a Chromebook, virtualization provides the most effective solution. Using VMware, you can run a Chromium OS-based system—the open‑source foundation of Chrome OS—in an isolated, risk‑free virtual environment.
Understanding the difference between Chrome OS and Chromium OS is essential. Chrome OS is Google’s commercial operating system, exclusively available on Chromebooks. It includes premium features such as full Google Play Store integration and Android app support. Chromium OS, on the other hand, is the open‑source project that serves as the base for Chrome OS. Google does not share the proprietary code for its exclusive features—this is part of their business strategy. As an alternative, projects like Neverware CloudReady deliver a stable, production‑ready Chromium OS experience that can run on non‑Chromebook hardware.

Neverware CloudReady: The Chromium OS Distribution for Non‑Chromebooks
Neverware CloudReady is a Chromium OS distribution enhanced with additional drivers and customizations to function reliably on a wide range of standard laptops and PCs. It bridges the gap between the raw open‑source project and a user‑friendly operating system, offering an experience very close to Chrome OS—though without the Play Store. For professionals evaluating the platform, CloudReady is the preferred choice, especially when testing in a virtualized environment before committing to physical hardware.
To ensure smooth operation, Neverware recommends the following minimum hardware specifications. These should be treated as baseline requirements when allocating resources to your virtual machine:
- RAM: 2 GB minimum. For better responsiveness—especially when multitasking or testing Android apps—allocate 4 GB or more within VMware.
- Storage: 16 GB minimum. The virtual machine requires this space for the OS and user data. Use dynamic allocation in VMware for efficiency.
- BIOS/UEFI: The VM must be configured to boot from the installation image. Ensure that boot from CD/DVD or virtual USB is enabled in VMware settings.
- Processor & Graphics: VMware emulates modern processors, but certain graphics hardware—such as Intel GMA 500, 600, 3600, or 3650—is not supported. Use a compatible virtual graphics adapter.
Step‑by‑Step: Installing Chromium OS on VMware Workstation
Running Chromium OS in VMware isolates the test environment from your main system, eliminating risks to hardware or existing OS installations. This approach allows IT technicians and developers to freely explore features, test compatibility, and evaluate performance. Follow these sequential steps carefully.
1. Prepare VMware Workstation
Ensure VMware Workstation (Player or Pro) is installed on your host machine. If not, download it from the official VMware website. The installation process is straightforward but requires administrative privileges. After installation, you will need the CloudReady image.
2. Download the Chromium OS (CloudReady) Image for VMware
For VMware, you need the CloudReady image packaged as an OVA (Open Virtual Appliance) file. This format includes pre‑configured settings optimized for virtual environments. Download the official CloudReady OVA using this link: https://www.neverware.com/freedownload. On the download page, select the VMware option. The file is roughly 2–3 GB; a stable internet connection is recomended to avoid corruption.
Neverware (now part of Google) offers two download types: a USB maker for physical installations and an OVA file tailored for virtualization. For our purpose, choose the OVA file—it imports directly into VMware with minimal configuration.
3. Import the CloudReady OVA into VMware Workstation
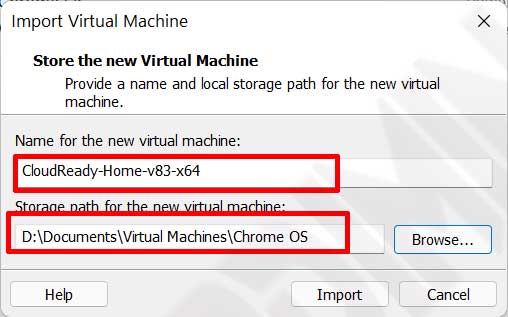
Importing the OVA is the key step to make the virtual machine ready. Open VMware Workstation and go to File > Open. Navigate to the downloaded .ova file, select it, and click Open. VMware will display the Import Virtual Machine dialog; keep all default settings and click Import. The import process typically takes 1–2 minutes. Once completed, the CloudReady VM appears in your library.
Initial Setup & Virtual Network Troubleshooting
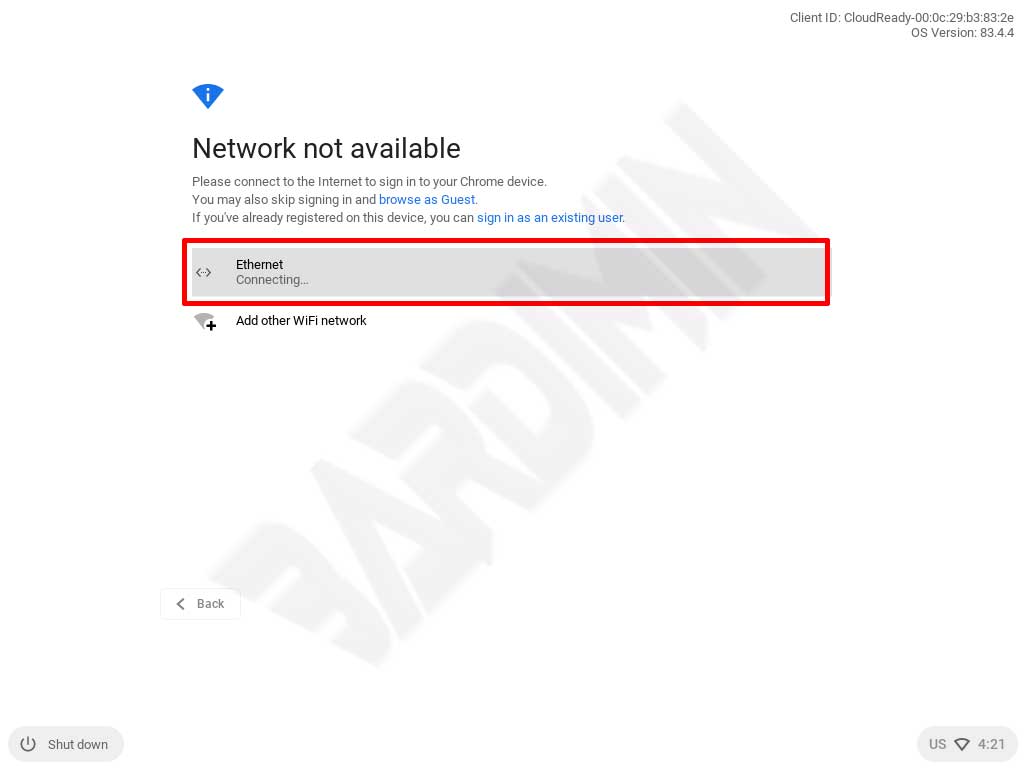
After importing, start the virtual machine. CloudReady will first check for an internet connection. This is critical because Chromium OS requires online access to verify your Google account and complete initial setup. If the VM cannot reach the internet, the process will halt.
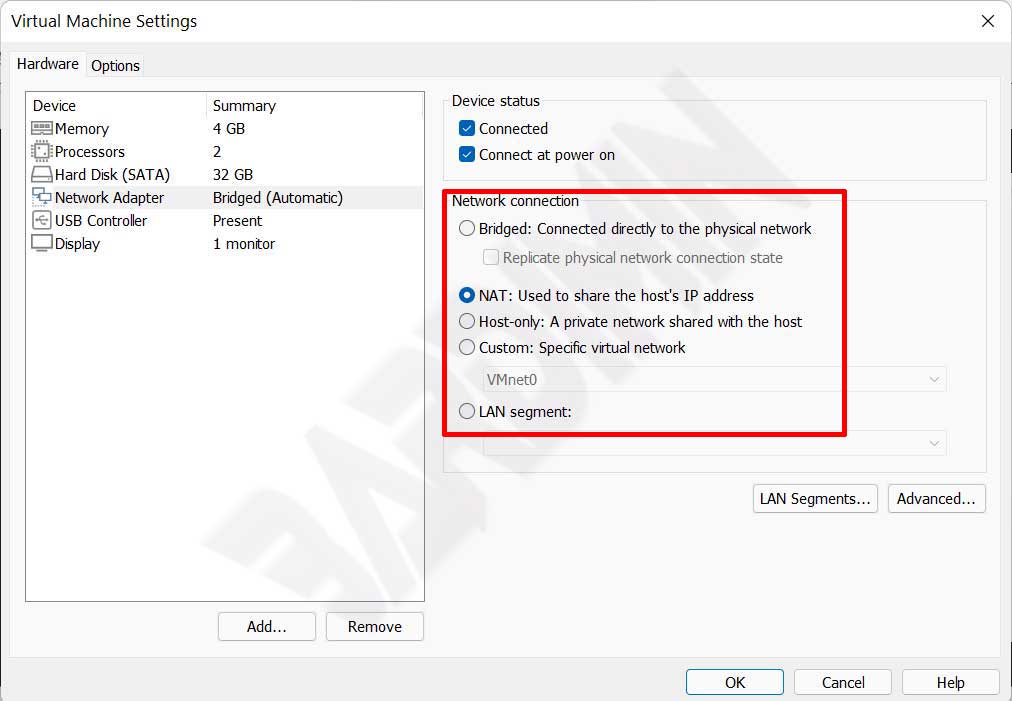
Connection issues often arise from the default network adapter setting. The imported OVA typically uses Bridged mode. If your host network doesn’t support bridged networking or conflicts occur, change the adapter to NAT (Network Address Translation). NAT is usually the most reliable option as it shares the host’s IP address without additional configuration. To change it, go to Virtual Machine Settings > Network Adapter and select NAT.
Configuring Your Google Account & Finalizing the Setup
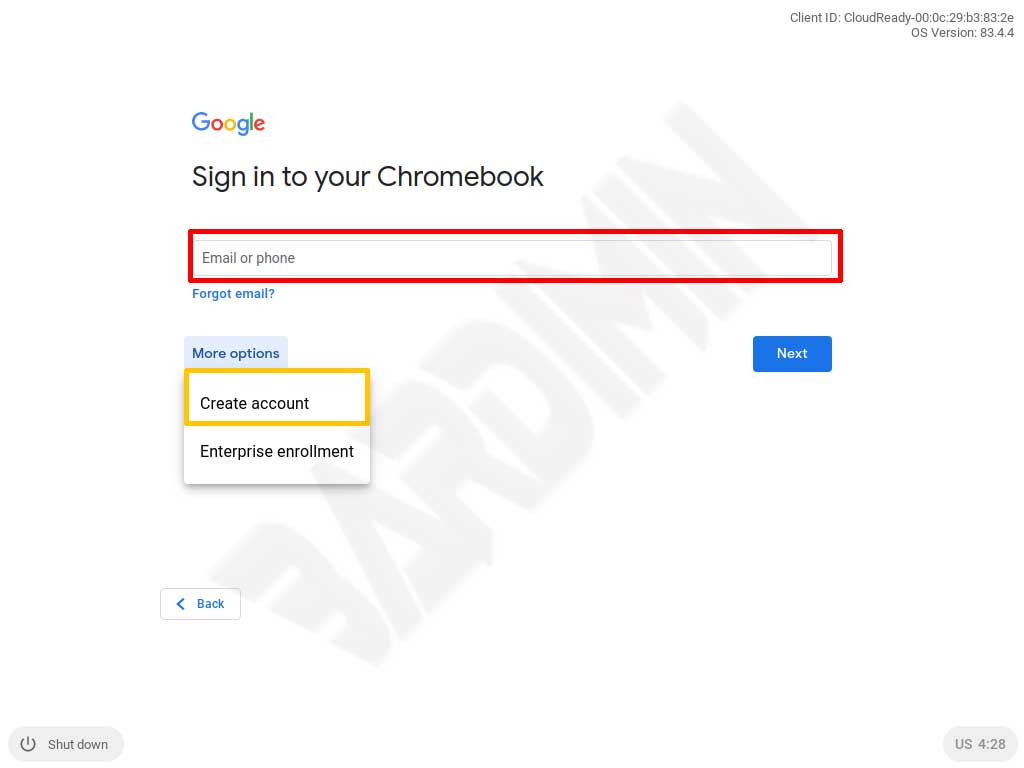
Once internet connectivity is established, the system will guide you through Google account setup. You can use an existing account or create a new one. This step is mandatory because it enables synchronization of bookmarks, extensions, and system preferences. Ensure the connection remains stable throughout authentication.
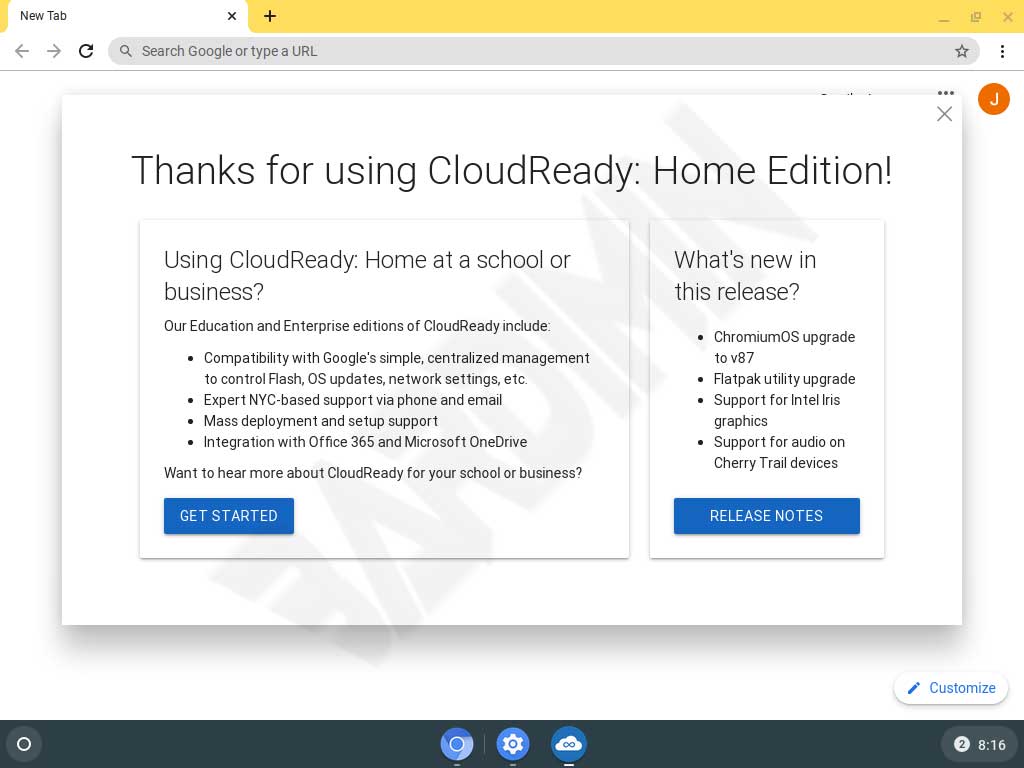
After successful authentication, Chromium OS performs final configurations and displays the desktop. At this point, the operating system is ready for exploration. You can test web applications, Chrome extensions, and even Android apps (limited to those compatible with Chromium OS). For developers and advanced users, this virtual environment provides a safe sandbox to evaluate performance, resource consumption, and overall user experience.
By completing the steps above, you have successfully deployed a Chromium OS–based operating system in a controlled virtual environment. This method offers IT professionals and developers the flexibility to evaluate the platform thoroughly, while tech enthusiasts can explore its capabilities without hardware investment. Further testing can include measuring boot times, analyzing resource efficiency, and trying various web‑based or Android applications.