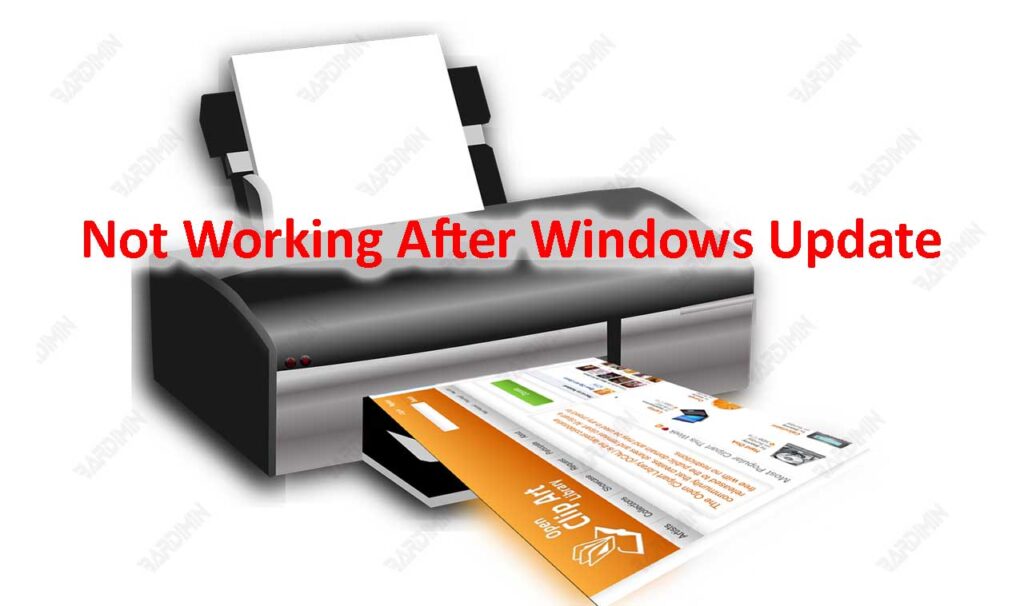
Your printer is not working after a Windows update? No need to worry. Follow these steps to fix it.
Windows Update will provide the most up-to-date features and security updates to your machine. However, sometimes updates don’t go as expected. One such problem is that the printer stops operating after a Windows update.
This issue may arise because your printer driver file is not compatible with the latest version of Windows. In addition, this can also happen because of a bug that affects the printer.
But, fortunately, solving the problem is easy. In this tutorial, Bardimin will provide several solutions to solve the problem.
Fix Printer Not Working After Windows Update
If your printer stops operating after a Windows update, here are some suggestions for running it again.
- Make sure your printer is connected.
- Unplug and restart the printer.
- Use the Printer Troubleshooter.
- Install the latest printer driver
- Uninstall and Reinstall the printer.
- Remove and reset the print spooler.
- Uninstall Windows Update.
Make sure your printer is connected
Before you start any repair, make sure your printer is connected. Check the cable (for wired printers). Make sure the printer’s USB cable is properly connected to your PC.
Check the wireless connection (for wireless printers). Check if the printer’s Wi-Fi option is turned on and accessible. When the wireless connection option for the printer is available, many printers display a button that displays a blue wireless icon. See, the manufacturer included instructions for more details.
Unplug and restart the printer
Repeat the connection, try reinserting the cable, and restart your computer. Even if this does not solve your problem, you can try restarting your printer.
Your printer’s power cycle can sometimes solve problems. Turn your printer off and unplug it, then wait 30 seconds before reconnecting it and turning it back on.
Use the Printer Troubleshooter
Will try running the printer troubleshooter. Troubleshooters often resolve issues automatically. Even if it doesn’t solve the problem, it may advise on what the problem is.
Steps to run the printer troubleshooter:
- Open the Windows “Settings” and use the shortcut (WIN +I).
- Navigate to “System >> Troubleshoot >> Other troubleshooters“.
- Find Printers and click the “Run” button next to it.
- Finally, let the troubleshooter run and see if this fixes the issue.
Install the latest printer driver
After you have upgraded to Windows, your printer driver may no longer be compatible with the latest version of the operating system.
To upgrade your printer driver, go to the printer manufacturer’s website. Then download the latest printer driver according to the printer model you have.
Install those drivers on your computer to see if it resolves the Printer not working issue after a Windows update.
Uninstall and Reinstall the printer
How to Uninstall your printer:
- Open the Windows “Settings” and use the shortcut (WIN +I).
- Navigate to “Bluetooth & Devices >> Printers & Scanners“.
- Open “Printers & scanners settings“.
- Select the printer you want to uninstall.
- Click the “Remove” button. Then confirm that you are sure you want to remove this device by selecting “Yes“.
How to Reinstall the printer:
If your printer is turned on and connected to the network, Windows will find it easily. Printers can include all printers on the network, such as Bluetooth and wireless printers, or printers that are plugged into another computer and shared on the network. You may need permission to install some printers. To reinstall your printer, follow these steps:
- Open the Windows “Settings” and use the shortcut (WIN +I).
- Navigate to “Bluetooth & Devices >> Printers & Scanners“.
- Make sure your printer is turned on and connected. Then select the “Add device” (or Refresh) button.
- Please wait a bit while Windows searches for a printer connected to the device (locally or wirelessly). Windows will then display a list of printers connected to your device. If you see your printer listed, select the Add device button for your printer. If you don’t see your device listed, select Add manually.
Remove and reset the print spooler
A print spooler is a file that manages the printing process. To remove and reset the print spooler:
- In the search box on the taskbar, type “services”, then select “Services” in the list of results.
- Select the Standards tab, then double-click “Print Spooler” in the services list.
- Select “Stop“, then select OK.
- In the search box on the taskbar, enter ” %WINDIR%\system32\spool\printers “, select ” %WINDIR%\system32\spool\PRINTERS ” in the list of results, and then delete all files in the folder.
- In the search box on the taskbar, type “services”, then select “Services” in the list of results.
- Select the Standards tab, then double-click “Print Spooler” in the services list.
- Select “Start“, select “Automatic” in the “Startup Type” box, and then click the OK button.
Uninstall Windows Update
Because the problem occurs after Windows Update, you can choose to uninstall the update. However, this only works for minor updates and not for major changes.