Windows 11 introduces a significant update to the Snipping Tool, particularly with the addition of OCR (Optical Character Recognition) integration. This feature allows users to copy text from images or screenshots with just a few clicks without any additional apps!
OCR, or Optical Character Recognition, is a technology that allows the conversion of text in images, such as screenshots, scanned documents, or photos, into digital text that can be copied, searched, and edited.
Before this feature is available directly on the operating system, users typically have to use a third-party application such as Adobe Acrobat Pro, ABBYY FineReader, or a cloud service to extract text from images. In addition to requiring additional installation, many of these solutions are also paid for and have complicated processes.
Now, with the OCR feature in the Snipping Tool on Windows 11, this process has become easier, faster, and more integrated. All you have to do is take a screenshot, and the text from the image can be instantly copied without the need for any additional apps. This innovation not only saves time but also improves efficiency and productivity, especially for users who often work with digital documents.
How to Use the OCR Feature in the Windows 11 Snipping Tool
Windows 11 now brings a new experience of copying text from images through the OCR feature integrated directly into the Snipping Tool. This feature allows you to extract text from screenshots in just a few simple steps without the need to open additional apps or use external services.
Steps to Use OCR in the Snipping Tool:
1. Open the Snipping Tool:
- Quick way: Press Windows + Shift + S at the same time
- Or search for “Snipping Tool” in the Windows search field
- A small toolbar will appear at the top of the screen
2. Take a Screenshot:
Select the type of screenshot you want:
- Rectangular Snip: For square-shaped areas (most commonly used)
- Freeform Snip: For irregular areas
- Window Snip: For specific windows
- Fullscreen Snip: To capture the entire screen
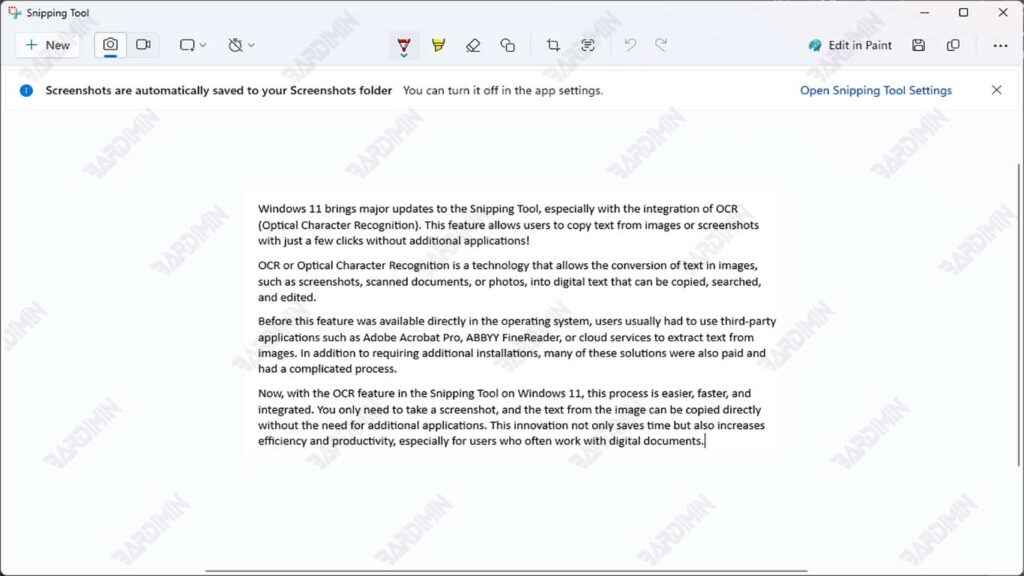
After taking a screenshot, the image will automatically open in the Snipping Tool
3. Use OCR Features:
- In the Snipping Tool window, look for the “Text Actions” key (the letter “T” icon)
- Click on the button, and the system will start analyzing the text in the image
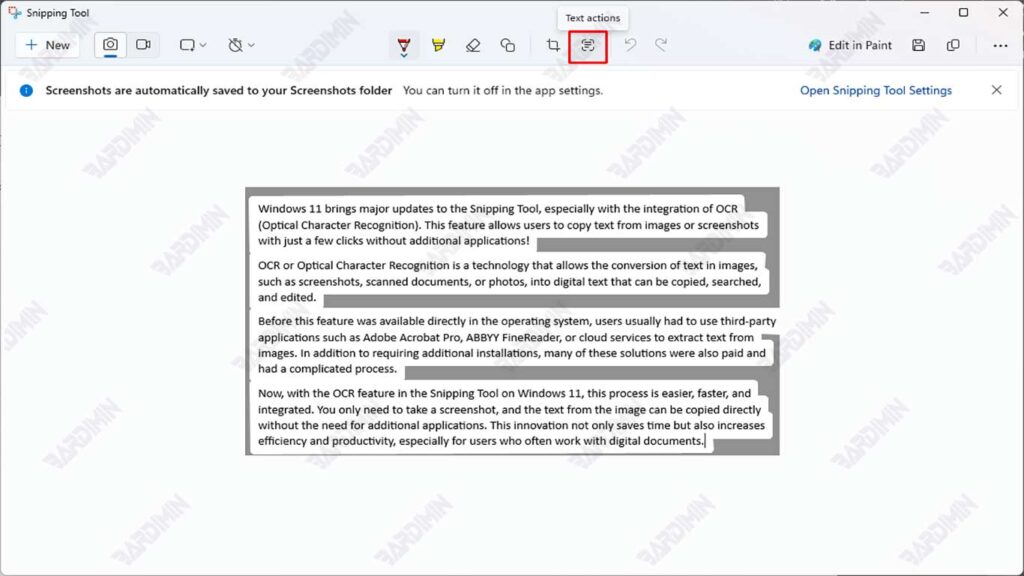
4. Copy or Edit Text:
- Once the process is complete, all detected texts will be flagged
- Click “Copy all text” to copy all the text
- Or block a specific section that you want to copy
- Text can be pasted directly into Word, Notepad, or other applications
Essential Tips to Get the Best OCR Results
Although the OCR feature in the Windows 11 Snipping Tool has been designed to recognize text automatically, the quality of the results remains largely dependent on the condition of the image or screenshot used. Here are some practical tips that you can apply to improve the accuracy and results of the text extraction process:
1. Make Sure the Text in the Image Is Visible
OCR works by recognizing character patterns. If the text in the image is not clear to the human eye, likely that the system will also have difficulty recognizing it.
- Make sure the image is not too dark or too bright. Even lighting helps OCR recognize characters accurately.
- Avoid blurry images, as blurry or out-of-focus images will make it difficult for OCR systems. If you’re using a camera, make sure you’re focusing right on the text.
- The color difference between the text and the background should be striking. Black on white usually gives the best results.
2. For Physical Documents, Pay Attention to Shooting Techniques
If you use a camera to photograph physical documents before processing them with OCR, follow these guidelines for best results:
- Take the photo from a straight angle (90 degrees). Avoid angled corners, as they can distort the shape of the letters.
- Place the document on a flat, stable surface. A plain table is the best option so that the background does not distract.
- Avoid shadows or light reflections. Place the light source from the side or top so as not to create hand shadows or light reflections.
3. If the Text Doesn’t Read Well, Try This Solution
Some text may be difficult to recognize, especially if it is small in size or low in resolution. Here are some repair steps you can take:
- Zoom in on the screenshot area because the larger the font size captured, the easier it will be for the OCR system to recognize it.
- Use the Rectangular Snip mode. This mode allows you to select areas precisely so you can focus on text only without background distractions.
- Recapture images with a better camera or improve the quality of the source files.