Did you know? You can export and import Windows 11 drivers using only the command line (CMD).
A driver is a software component that allows the operating system and devices to communicate with each other.
Each device has drivers that contain instructions that allow the system to communicate and control hardware such as network adapters, video cards, hard drives, etc., and peripherals such as mice, keyboards, monitors, and other devices that you connect to the computer.
Windows 11 has a set of drivers to ensure that the hardware will work properly. In addition, device manufacturers, such as GPUs, create drivers for the devices they produce and this is to add support for functionality or perhaps to make the device work correctly.
If you plan to replace your PC or reinstall Windows, you may need to back up your drivers.
How to export drivers using Command Prompt (CMD)
- Open “Command Prompt (CMD)” and run it as Administrator.
- Then type the command:
dism /online /export-driver /destination:<ExportPath>
ExportPath: the location where you save the exported driver.
For example, if you are going to export the driver to “D:\BackupDriver”, first create the folder. Then use the command:
dism /online /export-driver /destination:D:\BackupDriver
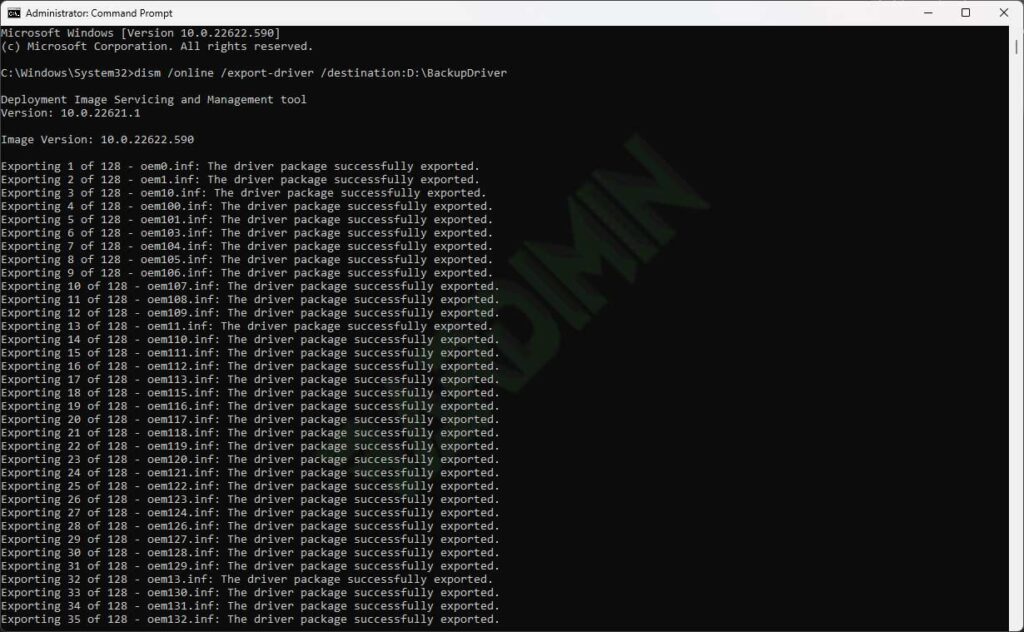
With the DISM command, you will export the drivers on the current Windows system.
How to export drivers using Windows PowerShell
- Open “Windows PowerShell” and run it as Administrator.
- Then type the command:
Export-WindowsDriver -Online -Destination <ExportPath>
ExportPath: the location where you save the exported driver.
For example, if you are going to export the driver to “D:\BackupDriver”, then use the command:
Export-WindowsDriver -Online -Destination D:\BackupDriver
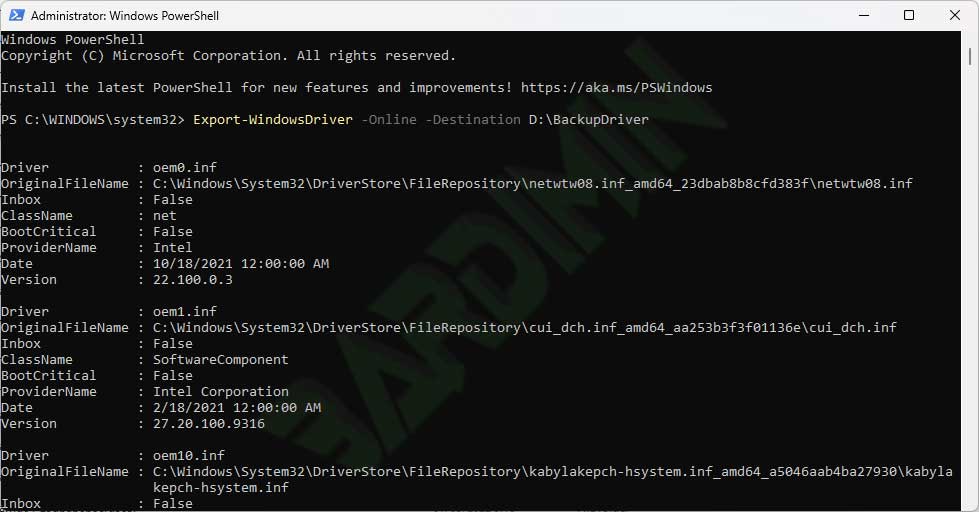
Those PowerShell commands will export third-party drivers from the running version of Windows.
How to import exported drivers
To import the driver, you can do several:
- Install individual drivers, right-click on the “.inf” file and select “Install” in File Explorer.
- In Windows Device Manager, use “Update driver” and navigate to the location where you saved the driver.
Besides this method, you can also import all the drivers that you have backed up in the previous step using the command prompt (CMD). The commands you can use are:
pnputil.exe /add-driver <DriverPath>\*.inf /subdirs /install
DriverPath: the location where you store the driver.