In Windows 11, you can change the default settings of brightness, contrast, sharpness, and camera saturation on a laptop to get the quality image and video results.
A camera is a must-have device on a laptop. By using the camera, you can have video conversations using Zoom, Skype, WhatsApp, or other video services and you can also use it to take pictures of the objects you want.
Some cameras can use the High Dynamic Range (HDR) or eye contact function, which allows the system to display your face as if you were looking directly at the camera, besides brightness, contrast, and rotation.
If you are experiencing problems with the image or video quality of your laptop cameras, such as brightness, contrast, sharpness, and saturation, you can follow these instructions to fix them.
Configuration Camera in Windows 11
You can specify default settings for each camera connected to your computer. Camera settings will be stored separately for each camera and each user account. If you’re using a Microsoft account, these camera settings won’t sync on all Windows devices.
When the app uses the camera, it will use the default settings. However, programs that use the camera can use alternative settings, and not every application will use the default settings.
How to Change The Default Settings of Camera
- Go to the “Settings” of Windows 11. You can use the keyboard shortcut (WIN + I) to open it.
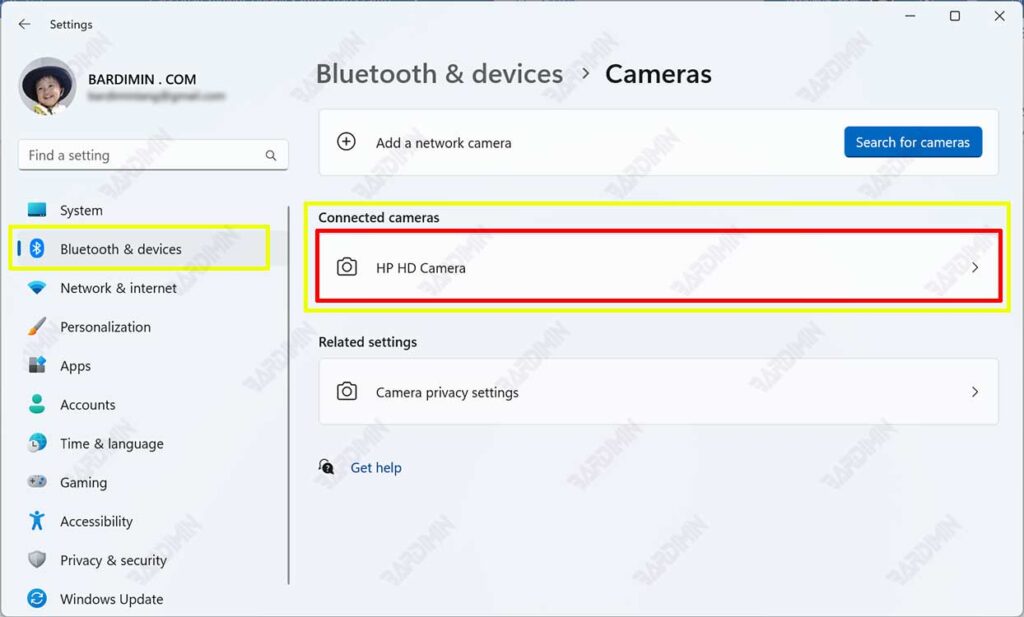
- Then navigate to “Bluetooth & devices >>> Cameras“. On the right side of the panel, “Connected cameras“, select and click Connected cameras.

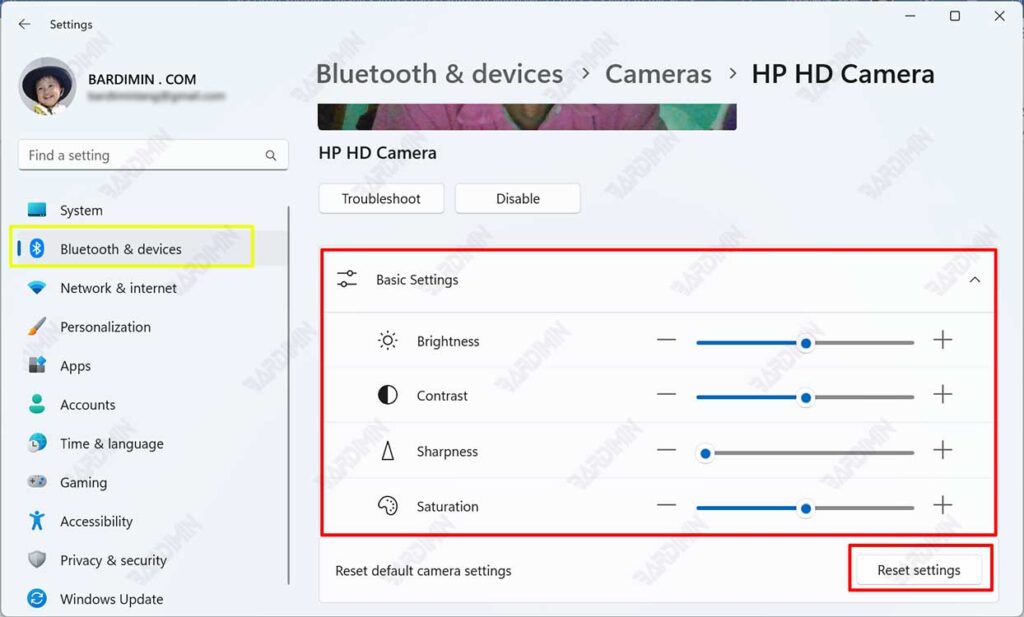
- Then adjust the brightness, contrast, sharpness, and saturation to get the best image or video quality.

- If you want to restore to the original settings, click the “Reset settings” button.


