PowerShell is a very useful tool for running various commands and scripts in Windows. However, sometimes PowerShell can run into problems and won’t open or run properly. This is certainly very annoying, especially if you often use PowerShell to manage your system.
There are several possible causes why PowerShell is not working on Windows 11, such as:
- There is a conflict with another running program
- Error in PowerShell file or Windows registry
- There are policy or permission restrictions that prevent PowerShell from running
- There is a problem with the version of PowerShell that you are using
To resolve this issue, you can try the following ways:
1. Run PowerShell as Administrator
One of the simplest ways to fix PowerShell not working is to run it as an Administrator. This will grant PowerShell full access rights to access all required features and functions.
How to run PowerShell as an Administrator in Windows 11 is as follows:
- Right-click on the Start button in the bottom left corner of the screen
- Select Windows Terminal from the menu that appears
- If you don’t have PowerShell as the default profile, click the downward-facing arrow at the top, and select Windows PowerShell from the list of options that appear. Alternatively, you can press CTRL+SHIFT+1 after launching Terminal to open PowerShell.
- Right-click on the PowerShell tab at the top, and select Run as Administrator from the menu that appears
- Click Yes on the User Account Control dialog box that appears
After that, you can try running the command or script you want in PowerShell. If there are still problems, continue to the next way.
2. Check and Repair PowerShell Files or Windows Registry
Sometimes, PowerShell doesn’t work due to a crash or error in the PowerShell file or Windows registry. To fix this problem, you can use the built-in Windows tool named System File Checker (SFC) and Deployment Image Servicing and Management (DISM).
SFC is a tool that can scan and repair damaged or missing system files, including PowerShell files. DISM is a tool that can fix problems with Windows installation images, including the Windows registry.
How to use SFC and DISM to fix PowerShell not working is as follows:
- Open Windows Terminal as Administrator as in the previous step
- Type the following command in PowerShell and press Enter:
sfc /scannow
- Wait for the scanning and repair process to complete. If any files are corrupted or missing, SFC will try to fix them automatically
- When you’re done, type the following command in PowerShell and press Enter:
DISM /Online /Cleanup-Image /RestoreHealth
- Wait for the scanning and repair process to complete. If there is a problem with the Windows installation image, DISM will try to fix it automatically
- When you’re done, close Windows Terminal and restart your computer
- Try opening PowerShell again and see if the problem is resolved
3. Change PowerShell Policies or Permissions
Sometimes, PowerShell doesn’t work because of policy or permission restrictions that prevent PowerShell from running. This can happen because of incorrect settings or deliberately made by system administrators or security programs.
To work around this issue, you can try changing PowerShell policies or permissions by using Registry Editor or Group Policy Editor. However, keep in mind that this method requires caution and caution because errors in changing the registry or policies can cause other problems in your system.
How to change PowerShell policies or permissions with Registry Editor is as follows:
- Open Run by pressing the Windows key + R
- Type regedit and press Enter or click OK
- In the Registry Editor window, go to HKEY_CURRENT_USER > SOFTWARE > Microsoft > Windows > CurrentVersion > Policies > Explorer
- Right-click on the Explorer folder, and select New > DWORD (32-bit) Value
- Name the new value DisallowRun, and change the value to 0
- Open the DisallowRun folder that is inside the Explorer folder, and delete all the value that are in it
- Close Registry Editor and restart your computer
- Try opening PowerShell again and see if the problem is resolved
How to change PowerShell policies or permissions with Group Policy Editor is as follows:
- Open Run by pressing the Windows key + R
- Type gpedit.msc and press Enter or click OK
- In the Group Policy Editor window, go to User Configuration > Administrative Templates > System
- Double-click on the policy named Don’t run specified Windows applications
- Change the policy status to Not Configured or Disabled
- Click Apply and OK
- Close Group Policy Editor and restart your computer
- Try opening PowerShell again and see if the problem is resolved
4. Update or Reinstall PowerShell
If the previous methods don’t work, it’s most likely that the PowerShell isn’t working issue is caused by a problem with the version of PowerShell you’re using. Maybe your version of PowerShell is outdated, incompatible, or corrupted.
To resolve this issue, you can try updating or reinstalling PowerShell by downloading the latest version from the official Microsoft website.
How to update or reinstall PowerShell is as follows:
- Open the official PowerShell site from this link
- Select the version of PowerShell that matches your computer’s operating system and architecture, for example, Windows 11 x64
- Click on the link under the MSI column, for example, PowerShell-7.4.0-win-x64.msi
- Wait for the download process to complete, and run the downloaded file
- Follow the instructions that appear on the screen to complete the installation process
- When you’re done, open PowerShell from the Start Menu or Windows Terminal
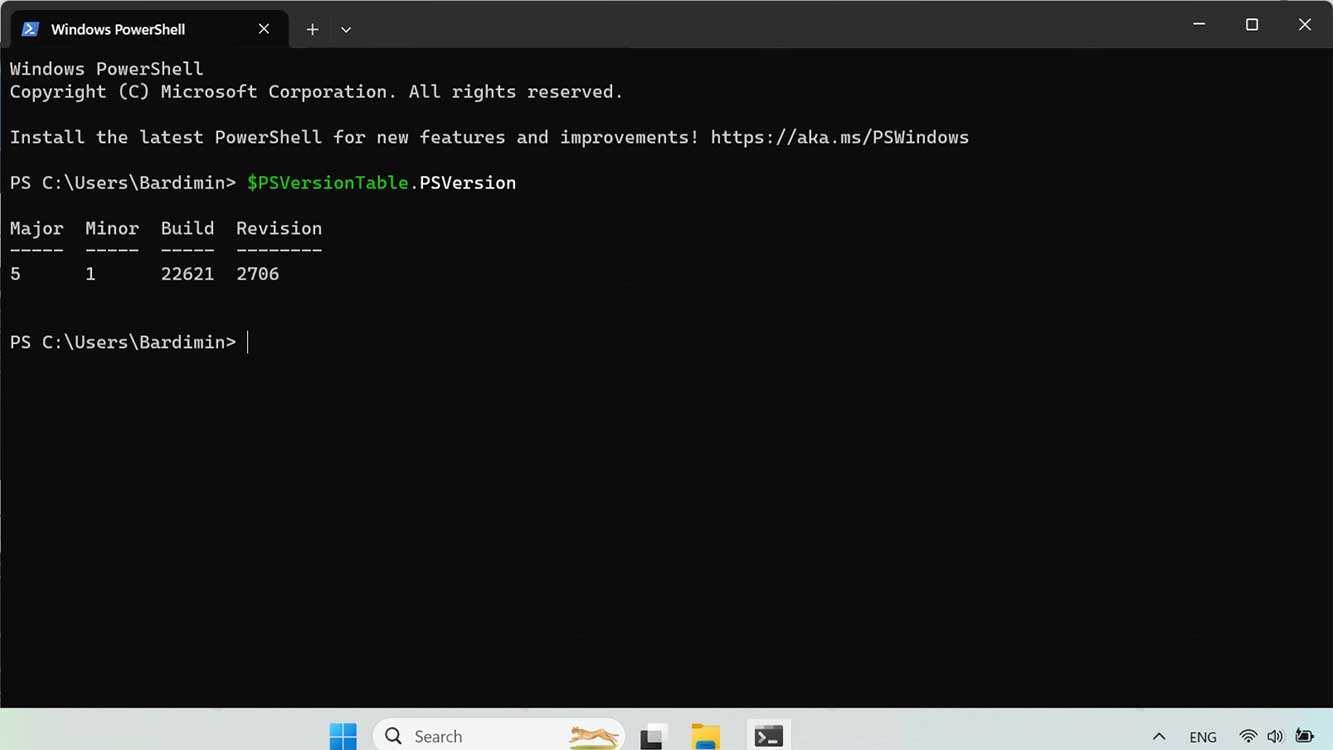
- Check the version of PowerShell that you are using by typing the following command in PowerShell and pressing Enter:
$PSVersionTable.PSVersion
- Make sure the version of PowerShell you’re using matches the version you downloaded
- Try running the command or script you want in PowerShell and see if the problem is resolved
Those are some ways to fix PowerShell not working on Windows 11. Hope this article was useful and helped you overcome the problems you are facing. If you have any questions, suggestions, or criticisms, please write them in the comments below. Thanks.