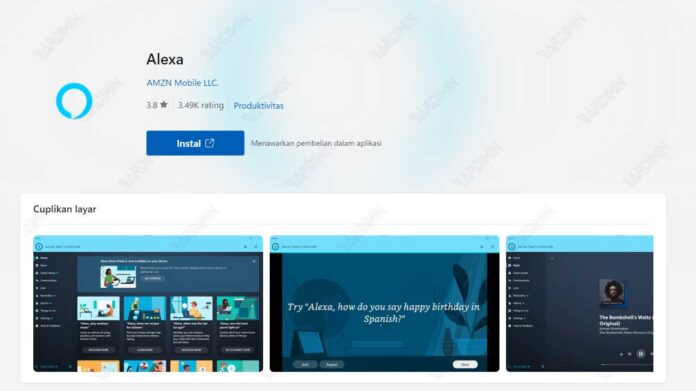
Alexa is a virtual assistant developed by Amazon, which can help you do things like control smart devices, play music, create shopping lists, set alarms, and more. Alexa is typically used through Echo devices, but you can also use it on your Windows 11 computer.
With Alexa in Windows 11, you can access Alexa’s features with your voice, with no need to open an app or browser. You can also connect your Amazon account with your Microsoft account, so you can manage your Alexa settings from the Windows 11 Settings app.
In this article, Bardimin will explain how to use Alexa in Windows 11 easily and quickly. You just need to follow these steps:
Step 1: Download and Install the Alexa App
Before you can use Alexa on Windows 11, you need to download and install the Alexa app first. You can download the Alexa app from the [Microsoft Store] or the [Alexa official website]. Once you’ve downloaded the Alexa app, follow the on-screen instructions to install it on your computer.
Step 2: Log in to the Alexa App with Your Amazon Account
Once you have installed the Alexa app, you need to log in to the Alexa app with your Amazon account. If you don’t already have an Amazon account, you can create one for free on [Amazon website]. Once you sign in to the Alexa app, you’ll see a welcome screen showing some of the Alexa features you can use in Windows 11.
Step 3: Enable Alexa Hands-Free
One of the Alexa features you can use in Windows 11 is Alexa Hands-Free, which allows you to call Alexa with your voice, with no need to press a button or click an icon. To activate Alexa Hands-Free, you need to follow these steps:
- Open the Alexa app on your computer.
- Click the menu icon in the upper-left corner of the app, then select Settings.
- Under the Alexa Hands-Free section, slide the switch to activate it.
- You will be asked to be permitted to access your microphone. Click Allow to continue.
- You’ll also be asked to select the microphone device you want to use to talk to Alexa. Select the device from the list of available, then click Done.
Once you’ve enabled Alexa Hands-Free, you can summon Alexa by saying “Alexa” near your computer. You’ll see a blue icon appear in the bottom right corner of the screen, showing that Alexa is listening to you. You can say any command or question you want to ask Alexa, like “Alexa, what’s the weather today?” or “Alexa, play my favorite song.”
Step 4: Connect Your Amazon Account with Your Microsoft Account
Another Alexa feature you can use in Windows 11 is to connect your Amazon account with your Microsoft account. This way, you can manage your Alexa settings from the Windows 11 Settings app, as well as access Microsoft content and services through Alexa, such as email, calendar, OneDrive, Skype, and more. To connect your Amazon account with your Microsoft account, you need to follow these steps:
- Open the Settings app in Windows 11, then select Accounts.
- Under the Your Account section, click Link your account with Alexa.
- You will be taken to a webpage asking you to log in to your Amazon account. Enter your email and password, then click Sign In.
- You will be asked to grant permission to connect your Amazon account with your Microsoft account. Click Allow to continue.
- You’ll see a message confirming that your account has been successfully connected. Click Close to return to the Settings app.
Once you’ve connected your Amazon account with your Microsoft account, you can manage your Alexa settings from the Windows 11 Settings app. You can change your device name, language, location, privacy, and more. You can also access Microsoft content and services through Alexa, by saying commands like “Alexa, read my email” or “Alexa, call mom on Skype.”
Step 5: Enjoy the Alexa Feature on Windows 11
Now that you have set up Alexa on Windows 11, you can enjoy the diverse and useful features of Alexa. You can use Alexa to:
- Control compatible smart devices, such as lights, cameras, thermostats, and more.
- Play music, podcasts, audiobooks, and radio stations from your favorite streaming services, such as Amazon Music, Spotify, Audible, and more.
- Create shopping lists, to-do lists, reminders, alarms, timers, and more.
- Get information about weather, news, sports, traffic, and more.
- Play games, trivia, puzzles and more.
- Learn something new, such as facts, skills, language, and more.
- And more!
You can find all the Alexa features available in Windows 11 by saying “Alexa, what can you do?” or by visiting [Alexa website]. You can also explore thousands of Alexa skills created by third-party developers, which can add more functionality and entertainment to Alexa. You can find your Alexa skills by saying “Alexa, show me your skills” or by visiting [Alexa skills website].
That’s how to use Alexa on Windows 11 easily and quickly. With Alexa in Windows 11, you can make your computer smarter, easier, and more fun. Good luck!