A corrupted or overloaded DNS cache in Windows can lead to various connection issues, such as websites failing to load or persistent 404 errors. This article explains the causes and provides a practical guide on how to clear DNS cache in Windows 10 and 11 using Command Prompt and PowerShell, including verification steps. This process, commonly known as a DNS flush, is a fundamental network troubleshooting step every technician and advanced user should know.
The Windows operating system automatically stores a DNS cache (Domain Name System) locally on your computer. This cache speeds up access to websites by remembering the IP addresses of previously visited domains. Consequently, Windows does not need to repeatedly query a DNS server for subsequent visits.
However, the DNS cache can become outdated or corrupted. This typically happens when a website changes servers and its IP address updates. As a result, your computer might still try to access the old IP address stored in the cache, leading to 404 errors or connection failures. Therefore, clearing or flushing the DNS is an effective solution to refresh this connection information.
When Should You Clear the DNS Cache?
- Consistently encountering 404 errors, “DNS_PROBE_FINISHED_NXDOMAIN,” or similar error messages on a specific website.
- A website fails to load even though other devices on the same network can access it.
- You have recently changed your DNS server settings or migrated a website.
- You want to ensure your connection uses the latest IP address for a domain.
How to Clear DNS Cache via Command Prompt (CMD)
This method works for both Windows 10 and Windows 11. Ensure you run CMD with administrator privileges.
- Right-click the Windows Start button.
- Select “Terminal (Admin)” or “Command Prompt (Admin)”.
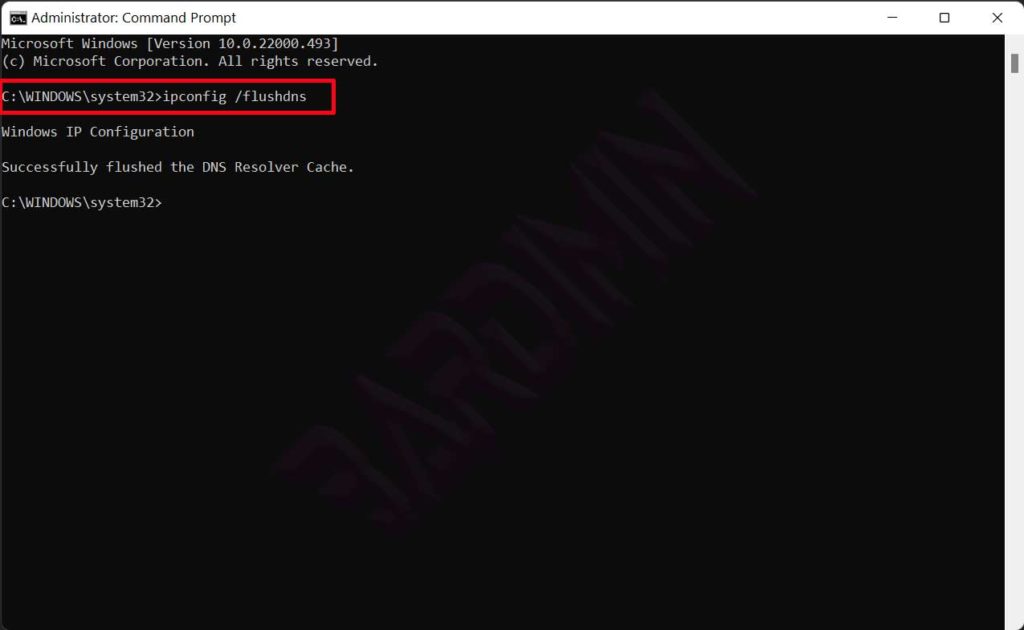
- In the Command Prompt window, type the following command and press Enter:
ipconfig /flushdnsYou will see a confirmation message: “Successfully flushed the DNS Resolver Cache.”
Additionally, close all open browser applications to ensure optimal cache clearing. This action forces the browser to establish a new connection with the updated DNS cache.
Alternative: Flush DNS Using PowerShell
For users more familiar with PowerShell, you can use the following command with admin rights:
Clear-DnsClientCacheThis command performs the same function as ipconfig /flushdns. After execution, there may be no detailed visual confirmation, but the cache is cleared.
How to Verify and Check the DNS Cache
After flushing, you might want to verify if the cache is truly empty or view remaining entries. Use this command in CMD (Admin):
ipconfig /displaydns
If the cache has been cleared, the displayed list will be very short or only contain entries from sites accessed after the flush.
Additional Network Troubleshooting Steps
If the guide on how to clear DNS cache above doesn’t fully resolve the issue, consider these advanced steps in order:
- Reset Winsock: Run
netsh winsock resetin CMD (Admin), then restart your computer. - Renew Dynamic IP: Use the commands
ipconfig /releasefollowed byipconfig /renew. - Change DNS Server: Try switching to a public DNS like Google (8.8.8.8) or Cloudflare (1.1.1.1) in your network settings. Official guidance is available on the Microsoft Support website.
By following this guide, you have performed a basic and crucial step in resetting your network connection. The DNS flush process is safe, quick, and often an instant solution for various internet access problems in Windows.