Is the screen immediately visible to you? If a notification such as “No Video Signal” is displayed, this cannot be considered a live screen in this situation. You should reach the BIOS screen, which can be either the system BIOS or the loading of the adapter BIOS, at a minimum.
Is the system working properly? Can you detect audible signs such as beeps, rotating drives, or fans? If the power source does not work, it is recommended to check for possible malfunctions in the power supply. We recommend performing this diagnostic again before concluding that the motherboard is faulty.
If you have not performed Video Failure diagnostics for an inactive screen, it is recommended to perform this procedure immediately. It is important not to neglect basic steps such as checking the power cord and outlet. Performing video diagnostics may result in the purchase of replacement parts for properly functioning hardware.
RAM Problem Check
Incorrect placement of memory modules is one of the things that most often causes setbacks due to motherboard or RAM upgrades. Lower the lever first when inserting the memory module and it will automatically rise and secure the module properly.
CPU Problem Check
Another cause could be an improper installation of the CPU, regardless of whether it is placed in a slot or socket. Make sure the CPU socket is aligned with the surface of the motherboard by checking and adjusting it with adequate lighting and a flashlight if needed.
Some CPUs may be completely covered by heat sinks, making it difficult to detect edges. However, the heat sink must be aligned parallel to the surface of the motherboard. This is especially true in cases where a new motherboard has been installed or the CPU has recently been upgraded.
This is because the CPU socket holds the processor firmly and an additional clamping layer is provided by the heat sink. If you’ve recently installed the CPU socket, it’s important to remove the heat sink and CPU to thoroughly check for signs of damage, such as bent or broken pins.
If the socket lock arm is not fully lifted before inserting the CPU or lowered completely afterward, the CPU will not be properly seated. If your CPU doesn’t fit properly into the socket, it can be caused by a faulty socket or a CPU that isn’t compatible with the motherboard. The possibility of the CPU escaping from the socket due to thermal shock is very small.
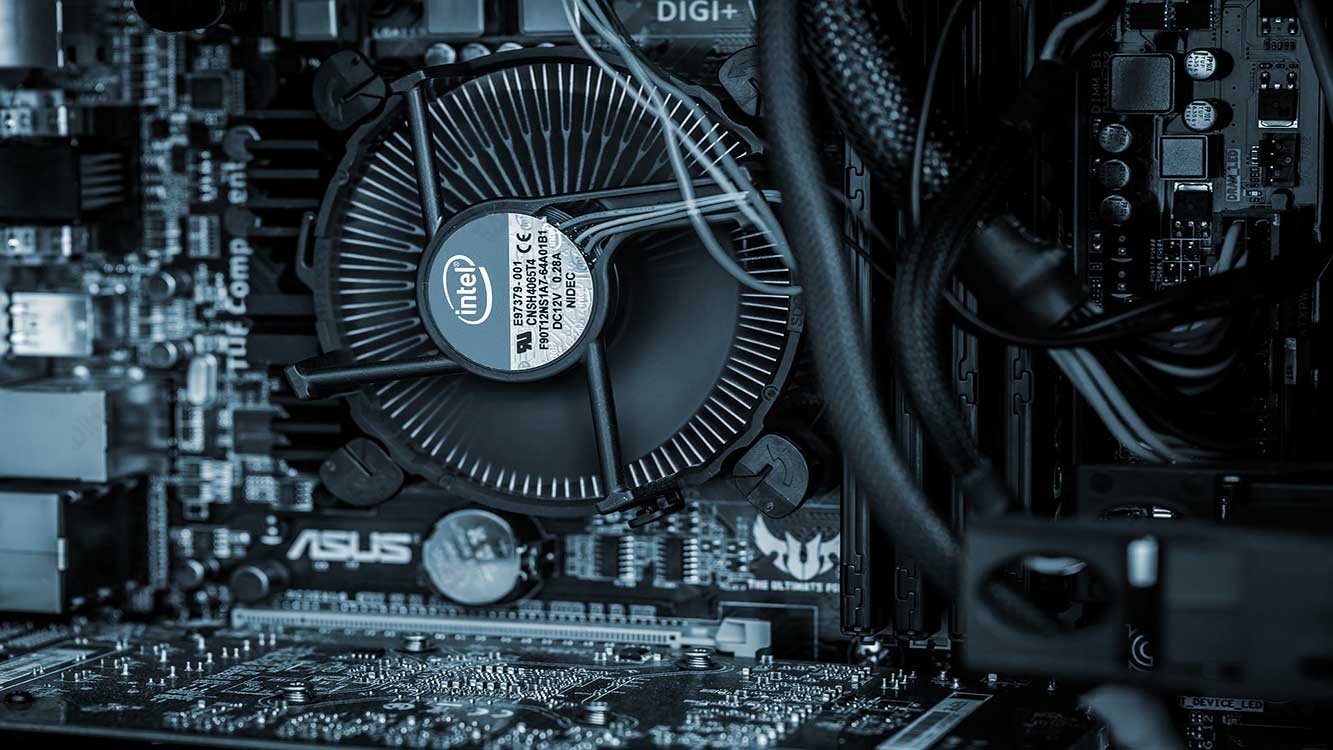
A system can malfunction due to a malfunctioning CPU. Today, all CPUs require a cooler, and most of them use an active cooling system, which includes a fan located at the top.
Branded systems manufactured on a large scale may have fanless heat sinks installed, thanks to the manufacturer’s internal engineering prowess in conducting careful thermal assessments to ensure that the heat sinks can maintain CPU temperatures within the recommended range.
For the BIOS to set the fan on and off conditions, it is very important to connect it to the appropriate outlet on the motherboard when installed in the heat sink. If you recently installed a new CPU and booted your system without a cooler, there’s a good chance that the cooler has crashed.
If the fan on the currently used heat sink does not work, then it is recommended to replace it and hopes for a positive result. It is important to observe the functionality of the new cooling fan since the reason for the failure of the motherboard can be attributed to its power source.
Motherboard Problem Check
Once your system is powered on, the next question is whether or not the motherboard’s speakers emit an audible beep. If your computer’s motherboard doesn’t have built-in piezoelectric speakers but provides speaker ports close to the power connection and reset (often found in the front and left corner), you can connect external case speakers.
If you find a continuous series of beeps, this may indicate faulty RAM, while the repetitive pattern could be caused by a problem with the RAM or video components. Whether or not there is an audible signal, make sure to correctly reposition the video adapter and RAM, paying particular attention to the locking mechanism on the memory socket.
Disassembling the device is the next stage in situations where the device cannot be turned on. Before making any changes to the case, it is recommended to disconnect the power cord. It’s a good idea to disconnect the drives one at a time, then reconnect the power and try turning them back on. To accurately determine the faulty component, systematically disconnect all adapters except the video adapter, and restart the device each time you remove it. Be sure to restore the power supply each time before trying again.
Whether the computer works fine when turned on, produces one or two beep sounds, but in the end, it gets stuck on the BIOS display. This issue may occur when in the middle of memory enumeration, during or after a drive scan, or during the “Verifying DMI Data Pool” phase, particularly on a text screen. The root of the problem is very likely to be a clash, especially between adapters, but it may also be between incompatible drives sharing the bus.
Simplify the system into its basic components, including the power supply, motherboard, CPU, minimum RAM, heat sink, and video adapter. If the system does not freeze after simplifying, but instead reports problems booting, proceed to Conflict Resolution.
The right advice is to change the position of the RAM, reset the bank if there is more than one, or move a single module to an adjacent slot. If the freeze persists, consider testing the RAM with known compatible RAM from a different system.
Using RAM that does not meet the specifications set by the motherboard manufacturer is not recommended, although it works fine so far. Choosing inappropriate RAM can result in problems that vary from system failures to sporadic crashes.
Although it is not certain that replacing RAM at this stage can solve the problem, it is advisable to consider this option. You should not throw away the RAM that you have removed, because it could still function in the future.
Consider resetting all CMOS settings to their default configurations unless you have already done so. Typically, resetting these settings can be done through prominent options within the CMOS menu, such as “Restore Default Settings” or “BIOS Default Settings.”
When restored to default settings, the system will automatically detect and optimize RAM specifications according to the recommended time. If you have overclocked, it is recommended to stop the process until the system returns to normal. Regardless of whether your computer successfully overclocks the same CPU or RAM, going beyond the manufacturer’s recommendations is risky.
Too high a temperature will quickly cause the system to become unresponsive. Remove the current heat sink and fan, check that the fan is functioning normally, and make sure that the design of the bottom of the heat sink allows full contact with the CPU. Before reinstalling the heat sink, it is recommended to use thermal tape or an authorized lubricant. Excessive use of thermal grease should be avoided so as not to cause new problems. The sole purpose of the thermal medium is to occupy a small space between the mold surface and the heat sink.
Make sure the cooling fan attached to the heat sink starts operating after the power is turned on. If this problem persists even after connecting to the correct power source according to the motherboard manual, consider replacing the inactive cooling unit with a new one.