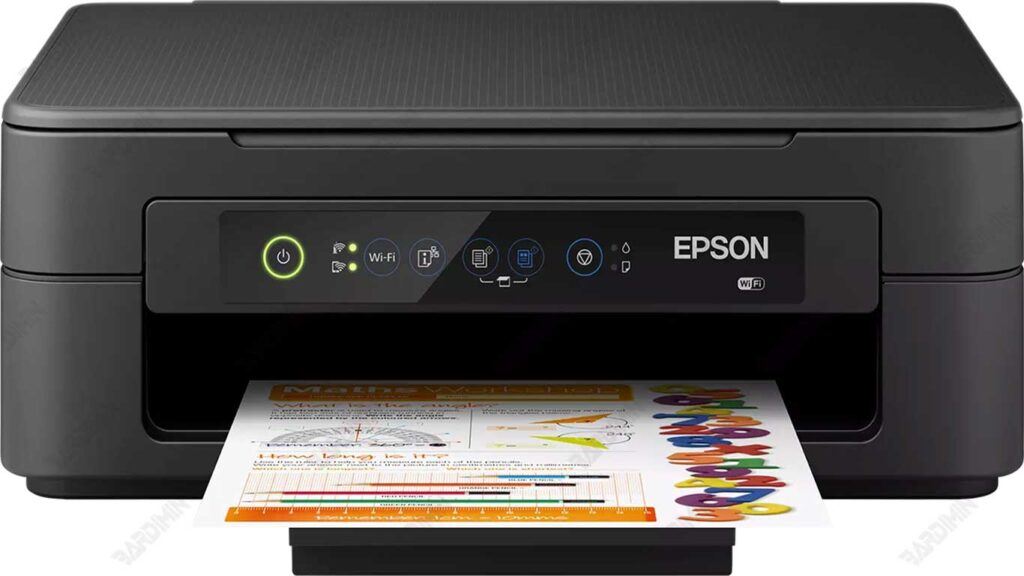
Epson XP-2101 and XP-2105 printers often experience the issue of indicator lights flashing simultaneously or not responding to print commands. This condition is usually caused by waste ink counters that have reached the maximum limit.
This problem is an automatic protection mechanism from Epson to prevent waste ink from overflowing outside the waste ink pad.
Common Symptoms of a Full Waste Ink Counter
- All printer lights flash at the same time.
- The printer stops printing and does not respond to commands.
- A warning message “Service Required” appears on the computer screen.
The most effective way to solve this problem is to use the Adjustment Program Epson XP-2101/XP-2105.
This software functions to reset the value of the waste ink counter to the initial position so that the printer can return to normal function without replacing physical components.
By performing a reset using the Adjustment Program, the printer will again detect the ink pads as if they were new, and you can resume printing as usual.

Download Adjustment Program Epson XP-2101 / XP-2105
Adjustment Program Epson XP-2101 and XP-2105 are the official software for resetting the Waste Ink Counter when the printer displays a “Service Required” message or the indicator light flashes at the same time. This program helps to restore the printer’s function to a normal state quickly and safely.
File Security
Installation files are protected with the password: bardimin.com
The goal is to:
- Protects files from modification and malware.
- Make sure the file you download is the original version.
- Indicates that the user has read the instructions for use correctly before running the program.
Preparation Before Performing a Reset
Before running the Adjustment Program, make sure you perform the following important steps:
- Download and install the latest version of the Epson XP-2101 / XP-2105 printer driver.
- Use an original Epson USB cable to make the connection stable.
- Run the program on Windows 7, 8, 10, or 11 operating systems.
- Make sure the printer is connected to a stabilizer or UPS to prevent power interruptions during the reset process.
Steps to Reset Epson XP-2101 / XP-2105 Printer with Adjustment Program
Once you have all the necessary equipment and have made sure the Epson XP-2101 / XP-2105 Adjustment Program file has been downloaded and extracted correctly, follow these guidelines to perform the reset process safely:
1. Extract Program Files
- Right-click on the downloaded file.
- Select the “Extract Here” or “Extract to…”.
- Enter the password: bardimincom to open the file.
- Make sure that the antivirus is temporarily disabled so that the file is not blocked (false positive).
2. Run the Program as an Administrator
- Open the extracted results folder.
- Right-click on the AdjProg.exe → file and select “Run as Administrator”.
- Wait until the Epson Adjustment Program window is fully open.
3. Select Printer Model
- At the initial view, click the “Select” button.
- Select Model Name: XP-2101 / XP-2105, and then press OK.
- Make sure the printer is connected to the computer with a USB cable and in the power-on position.
4. Go to the Particular Adjustment Mode Menu
- Click the “Particular Adjustment Mode” button.
- Select the “Waste Ink Pad Counter” option, then click OK.
5. Perform the Reset Process
- Check all the available boxes in the Main Pad Counter section.
- Click “Check” to view the initial status of the counter.
- Once the usage value appears, press “Initialization” to reset to a value of 0.
- Wait a few seconds for the notification “Please turn off the printer” to appear.
6. Restart Printer
- Turn off the printer manually, then turn it back on.
- The printer has now been successfully reset and is ready to use as before.
7. Print Trial
- Perform Nozzle Check through the Epson printer driver to ensure normal print results.
- If the print is still not perfect, do Head Cleaning once.


