The Registry file is an important part of the Windows operating system that acts as a database to store the configuration and settings of the system and running applications. Any changes made by both the user and the software will be recorded in this Registry File, which greatly affects the computer’s overall performance.
Comparing Registry Files can be of great benefit, especially when resolving issues. By comparing two versions of the registry, we can identify changes that occur due to software installation, system settings, or updates that may be causing problems with the system. In addition, this comparison also helps in restoring the settings to their original condition or optimizing them so that the system runs more stably and efficiently.
Why Compare Registry Files?
Comparing registry files is essential to keep system performance and stability optimal. This process can help identify and resolve issues such as errors or crashes that may be caused by changes in the registry. Additionally, the registry file comparison allows users to easily revert settings to a previous version after performing a system update or new software installation, thus preventing potential inconsistencies that could interfere with performance.
Registry comparisons are also useful for detecting unauthorized changes, including those caused by malware. By comparing the registry periodically, we can identify and remove suspicious changes to keep the system secure.
For example, when a system crashes after a Windows update, comparing the registry files before and after the update can help find the entry that is causing the problem. Likewise, after installing new software, registry comparisons can help find changes that are interfering with other applications so that the system can run normally again.
Tools Used to Compare Registry Files
There are several very useful tools for comparing Registry Files, which can help users in the process of troubleshooting and system settings:
1. Regshot
Regshot is an open-source tool that allows users to retrieve snapshots from the registry before and after changes to the system. The tool then compares the two snapshots and shows the differences. Regshot is very useful for detecting registry changes that may occur as a result of software installation or manual modification of system settings.
2. Regdiff
Regdiff is specially created to compare two Registry Files and display the differences in a clear and detailed way. This tool is very effective for troubleshooting, especially when registry changes interfere with system or application performance. Regdiff provides an easy-to-understand diff report, thus assisting users in taking the necessary corrective steps.
3. WinDiff
WinDiff is a tool from Microsoft that was originally designed to compare text files. Although not as specific as Regdiff in comparing Registry Files, WinDiff can still be used to see the difference between two registry files. This is useful in situations where users only need an overview of the changes that have occurred in their registry files.
How to Compare Registry Files with Regdiff
Here are simple and effective steps to compare Registry Files using Regdiff, from preparation to analysis of results.
1. Registry File Preparation
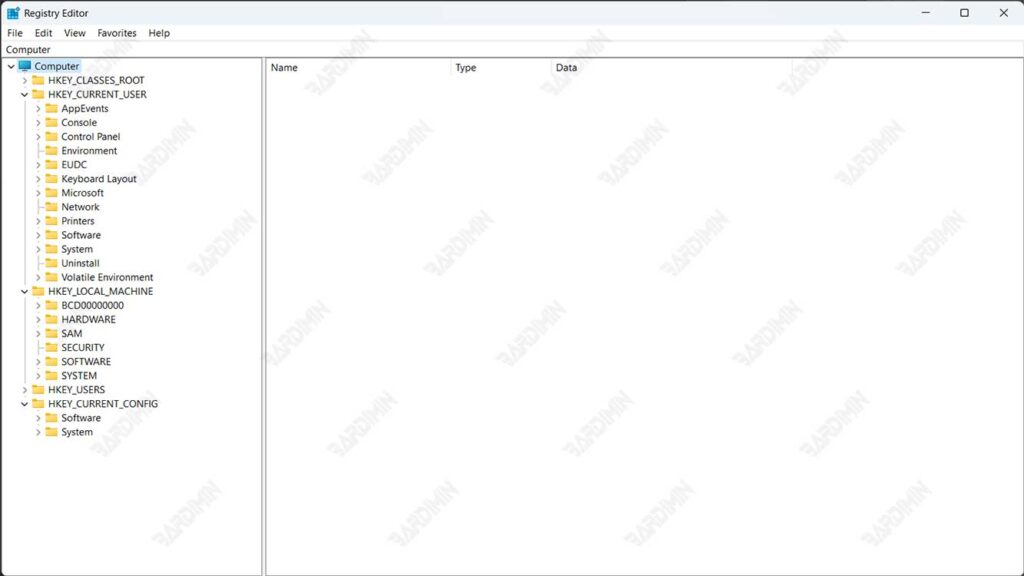
To export a registry file, open Registry Editor by typing ‘regedit’ in Windows search. Select the part of the registry you want to export, right-click, and select Export. Specify a storage location and name the registry file, e.g. “backup_before_modification.reg”.
Store Registry Files in a safe, easily accessible place, such as an easily recognizable folder. Use a clear name to know when the file was created, such as “backup_registry_2024_09.reg.” Also, keep a copy in a separate place or in the cloud to prevent data loss.
2. Regdiff Installation Steps
To take advantage of Regdiff, you need to follow a few easy installation steps.
1. Download Regdiff
Regdiff is an open-source tool that can be downloaded for free. Please visit the official website or repositories like GitHub to get the latest version of Regdiff. Make sure you choose the version that suits the operating system you’re using.
2. System Requirements
Before you install it, make sure you have the .NET Framework 4.5 or later installed on your computer. This version is usually installed by default on Windows 8 and later, but you may need to download it manually if you’re using an older version of Windows.
3. Extract Files
After downloading the Regdiff file, extract it into an easily accessible folder on your computer. Make sure that all the necessary files, including regdiff.exe, are in one folder for easy execution.
4. Open Command Prompt
To run Regdiff, open Command Prompt with administrator privileges. You can do this by searching for “cmd” in the Start menu, then right-clicking and selecting “Run as administrator”.
5. Navigate to the Regdiff Folder
In the Command Prompt, use the cd command to move to the directory where you extracted the Regdiff file.
Examples:
cd C:\Path\To\RegdiffReplace C:\Path\To\Regdiff with the appropriate folder path.
3. Using Regdiff
Once you have exported the registry file, you can use Regdiff to compare the two registry files and see the differences.
Here are the steps to follow:
- Open the Command Prompt with administrator privileges.
- Navigate to the folder where regdiff.exe is stored by using the command:
- Run the Regdiff command by including the two registry files you want to compare:
regdiff.exe first_file_name.reg second_file_name.reg– first_file_name.reg is the first registry file to be exported (before the change).
– second_file_name.reg is the second registry file to be exported (after the changes).
Example Command
If you want to compare two registry files named before_update.reg and after_update.reg, then the command will look like this:
regdiff.exe before_update.reg after_update.regOnce the command is executed, Regdiff will display the differences between the two files, including changes, additions, or deletions of registry entries.
4. Analyze the Comparison Results
After running the Regdiff command to compare two registry files, the comparison results will be displayed in a terminal window. These results typically include information about entries that were added, deleted, or changed.
- Added Entries: Usually marked with a plus sign (+) in front of the registry path. This indicates that a new entry has been added to the registry.
- Deleted Entries: Marked with a minus sign (-). This indicates that the entry has been removed from the registry.
- Altered Entries: For entries that have been altered, Regdiff will show the old and new values, allowing the user to see the changes that have occurred.
Tips for Identifying Important Changes in Registry Files
To identify important changes in registry files, consider the following tips:
- Focus on Critical Entries: Identify entries that relate to critical system or application settings. For example, changes to locks in HKEY_LOCAL_MACHINE are often more significant than changes in HKEY_CURRENT_USER.
- Pay Attention to Altered Entries: When looking at the results of a comparison, pay special attention to the altered entries. Record old and new values to understand how those changes may affect system performance.
- Use Search: If the comparison results are very long, use the search feature in the terminal to find specific entries that are relevant to the problem you are facing.
- Take Note: Always take note of any changes you find, especially if you plan to roll back or restore to a previous setting.
- Consult Documentation: If you’re unsure about the meaning of a change, consult official documentation or a reliable source regarding the Windows registry to understand the impact of the setting.
Conclusion
Comparing registry files offers several important benefits for maintaining system performance and stability. This process makes it easier to troubleshoot problems, such as crashes or errors, by helping to identify changes that are hurting system performance.
In addition, registry comparisons also help restore initial settings after software installation or system updates, as well as detect changes caused by malware. With a tool like Regdiff, users can quickly and efficiently find the difference between two registry files and take the right steps to improve or optimize their system.