Other Interesting Articles
Fix Problematic Mouse Driver Issues in Windows 11
Ever felt like your mouse was “behaving” after a Windows 11 update? It could be that incompatible drivers are the cause! Don’t worry, we’ve got an easy 3-step solution to restore mouse performance to normal, without the need to install additional software.
Step 1: Open Device Manager
Device Manager is the “control center” of all the hardware on your PC. To access it:
- Press Win + X (or right-click on the Start menu).
- Select Device Manager from the list that appears.
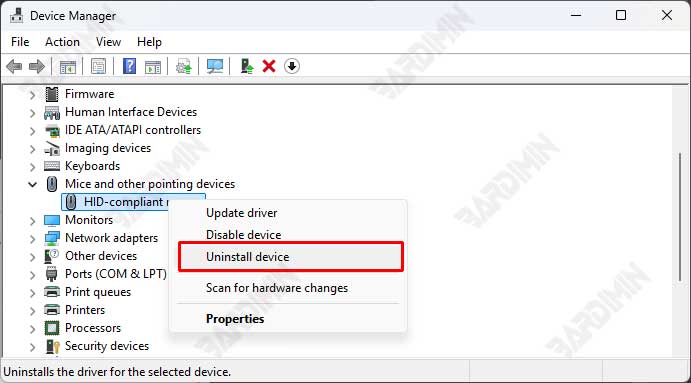
Step 2: Uninstall the Problematic Mouse Driver
- In Device Manager, search for the category “Mice and other pointing devices”.
- Click the small long sign (▶) next to it to see a list of devices.
- Right-click on your mouse driver (for example, “HID-compliant mouse” or your mouse brand, such as “Logitech USB Input Device”).
- Select “Uninstall device”.
Step 3: Restart PC & Let Windows 11 Repair Itself
- After uninstalling, restart your PC.
- On reboot, Windows 11 will automatically detect the mouse and install its default driver.
What to Do If the Problem Persists?
If after restarting, the mouse is still having problems:
- Visit the mouse manufacturer’s website (e.g., Logitech, Razer) and download the latest driver manually.
- Use Windows Update:
- Open Settings > Windows Update > Check for updates.
- Sometimes, Microsoft provides more stable drivers through updates.
With the above steps, you can stop the Mouse Wheel from messing up the volume in Windows 11. Choose a solution according to the difficulty level, from basic settings to Registry tweaks!
