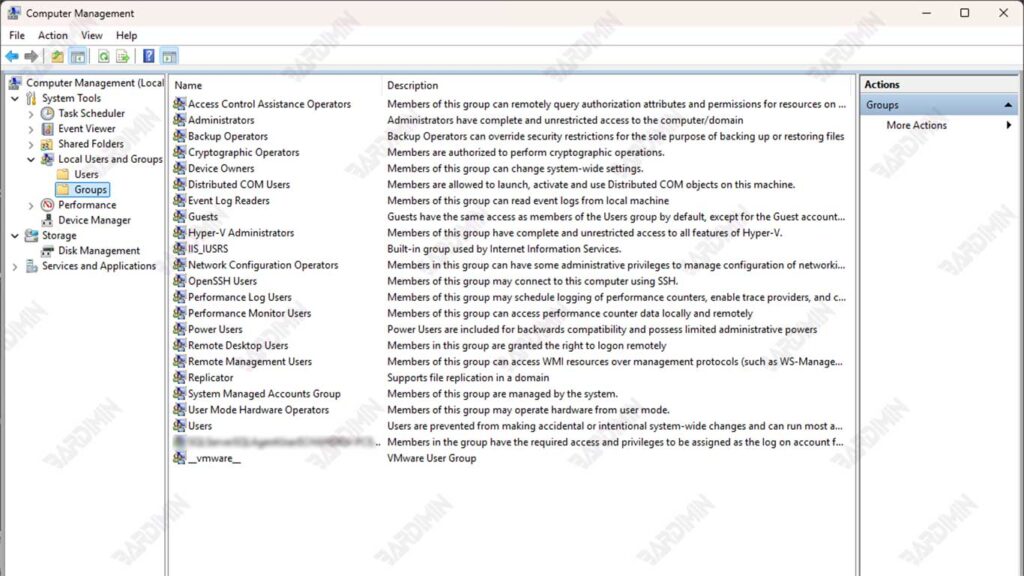
Account management in Windows 11 is essential for maintaining the security and efficiency of system use, especially in a corporate environment. Different types of accounts, such as Service Accounts, Local User Accounts, and Microsoft Accounts, allow users to set access rights as needed. This management not only protects data but also supports better collaboration between users.
Security and account management are essential in a corporate environment due to the risk of unauthorized access and data leaks. Each account has a different level of access, and without proper management, users can open up loopholes for cyberattacks.
For example, granting administrative access rights to ordinary users could spread malware or leak important information. Therefore, it is important to implement policies that limit access rights according to users’ needs and responsibilities.
By understanding the different account types and their functions, users can take the necessary steps to protect data and improve workplace productivity.

Types of Accounts in Windows 11
1. Service Account
Service Account is a special account type in Windows 11 that is created to run background services automatically. These accounts have certain access rights that allow the system or application to operate without the need for interaction from the user. Unlike regular user accounts, Service Account is not used to log directly into the system but serves as a behind-the-scenes drive to support various important services.
In general, the main functions of Service Account include:
- Running a specific service or application that requires special access to system resources.
- Supports automated processes, such as data backup, service synchronization, or system log delivery.
- Limiting access to only the resources necessary to reduce security risks.
Use of Service Accounts in Domain-Connected Systems
In a system connected to a domain, a Service Account has an important role in centralized network management.
- This account is used to run services that require authentication to the network, such as application servers or database services.
- Administrators can manage Service Account through Active Directory, granting the minimum permissions required by each service according to the principle of Least Privilege.
- These accounts are often configured to perform critical tasks, such as monitoring network performance or running automated scripts.
2. Local User Account
A Local User Account is an account type in Windows 11 that allows direct access to the device without needing to connect to a domain or cloud service such as a Microsoft or Azure AD account. This account is created directly on the device and gives you full control over the system, depending on the permissions granted. Generally, on-premises accounts are used by administrators or users who only need limited access to a specific computer.
Local User Accounts are often selected for personal use or on devices that don’t require synchronization with cloud services. In addition, this account also serves as the first step in the device setup process.
Creating Your First Local Account
When you first install Windows 11, the system will prompt the user to create a local account. This account is by default privileged as a local administrator, allowing users to complete the initial configuration of the system. This account name can be customized according to the user’s preference, or stick to a generic account such as “Administrator.”
Some important steps when creating your first local account:
- Select the “Set up for personal use” option if you don’t want to connect your device to a Microsoft domain or account.
- Enter the desired username and password.
- Set a security question to restore access if you forget your password.

