How to Enable DNS over HTTPS (DoH) in Windows 11
Microsoft has introduced a privacy tool called DNS-over-HTTPS in Windows 11 that allows users to perform encrypted DNS lookups to circumvent Internet restrictions and activities.
To enable DNS over HTTPS (DoH) in Windows 11, follow these steps:
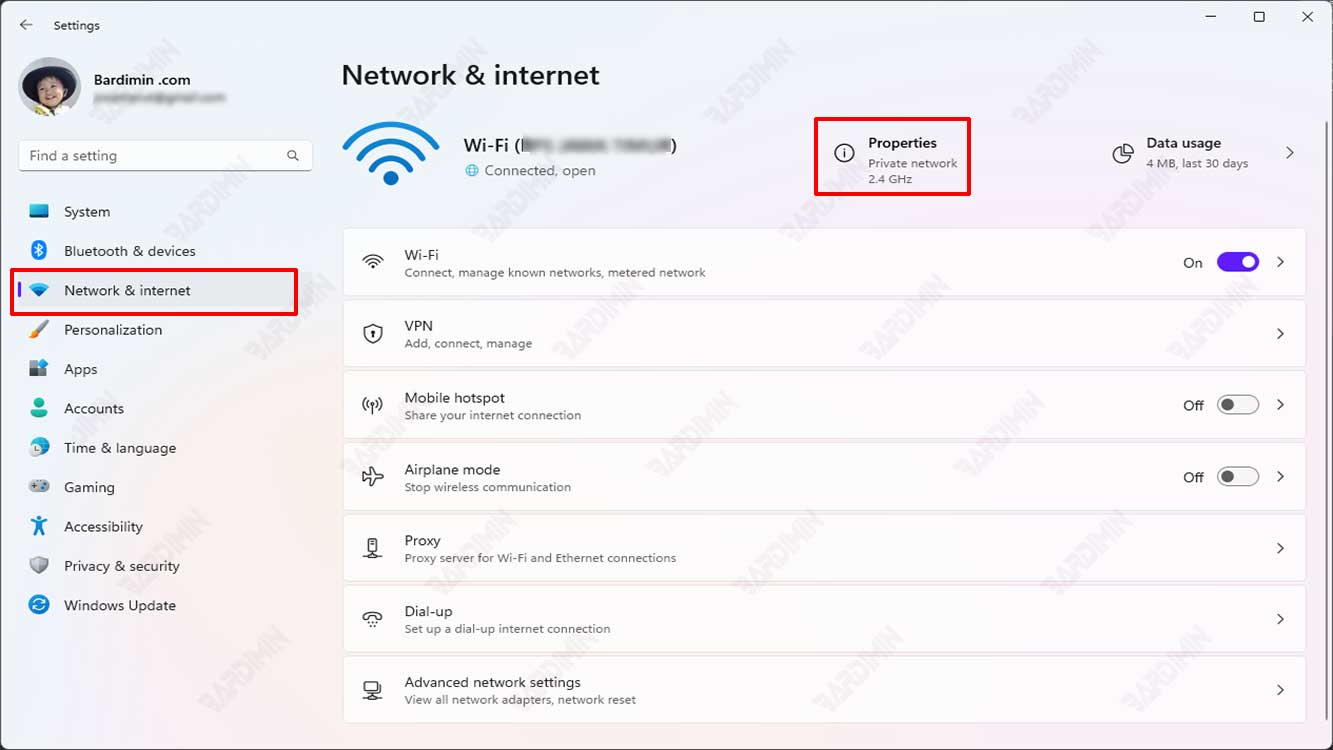
- Open Windows 11 “Settings“. You can open it by using the keyboard keys (WIN + I).
- Then select “Network & Internet“. You may have multiple networks you can use, such as WiFi and Ethernet. You can just select the one you are currently using.
- On the right panel, click the “Properties” button.
- Then in “DNS server assignment“, click the “Edit” button located next to it.
- In the dialog box that appears, change “Automatic (DHCP)” to “Manual“.
- Then, slide the IPV4 button to the right to enable it.
- Under “Preferred DNS“, enter the IP address of the primary DNS you are using. You can use Google DNS with the IP address: 8.8.8.8
- In “DNS over HTTPS“, select “On (automatic template)“.
- Next, for “Alternate DNS” which is the secondary DNS, fill it in as in “Preferred DNS”. You can use IP: 8.8.4.4 which is Google’s Secondary DNS.
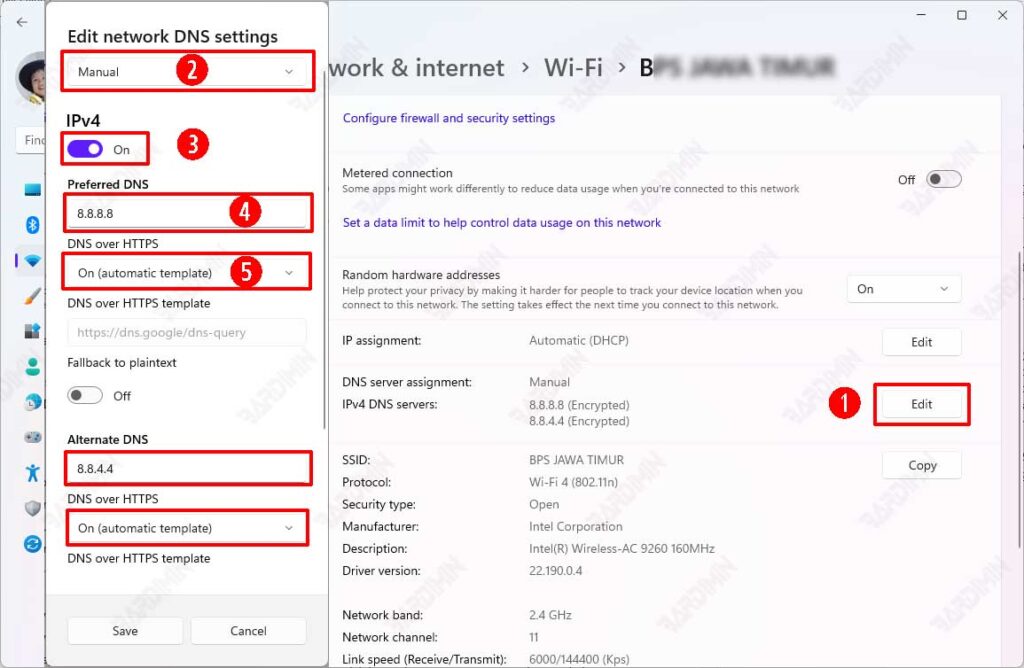
- Click the “Save” button to save the changes.
