Lately, there has been a change in the pattern of cyberattacks. The malicious hackers can hijack PCs and lock files and demand a ransom of money to return the files. This is a crime of extortion to the victim.
To commit these crimes, many malicious hackers use Ransomware, such as WannaCry and Petya. This ransomware leverages kernel-level exploits to launch the highest-privileged malware.
To combat this, Microsoft has provided a utility that allows you to enable Core Isolation Memory Integrity to limit this kind of attack.
What is Core Isolation Memory Integrity?
Microsoft Windows has a security feature called “Core Isolation” that isolates core programs in memory to protect them from malicious applications. Core Isolation runs on basic operations in a virtual environment.
“Memory Integrity,” sometimes referred to as Hypervisor-protected Code Integrity (HVCI), is a Windows security feature that makes it difficult for malicious software to control your machine using low-level drivers. It should stop malicious code from being introduced into the process during an attack.
A driver is software that allows communication between the operating system and a device, such as a keyboard or a webcam. Memory Integrity works by creating an isolated environment using hardware virtualization.
The latest feature update for Windows 11, known as Windows 11 Update 2022 (22H2), by default enables Core Isolation Memory Integrity.
How to Enable and Disable Core Isolation Memory Integrity in Windows
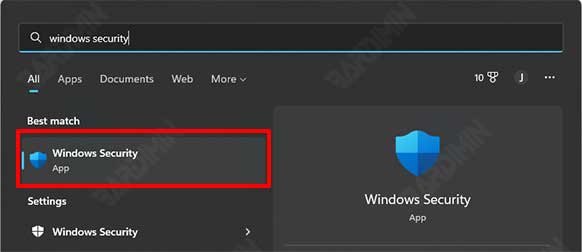
- Open “Windows Security“. You can open it by clicking the Windows Start button and then in the search box typing “windows security“.
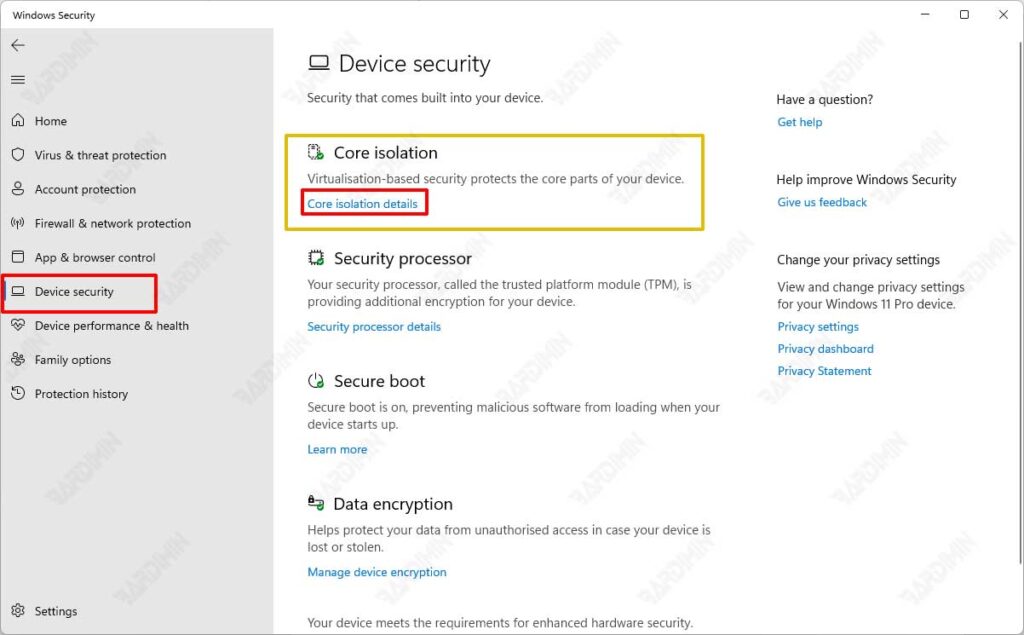
- Then navigate to “Device security” and then click on “Core isolation details“.
- Next, slide the “Memory Integrity” switch to the right to enable and to the left to disable.
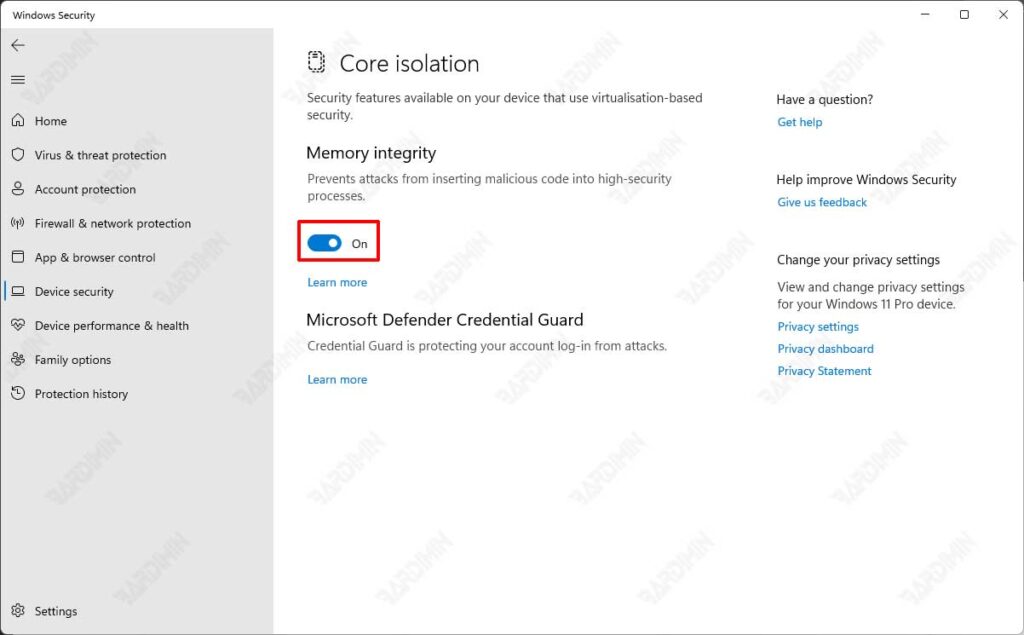
- If prompted by UAC, click the Yes button to approve.
- Then restart your Windows 11 computer to apply the changes.