In today’s digital age, image quality is one of the crucial aspects of visual communication. Quality images can reinforce the message you want to convey, whether for personal, business, or professional purposes. Therefore, improving images before they are used or shared is a very important step, especially with various devices and platforms increasingly emphasizing visual quality details.
One easy and efficient way to fix images is to use the Photos app in Windows 11. As a built-in app, Photos is not only easily accessible, but it also comes with a variety of editing tools that allow users to retouch images automatically or manually without requiring any high technical skills.
With features such as Enhance your photo, Adjustments, and the ability to erase red-eye and perform spot fix, Photos is a top choice for Windows 11 users who want to get fast and effective image editing results.
Key Features of the Photos App in Windows 11 to Fix Images
Photos app in Windows 11 offers a variety of interesting features designed to make it easier for you to improve your images. Here are some of the key features you can use:
1. Enhance Your Photo: How It Works and Its Benefits
The Enhance your photo feature is one of the most practical in the Photos app. With just one click, this feature automatically adjusts the brightness, color, and clarity of the image, resulting in clearer and more engaging results.
Users can set the slider to adjust the level of repair according to their preferences. The advantages of this feature are time efficiency and ease of use, making it ideal for those with no experience in image editing.
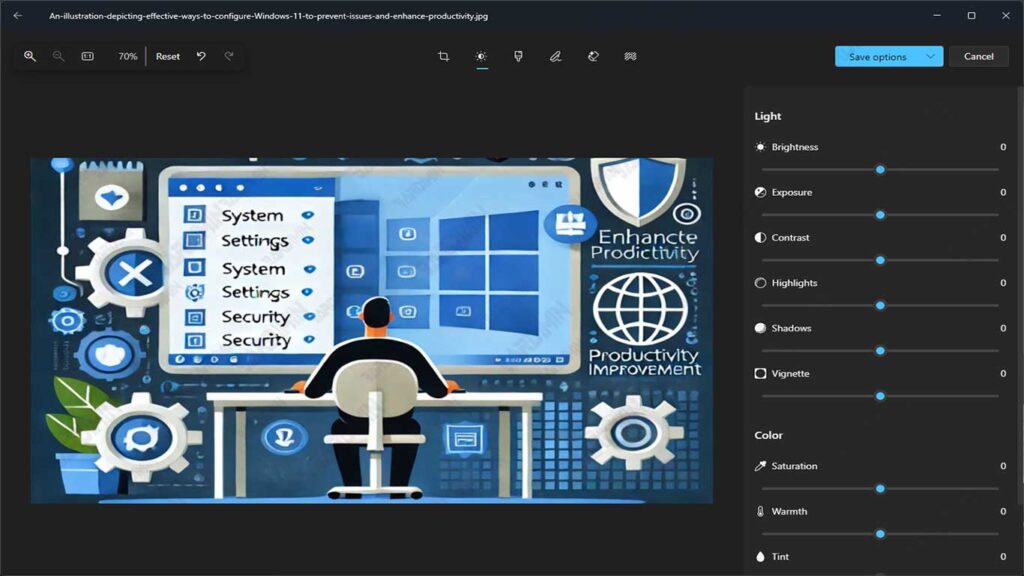
2. Adjustments: Adjust Brightness, Contrast, and Color
If you want to make more detailed edits, the Adjustments feature provides manual controls to fix the important elements in the image. With Adjustments, you can customize:
- Brightness: Increases or decreases the light in the image.
- Contrast: Sets the difference between light and dark areas.
- Saturation: Increase or decrease the intensity of the colors in the image.
This feature gives users complete freedom to make image improvements in more detail and accuracy.
3. Red-eye Removal: Eliminates Red Eye Effect
The red-eye effect often appears when shooting with a flash, where the subject’s eyes appear to emit red light. Photos in Windows 11 have a Red-eye removal feature to quickly resolve this issue. Simply click on the Red-eye option, then select the area of the eye affected by the red effect, and this feature will remove the effect instantly.
4. Spot Fix: Removing Minor Defects in Photos
Minor defects such as blemishes or unwanted elements in the image can be overcome by using the Spot Fix feature. This feature works by replacing the damaged part with the color of the surrounding area so that the result looks more natural.
Users only need to click on the part they want to repair, and the app will repair automatically. This helps clean images of distracting details without the need to make complicated edits.
How to Fix Images with Photos App
In this section, Bardimin will explain in detail how to fix images using the Photos app on Windows 11. The app provides a variety of easy-to-use features to improve image quality, both automatically and manually.
Fix Images Automatically
The Enhance Your Photo feature allows users to repair images easily and quickly without the need to organize many things. Here’s how to use this feature:
1. Open the image in the Photos app.
Search for the image you want to fix and open it using the Photos app in Windows 11.
2. Select “Edit” and enable Enhance Your Photo.
Once the image is open, find the button that says Edit and click on it to access the editing options. In the editing menu, select the “Edit” option. Then, search for and enable the Enhance Your Photo feature to start automatic repairs.
3. Adjust the slider until the result is satisfactory.
Once this feature is enabled, you’ll see a slider that you can customize. Slide the slider left or right to increase the brightness, color, and clarity of the image to your liking. Observe the changes directly until you get the results you want.
4. Save your changes.
Once you’re satisfied with the result, click the save icon to save the changes to the image. If you want to save a copy of the original image, select the “Save a copy” option to keep the original image unchanged.
Manually Fixing Images
Manually editing images with Photos apps in Windows 11 gives users more freedom to customize different elements in the image. Here are the detailed steps to perform manual editing:
1. Open the image you want to edit.
Search for and open the image you want to fix in the Photos app.
2. Select “Edit” and use the Adjustments feature to adjust the image elements.
In the editing menu, select the “Edit” option. Here, you’ll find a variety of editing tools, including Adjustments features.
Use the existing slider to customize:
- Brightness: To increase or decrease the light.
- Contrast: To clarify the difference between light and dark areas.
- Saturation: To increase or decrease the intensity of the color.
Each change can be seen live, so you can experiment until you get the results you want.
3. Examples of using Spot Fix to remove minor defects.
- To remove minor imperfections in the photo, go back to the editing menu and select the Generative Erase option.
- Click on the area of the defect you want to remove. The app replaces the defect with a color from the surrounding area, so the defect is no longer visible.
- Repeat this step if some defects need to be removed.
Conclusion
By using Photos in Windows 11, the image repair process becomes simpler and more effective. Users have the option to choose repairs automatically or manually, depending on their needs. This feature is very useful for improving everyday photos without having to use complex third-party applications.