Are you experiencing slow startup times on your Windows 11 laptop or PC? Here are effective ways to solve this problem and improve your computer’s performance.
Although Windows 11 has many interesting features, it requires sophisticated hardware to run smoothly. Windows 11 is expected to excel in speed and efficiency due to its enhanced memory and control of hardware resources, surpassing its predecessor. Nevertheless, the problem of slow startup remains.
Today, contemporary computers can boot up quickly, even after shutting down. This can be very beneficial if you resume working on the computer after a break or lunch, as it helps you to resume work as soon as possible.
What happens if a PC that usually runs fast, then becomes slow? Going through a long startup can be annoying, but with a few tweaks, you can speed up the process. We’ve put together some useful troubleshooting advice to help you resolve slow Windows 11 boot-ups.
Causes of Slow Windows 11 Startup
Some issues that can cause slow startup of the Windows 11 operating system:
- If your hard drive or operating system drive is not an SSD, then you may experience sluggish performance.
- Limited RAM capacity to run Windows 11.
- Your graphics card driver and Windows operating system are not up to date.
- Too many programs are running when the computer is turned on.
- Your computer has been operating continuously without a restart for a long time.
Fix Slow Windows 11 Startup
If the cause of slow Windows 11 startup is poorly supported hardware, to solve this problem is to upgrade the hardware.
In many cases, the cause that often occurs is not optimal startup settings and you can fix this by:
1] Disable unneeded Startup Apps
During installation, the application may be set to start automatically at system startup. The presence of many unnecessary programs or software can slow down the startup time of your computer.
To speed up the Windows 11 boot process, an effective approach is to reduce the number of initial programs launched. When many applications try to start at the same time, your computer may have difficulty launching immediately as a consequence of excessive load.
Disabling non-essential applications from running at boot you can do through the Task Manager. Here’s how to do it:
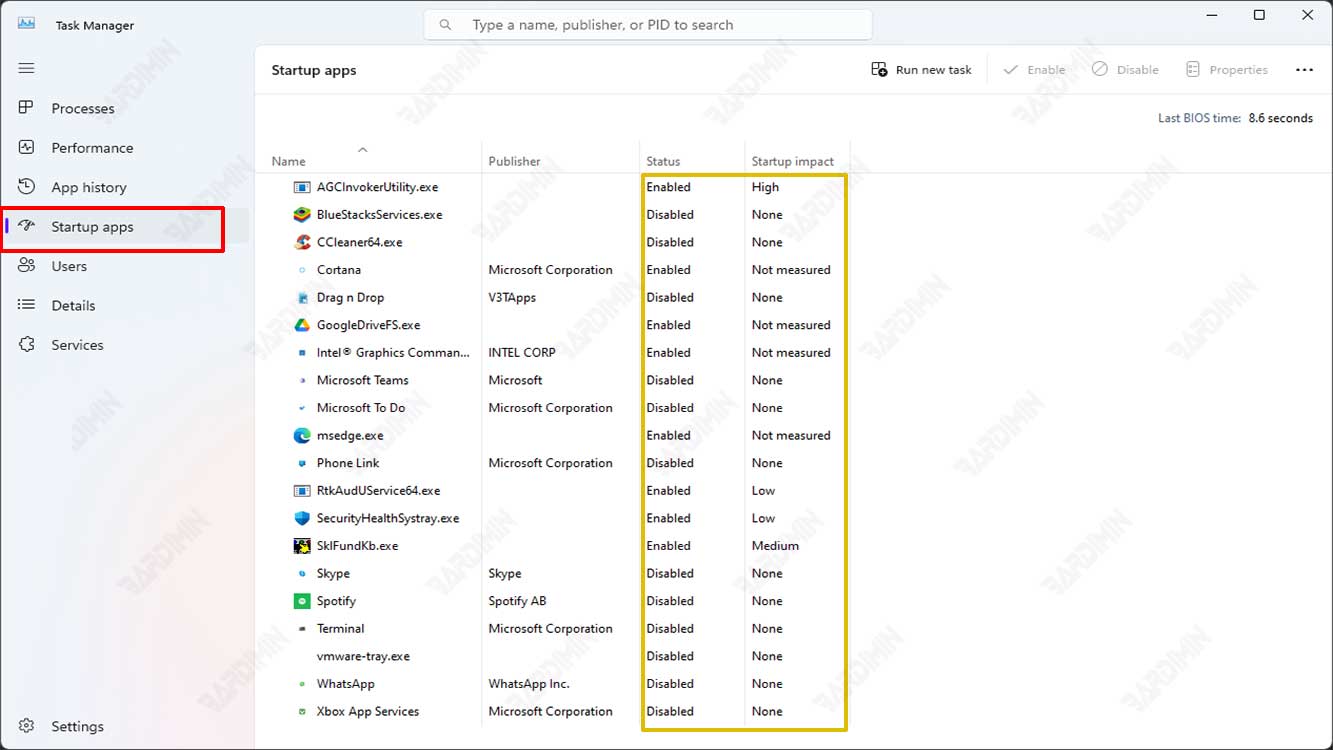
- Open the “Task Manager”. You can open it by right-clicking on the taskbar or using the keyboard keys (WIN + X) and then select the “Task Manager” option. Meanwhile, the fastest way to open it is to use (CTRL + SHIFT + ESC).
- In the “Start-up impact” column, you’ll see a rating of the app’s impact on the Windows boot process. To increase boot speed, you can disable apps with a “High” rating or those you don’t need.
- Right-click on the application you want to disable, then select the “Disable” option. Do it for all apps to be disabled.
- Close the “Task Manager”. Restart to see if the Windows boot speed has improved.
The rating on “Start-up impact” indicates Low, Medium, or High. High-rated apps are the ones that slow down your PC’s startup the most.
You should not disable antivirus and security applications from startup. Likewise, for driver-related apps, disabling them can have an impact on device performance.
