Windows has a built-in feature to print various types of documents into PDF files just like you would with a printer.
Microsoft Print to PDF is a feature of Windows that can print all documents into a PDF file. In Windows 11, by default, Microsoft Print to PDF is installed and ready for you to use.
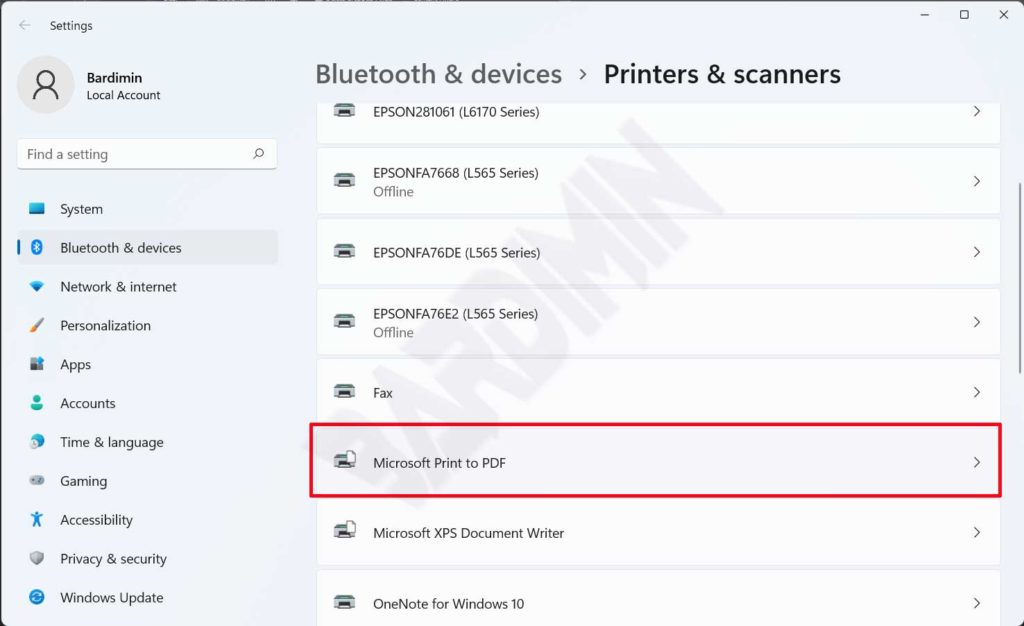
You can check if Microsoft Print to PDF is installed by looking at the list of printers under “Printers & scanners”. If you find Microsoft Print to PDF in the list of printers, you can use it right away.

With Microsoft Print to PDF, you can save web pages in PDF, convert JPEG, PNG, and other image formats to PDF, save scanned documents as PDF and convert any document into PDF.
Maybe you can’t use or can’t find Microsoft Print to PDF, or maybe you want to delete it. To do this, you can use the following method.
Add Remove Microsoft Print to PDF on Windows
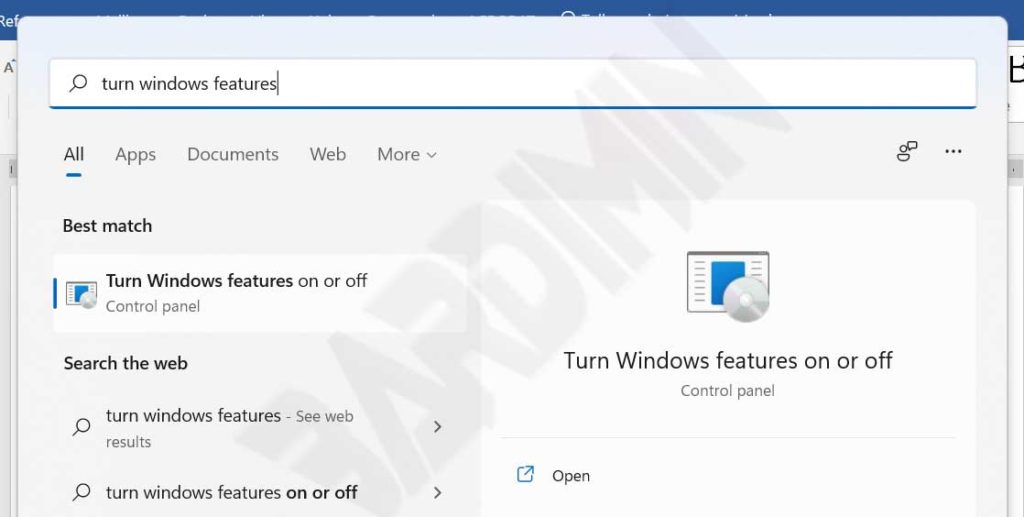
- Open “ Turn Windows features on or off ”, via the Windows Start button.

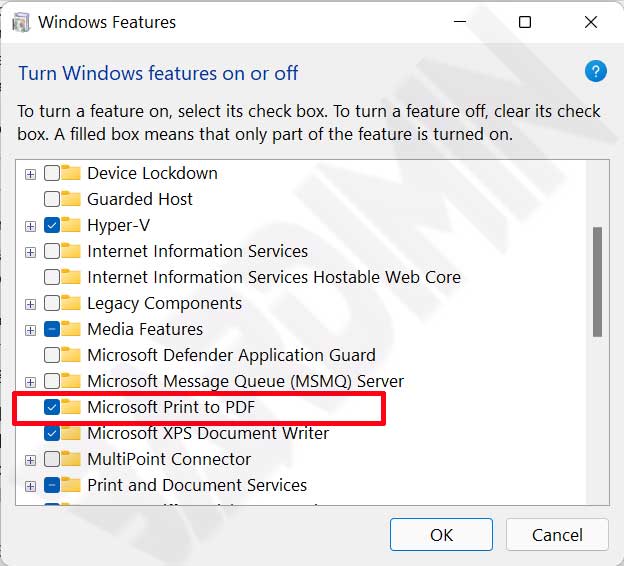
- In the Turn Windows features on or off window scroll down and look for “ Microsoft Print to PDF ”. Tick to add or uncheck to remove it.

- Click the OK button and wait for the process to complete.

