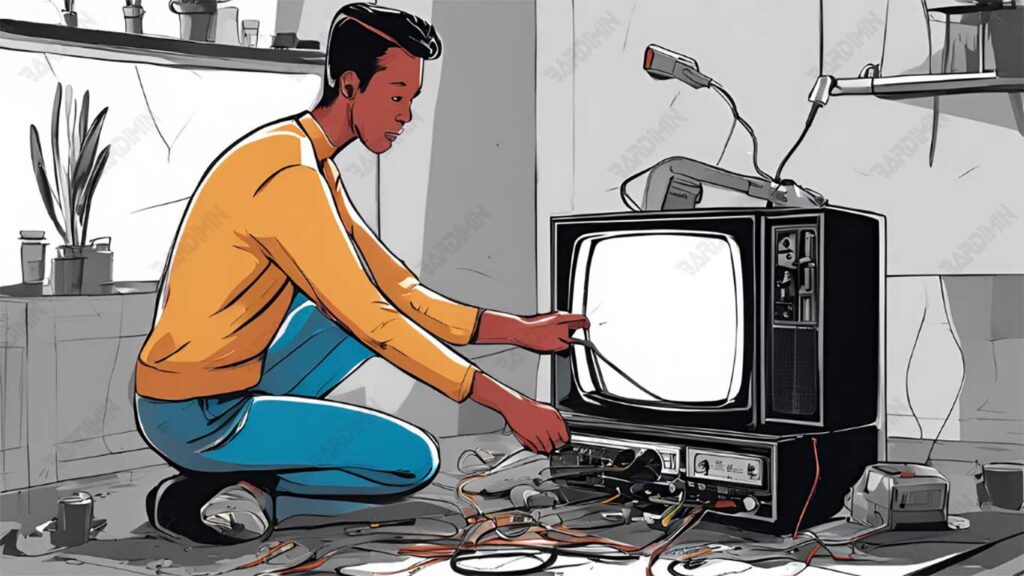
Television is an electronic device almost always present in every household. Its function is vital, from providing entertainment to being a source of valuable information. However, like any other device, televisions require proper maintenance to operate properly and have a long lifespan.
Many users often experience various problems, such as a television that does not turn on, an unclear picture, intermittent sound, and interference with the connection. These issues not only reduce the comfort of watching, but they can also shorten the device’s lifespan if not handled properly.

Common Problems Often Faced by TV Users
TV users often experience various issues that can interfere with their viewing experience. Some common problems that often occur include:
- TV won’t turn on: This could be caused by a problem with the mains connection or remote control.
- Blurry or unclear images: This issue often arises due to improper image settings or poor-quality cables.
- Missing or missing sound: This can be caused by incorrect audio settings or damage to the speakers.
- Poor image quality: Images may look unclear or disproportionate if the aspect ratio settings are inappropriate.
TV Not Turning On
One of the problems often experienced by TV users is when the device cannot be turned on. Although it seems trivial, various factors can be the cause, ranging from electrical problems to problems with the remote control.
Cause:
- The power cord is not properly attached to the power source.
- The outlet used is damaged or malfunctioning.
- The remote control battery is depleted.
- Problems with the TV’s internal buttons or systems.
Solution:
1. Check the power cable:
- Make sure the power cord is properly connected to the TV’s rear port and a power outlet.
- Try using a different outlet to make sure that the power source is working properly.
2. Test remote control:
- Replace the remote battery with a new one.
- Try turning on the TV using the buttons on the device to make sure that the problem is with the remote, not the TV itself.
3. Test other devices:
Connect another electronic device, such as a light, to the same outlet. If other devices don’t turn on either, there’s likely a problem with the outlet.
4. Manual reset:
- Unplug the TV power cord from the outlet, wait a few minutes, and then plug it back in.
- Try to turn on the TV with the physical buttons on the device.
Eye fatigue while watching TV
Watching TV for a long time often makes the eyes tired or even causes headaches. This condition generally occurs when watching in a room that is too dark, so the eyes have to work harder to adjust to the light from the screen.
Cause:
- Dark rooms create a high contrast difference between a bright TV screen and a dark background.
- The lack of ambient lighting around the screen forces the eyes to focus more, which can lead to strain.
Solution:
1. Improve ambient lighting around the TV:
- Place the light behind or next to the TV to create a soft light that can reduce the contrast between the screen and the background.
- Choose a light that doesn’t reflect light directly onto the screen so that it doesn’t interfere with your vision.
2. Use a low-power bulb:
- Choose a bulb that has a low light intensity that is balanced with the brightness of the TV screen, such as a bulb with a natural light spectrum.
- These bulbs can be found in electronics stores and are designed to provide comfortable lighting for the eyes.
3. Optimal room arrangement:
- Avoid watching TV in completely dark room conditions.
- Adjust the lighting position so that it doesn’t cast shadows or reflections on the TV screen.

