Steps to Make a Vignette Move in Photoshop
Making a moving vignette in Photoshop is a relatively simple but very effective technique for adding dramatic effects to your photos, especially black and white photos. Here is a step-by-step guide to making a vignette that you can move around and adjust as needed.
1. Opening the Image and Activating the Layer
Step One: Opening the Image
- Open Photoshop and load the image you want to edit. You can do this by clicking on File > Open and selecting an image from your computer.
- Make sure the image you choose is the one you want to add a vignette effect to. Black and white photos are perfect for this technique because of the high contrast between light and shadow.
Activating Layers
- Once the image is open, you’ll see it as a background layer in the Layers panel. To start editing, you need to change the background of this layer to an active layer.
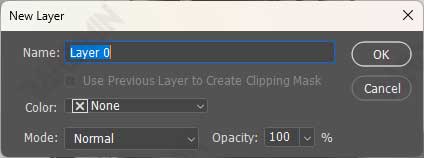
- Double-click on the thumbnail layer (the small icon next to the layer name). This will open the New Layer dialog. You can name this new layer or use the default name provided by Photoshop.
- By turning the background layer into an active layer, you can now make various edits without damaging the original image. This is an important step in the process of non-destructive editing.
2. Adding Gradient Overlay
Step Two: Open Layer Style Dialog
- Double-click again on the layer you activated earlier. This will open the Layer Style dialog, where you can add various effects to the layer.
- Inside the Layer Style dialog, you will see several effect options such as Drop Shadow, Inner Shadow, Outer Glow, and others. To create a vignette, we will focus on Gradient Overlay.
Selecting Gradient Overlay
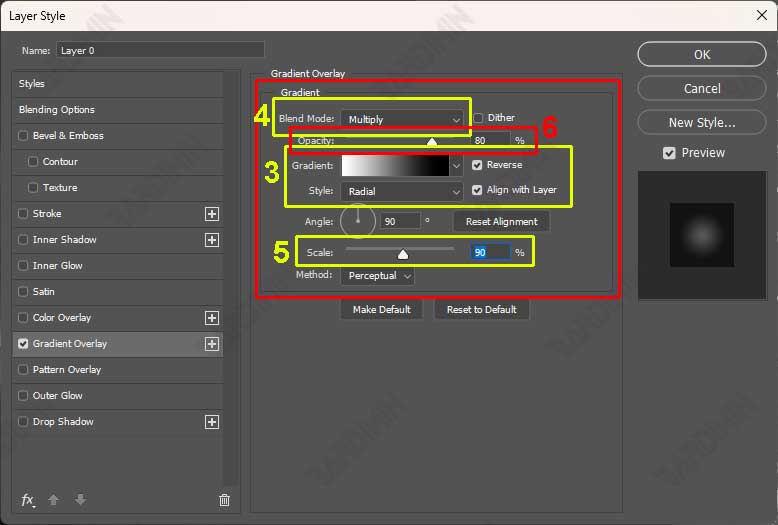
In the Styles panel, search for and click on the Gradient Overlay option. By default, Photoshop will apply a gradient from black to white on your images. At this stage, your image may look completely covered by gradients, but don’t worry, this is only temporary.
Step Three: Select Radial Gradient
- On the Gradient Overlay panel, click on the Style option and select Radial. This will create a circular gradient, which is the basic shape for the vignette effect.
- Make sure the gradient has a white color in the center and black at the edges. If the gradient is upside down (black in the center and white at the edges), you can reverse the direction of the gradient by clicking the Reverse button.
4. Setting Blend Mode
Step Four: Set Blend Mode to Multiply
- Under the Blend Mode option, select Multiply. This mode will make the white areas of the gradient disappear, while the dark areas (blacks) remain. As a result, your image will look like it has dark edges, while the center remains light.
- After setting the Blend Mode, you can shift the center of the gradient by clicking and dragging the mouse over the image. This allows you to move the vignette effect to a specific area that you want to emphasize.
Why Multiply?
Multiply is the ideal blend mode for the vignette effect because it combines the dark colors of the gradient with the original image, while the white areas become transparent. It creates a natural and not too harsh effect.
