Microsoft Word is one of the most popular and versatile word-processing applications. You can use Word to create all kinds of documents, from letters, reports, papers, and books, to posters, brochures, and invitations.
One feature that makes Word stand out is its ability to add special effects to text, images, and other objects. These special effects can make your documents more attractive, professional, and creative.
In this article, we’ll cover three types of special effects you can add to your Word document: BorderArt, Drop caps, and WordArt.
Showcasing Creativity with BorderArt
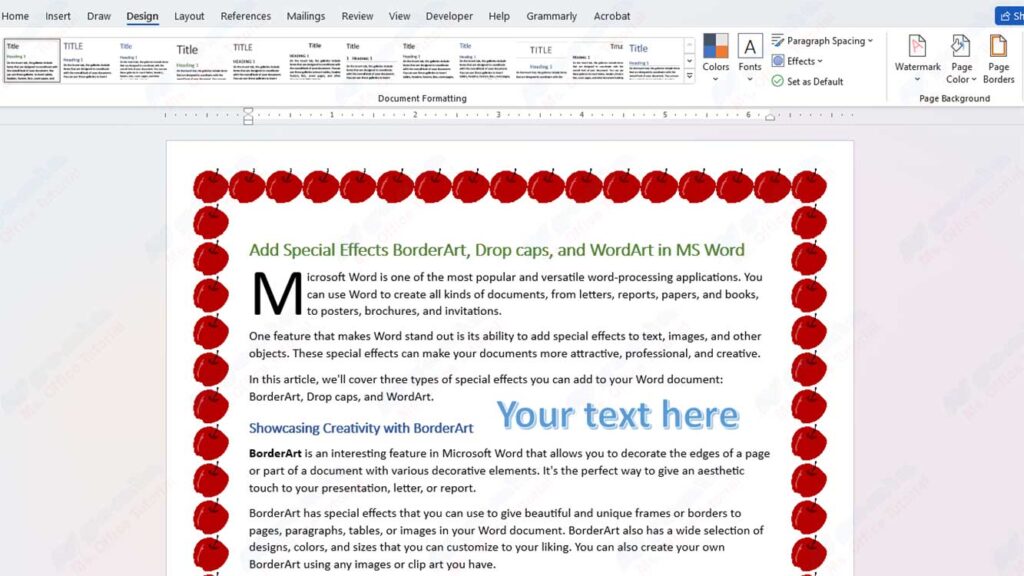
BorderArt is an interesting feature in Microsoft Word that allows you to decorate the edges of a page or part of a document with various decorative elements. It’s the perfect way to give an aesthetic touch to your presentation, letter, or report.
BorderArt has special effects that you can use to give beautiful and unique frames or borders to pages, paragraphs, tables, or images in your Word document. BorderArt also has a wide selection of designs, colors, and sizes that you can customize to your liking. You can also create your own BorderArt using any images or clip art you have.
To add BorderArt to your Word document, follow these steps:
- Select the object you want to BorderArt, such as a page, paragraph, table, or figure.
- Click the “Design” tab (or “Page Layout” for Word 2016 and earlier), then click “Page Borders” in the “Page Background” group.
- In the “Borders and Shading” dialog box, click the “Page Border” tab (or “Borders” for tables or figures).
- Under the “Style” section, click the “Box” button to select the type of frame you want to use.
- Under the “Width” section, click the down arrow to select the line weight you want to use.
- Under the “Color” section, click the down arrow to select the line color you want to use.
- Under the “Art” section, click the down arrow to select the BorderArt design you want to use. You can preview the design in the box on the right.
- If you want to create your own BorderArt using an image or clip art you have, click the “Create Custom Border” button under the “Art” section. In the “Create Custom Page Border” dialog box, click the “Browse” button to locate the image or clip art you want to use as BorderArt. After selecting the image or clip art, click the “Insert” button and then click the “OK” button.
- In the “Borders and Shading” dialog box, under the “Apply to” section, select the object that you want to assign a BorderArt to, such as a whole page, a specific paragraph, a specific table, or a specific image.
- Click the “OK” button to apply the BorderArt to the selected object.
Start a Paragraph with Drop-caps
Drop caps are text design elements used to start a paragraph with uppercase letters looming over the first line. This is a technique often used in books, magazines, or artistically formatted documents.
Drop caps can give an elegant and artistic feel to your Word document, especially if you’re writing narrative text like stories or poems.
To add drop caps to your Word document, follow these steps:
- Select the paragraph you want to give drop caps.
- Click the “Insert” tab, then click “Drop Cap” in the “Text” group.
- Select one of the available Drop cap options:
- “None” : to remove the Drop stamp from the selected paragraph.
- “Dropped” : to make the first letter of a paragraph larger and drop a few lines below the other letters.
- “In margin” : to make the first letter of the paragraph larger and located on the left side of the text.
- If you want to customize the size, font, spacing, or color of the Drop cap, click the “Drop Cap Options” option under the “Drop Cap” menu. In the “Drop Cap” dialog box, you can change the following settings:
- “Position” : to choose whether the Drop cap will be inside or outside the margin.
- “Font” : select the font you want to use for the Drop cap.
- “Lines to drop” : select how many rows you want to use for the Drop stamp.
- “Distance from text” : select the distance between the Drop stamp and other text.
- “Color” : select the color you want to use for the Drop cap.
- Click the “OK” button to apply the Drop stamp to selected paragraphs.
