After we create a domain in the network and do various settings as we plan, the next step is to connect the PC-Client with the Domain Server. For how to create a domain you can see in Windows Server 2019 Promotion as Domain Controller.
Before joining, the PC name should be changed with a unique name so that in the network there is no PC with the same name. The same name will be a problem when we call the PC using its name (hostname).
Steps to rename a PC and Join Domain
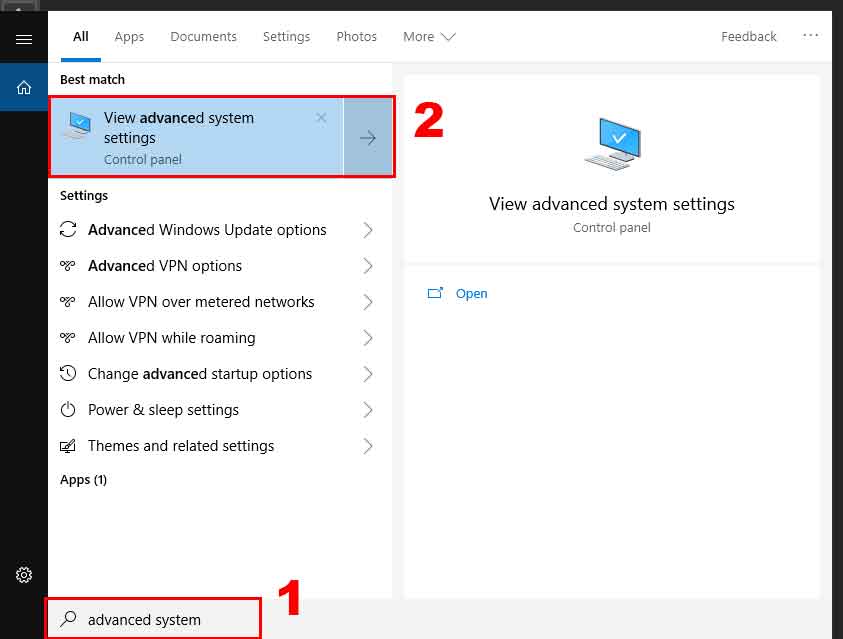
- Open Advanced System properties. The first way, type in the search field “advanced system” and then click on the search results “View advanced system settings”.
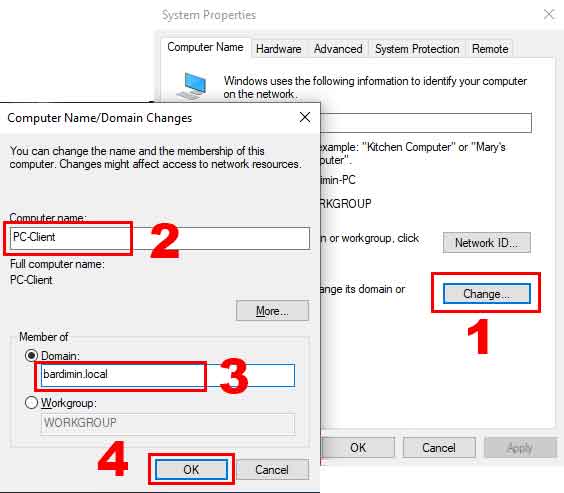
- On the Computer Name tab click Change, a pop up window will appear and on “Computer name”, fill in the name of the PC you want, for example PC-Client. And on the “Member of” click Domain, then fill in the domain name you are going to, for example bardimin.local. After that click OK.
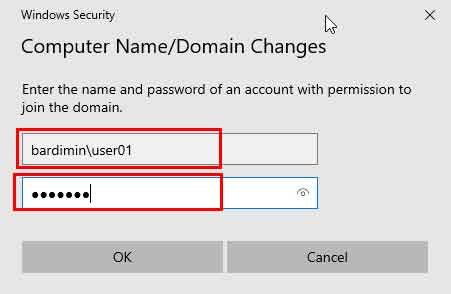
- Next you will be asked to fill in your domain account. Note in user writing, the user is written after the domain name(NameDomainUsername). Fill in the password according to your account password. Then click OK.
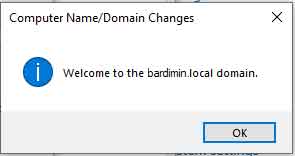
- There will be a welcome if you successfully join the domain. Click OK and restart your PC.