Have you ever encountered the problem of a computer that won’t boot after you replace the CMOS battery? If so, you’re not alone. Many computer users face similar problems and look for solutions on the internet.
However, not all sources of information you find on the internet can be trusted or provide effective solutions. Therefore, this article will go in-depth on what a CMOS battery is, why your computer won’t boot after replacing it, and how to solve it.

What is a CMOS Battery?
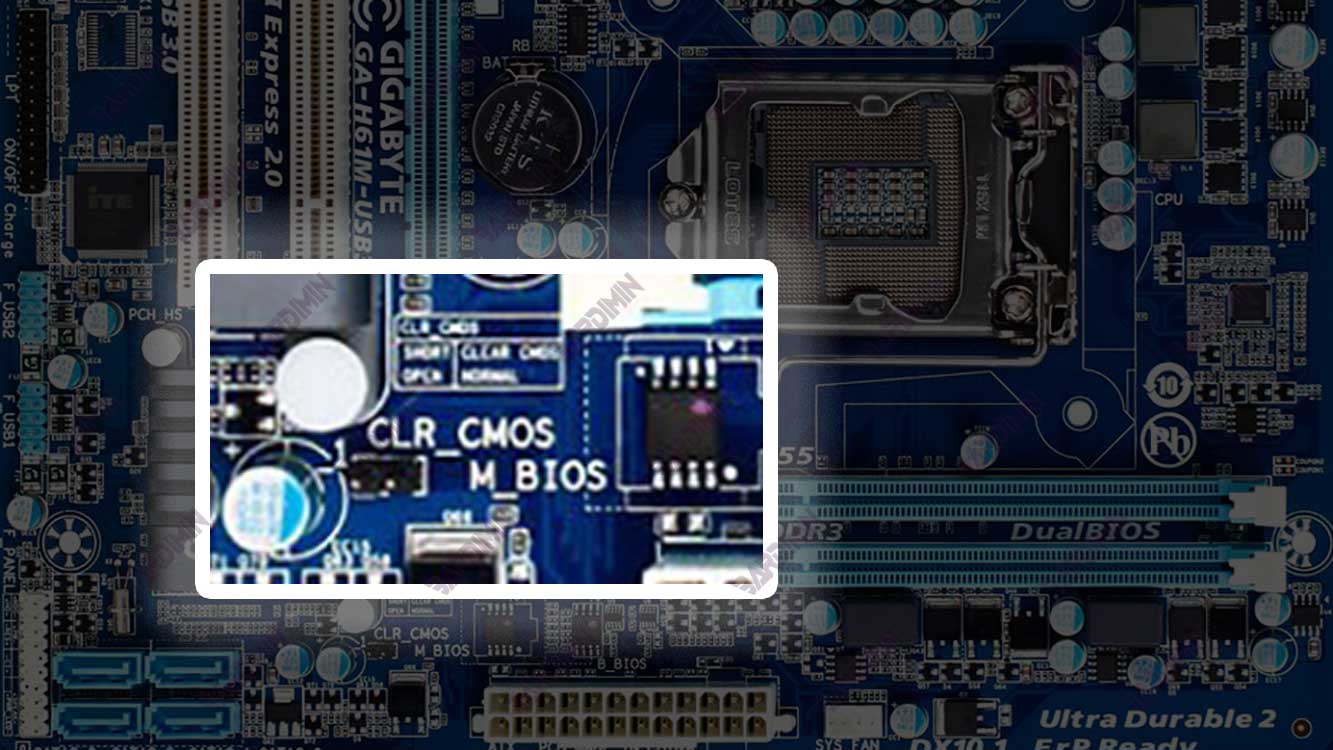
CMOS battery is a small battery located inside your computer’s motherboard. The main function of the CMOS battery is to store important information about your computer’s system configuration, such as date, time, boot order, and other BIOS settings.
This information is stored on a chip called CMOS (Complementary Metal-Oxide Semiconductor). CMOS battery also helps keep your computer’s internal clock running when the computer is turned off or not connected to a power source.
Why won’t the computer boot after replacing the CMOS battery?
One of the common reasons why a computer won’t boot after replacing the CMOS battery is because your computer’s BIOS settings have changed or disappeared. This can happen because of several possibilities, such as:
- You did not install the CMOS battery correctly or according to its polarity (+ and -).
- You installed a damaged or exhausted CMOS battery.
- You do not turn on your computer immediately after replacing the CMOS battery.
- You do not save new BIOS settings after replacing the CMOS battery.
As a result, your computer cannot recognize attached hardware, such as a hard disk, CD-ROM, or USB. Your computer also can’t find an installed operating system, such as Windows, Linux, or Mac OS. Your computer may display error messages such as:
- No boot device available
- No bootable device found
- Reboot and select proper boot device
- Operating system not found
- Missing operating system
How to Solve a Computer That Won’t Boot After Replacing a CMOS Battery?
To solve the problem of a computer that won’t boot after replacing the CMOS battery, you need to do the following steps:
- Make sure you install the CMOS battery correctly and according to its polarity. If you are in doubt, you can reopen your computer case and check the CMOS battery you installed. You can also try replacing the CMOS battery with a new one or one that is still fully powered.
- Turn on your computer and enter the BIOS menu. You can do this by pressing certain keys while the computer boots, such as Del, F2, F10, or Esc. The exact keys depend on the make and model of your computer. You can see the instructions on your computer screen when booting.
- In the BIOS menu, look for options related to boot settings, such as Boot Order, Boot Priority, Boot Sequence, or Boot Device. Select that option and make sure you set the hardware that contains your operating system as the first or top priority. Typically, such hardware is a hard disk, SSD, or M.2. If you’re unsure, you can try a few different combinations until you find the right one.
- In the BIOS menu, look for options related to date and time settings, such as Date and Time, System Time, or System Date. Select that option and make sure you set the date and time according to your time zone. You can use the clock on your phone or the internet as a reference.
- In the BIOS menu, look for options related to default settings, such as Load Default Settings, Load Optimized Defaults, Load Setup Defaults, or Load Fail-Safe Defaults. Select that option and confirm your choice. This will restore the BIOS settings to their original or standard state. This option is useful if you’re unsure of the BIOS settings you changed earlier or if you’re having other issues with the BIOS.
- After you finish setting the BIOS settings, look for options related to saving the settings, such as Save and Exit, Save Changes and Exit, Save Changes and Reset, or Exit Saving Changes. Select that option and confirm your choice. This saves the new BIOS settings and exits the BIOS menu. Your computer will reboot automatically.
- Wait until your computer boots up normally and enters your operating system. If your computer still won’t boot, you can try other solutions, such as checking hardware cables and connectors, performing a hard disk scan and repair, or reinstalling the operating system.
Hope this article was useful and can help you solve your problem. Thank you for reading this article.


