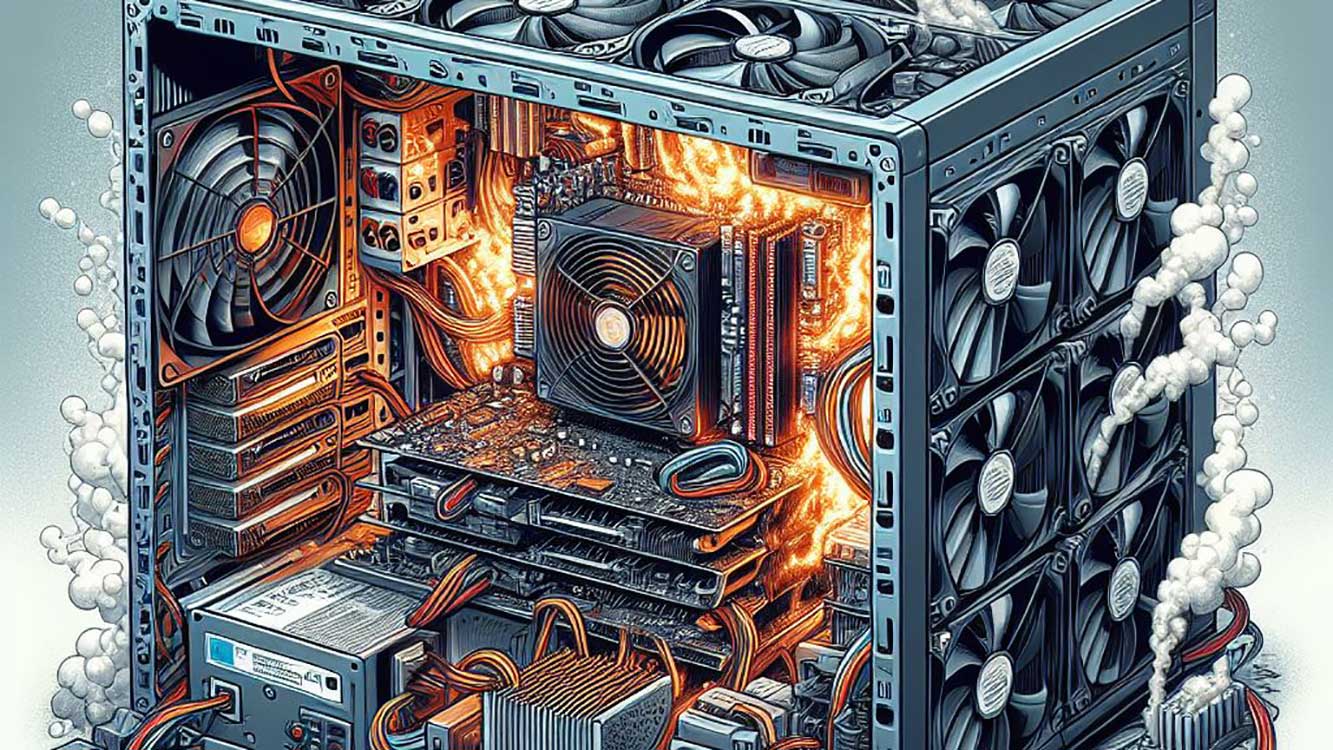
PSU (Power Supply Unit) is one of the important components in a PC, as it is responsible for providing stable and sufficient electrical power for all other components. However, PSUs can also experience serious problems, namely overheating or overheating.
Overheating can occur due to various factors, such as poor PSU quality, damaged PSU fans, accumulated dust, or too high a power load. Overheating can cause various negative effects, such as decreased PC performance, blue screen, self-restart, or even permanent damage to the PSU or other components.
Therefore, it is very important to know how to deal with PSU overheating and prevent damage to PC components. In this article, I will explain some steps you can take to solve this problem, namely:

- Checking the temperature of the PSU and other components
- Clean dust and dirt from PSUs and PCs
- Replace a damaged or noisy PSU fan
- Replace thermal paste on CPU and GPU
- Reduces power load on PSU
- Replacing PSUs with better and compliant ones
Checking the Temperature of the PSU and Other Components
The first step you have to do is to check the temperature of the PSU and other components, such as the CPU, GPU, motherboard, and RAM. Too high a temperature could be an indication that there is a problem with the PSU or other components. You can use some software that can monitor PC temperatures, such as HWMonitor, SpeedFan, Open Hardware Monitor, or AIDA64. This software can display temperature, voltage, fan speed, and other information about your PC.
The normal temperature for PSU is around 40-50°C, while for CPU and GPU it is around 60-80°C. If the temperature of the PSU or other components exceeds normal limits, then you should immediately take measures to cool them. If not, then the risk of damage will be even greater.
Cleaning Dust and Dirt from PSUs and PCs
The second step you can take is to clean dust and dirt from the PSU and PC. Dust and dirt can accumulate inside PSUs and PCs, especially in fans, heatsinks, and ventilation holes. Dust and dirt can impede airflow and reduce the cooling ability of PSUs and PCs. In addition, dust and dirt can also cause short circuits or poor connections between components.
To clean dust and dirt from PSUs and PCs, you can use several tools, such as brushes, cloths, or air compressors. You should shut down and unplug the PC from the power source before cleaning it. You should also be careful not to touch sensitive parts, such as pins, sockets, or capacitors. You can follow these steps to clean your PSU and PC:
- Open the PC case and remove the PSU from the PC. You can disconnect the cables connected to the PSU, or remove the screws that secure the PSU.
- Clean the outside of the PSU with a soft, dry cloth. Do not open the PSU, as that can be dangerous and could void the warranty.
- Clean the PSU fan with a brush or air compressor. Do not turn the PSU fan by hand, as that may damage it. If the PSU fan is noisy or damaged, you will need to replace it with a new one.
- Clean the inside of the PC with a brush or air compressor. Remove dust and debris from fans, heatsinks, motherboards, RAM, GPUs, and other components. Do not spray the air too tightly or too closely, as that could damage the components.
- Reinstall the PSU and PC. Make sure all cables and components are well connected and tightly. Close the PC case and turn on the PC.
