Seagate external drives are one of the popular portable storage devices and are widely used by Windows users. However, sometimes Seagate external drives can experience issues that cause them to flicker but are not detected by the Windows operating system. This is of course very annoying, especially if you have important data on it.
There are several possible reasons why your Seagate external drive is blinking but not detected, such as:
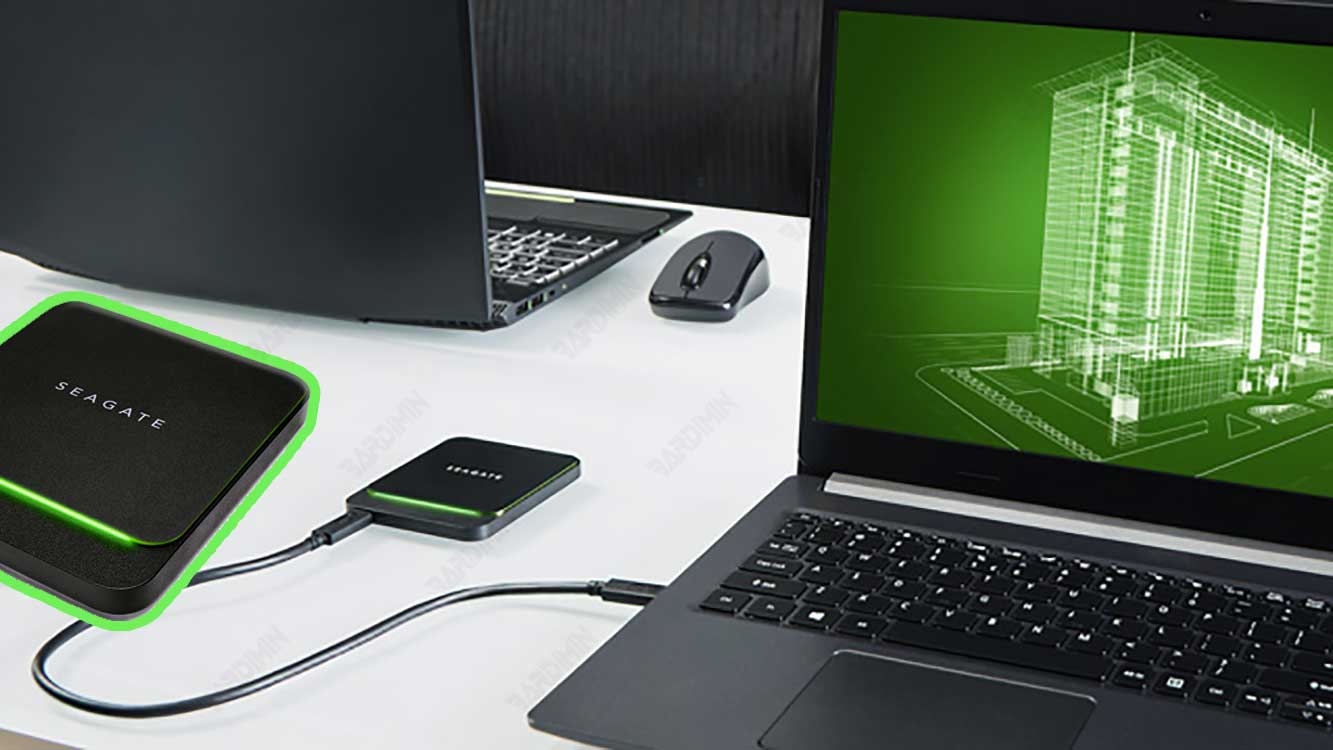
- Damaged or mismatched USB cable
- Problematic or incompatible USB ports
- Uninstalled or out-of-date drive drivers
- Damaged or lost hard disk partitions
- Virus or malware infection
- Physical damage to the drive
To fix this problem, you need to perform some repair steps that correspond to the cause. Here are some steps you can try to resolve a blinking but not detected Seagate external drive in Windows:
Step 1: Replace the USB Cable or USB Port
The first step you can take is to check the USB cable and USB port you use to connect your Seagate external drive to your computer. Make sure the USB cable isn’t damaged, dirty, or loose, and that the USB port isn’t buggy, dirty, or blocked by dust. If necessary, replace the USB cable or USB port with another that works properly.
To check if the USB cable or USB port is the problem, you can try connecting your Seagate external drive with another computer or device that has a USB port, such as a TV, game console, or media player. If your Seagate external drive is detected by another device, the USB cable or USB port you used earlier is likely the problem.
Step 2: Update or Reinstall Drive Drivers
The second step you can take is to check your Seagate external drive driver in Windows. A driver is software that allows your computer to recognize and communicate with connected hardware. If your Seagate external drive driver is not installed, out of date, or damaged, your computer will not be able to detect your Seagate external drive.
To check and repair your Seagate external drive driver, you can use Device Manager, a built-in Windows tool that lets you manage the hardware associated with your computer. Here are the steps you can follow:
- Press the Windows + R key on your keyboard to open the Run dialog box.
- Type devmgmt.msc and press Enter to open Device Manager.
- Under the Disk drives category, find your Seagate external drive. If you don’t see it, click the arrow next to the Universal Serial Bus controllers category and look for a device named Unknown Device or Mass Storage Device.
- Right-click on your Seagate external drive and select Update driver. Select the Search automatically for updated driver software option and wait for the driver search and installation process to complete. If no driver is available, select the Browse my computer for driver software option and navigate to the location of your Seagate external drive driver which you can download from Seagate’s official website.
- If the driver update process is successful, try connecting your Seagate external drive again and see if it has been detected by Windows. If still not detected, right-click on your Seagate external drive again and select Uninstall device. Check the Delete the driver software for this device option and click Uninstall. Then unplug and reattach your Seagate external drive and let Windows install the driver automatically.
Step 3: Check and Repair Hard Disk Partitions
The third step you can take is to check and repair the partitions of your Seagate external drive. A partition is a part of a hard disk that is separated to store data and the operating system. If your Seagate external drive partition is damaged, lost or unreadable, Windows will not be able to access the data on it.
To check and repair your Seagate external drive partitions, you can use Disk Management, a built-in Windows tool that lets you manage the drive partitions connected to your computer. Here are the steps you can follow:
- Press the Windows + X key on your keyboard and select Disk Management from the menu that appears.
- Find your Seagate external drive below the list of available disks. If you see it, pay attention to the status of the partition. If the partition doesn’t have a drive letter, right-click on it and select Change Drive Letter and Paths. Click Add and select the drive letter you want, then click OK. If the partition has a status of RAW, Unallocated, or Not Initialized, then the partition is damaged or lost and needs to be repaired or recreated.
- To repair damaged partitions, you can use the built-in Windows tool called chkdsk, which is a tool that can scan and repair errors on the hard disk. To use this tool, you need to go to Command Prompt, which is a built-in Windows tool that allows you to run text commands. Here are the steps you can follow:
- Press the Windows + R key on your keyboard to open the Run dialog box.
- Type cmd and press Ctrl + Shift + Enter to open Command Prompt as administrator.
- Type the following command and press Enter:
chkdsk X: /f /r
where X is the drive letter of your Seagate external hard drive partition. This command will scan and fix errors on that partition. This process can take a while, depending on the size and condition of your partition. Do not cancel this process or shut down your computer during the process.
- Once the process is complete, try connecting your Seagate external drive again and see if it has been detected by Windows.
- To recreate a lost partition, you need to delete the existing partition and create a new partition. However, keep in mind that this process will erase all existing data on your Seagate external drive, so make sure you have a backup of your data before doing so. Here are the steps you can follow:
- Open Disk Management as step 1 above.
- Right-click on the partition of your Seagate external drive and select Delete Volume. Click Yes to confirm partition deletion.
- Once the partition is deleted, you will see free space marked Unallocated. Right-click on the space and select New Simple Volume. Follow the instructions that appear to create a new partition with the size, drive letter, and file system you want. The recommended file system is NTFS, as it is compatible with Windows.
- Once the new partition is created, try connecting your Seagate external drive again and see if it has been detected by Windows.
Step 4: Scan for and Remove Viruses or Malware
The fourth step you can take is to scan for and remove any viruses or malware that might infect your Seagate external drive. A virus or malware is a malicious program that can damage, alter, or steal your data, or interfere with your computer’s performance. If your Seagate external drive is infected by a virus or malware, Windows may not be able to recognize or access it.
To scan for and remove viruses or malware, you can use antivirus, which is software that can detect and remove malicious programs from your computer. You can use Windows’ built-in antivirus called Windows Defender, or a third-party antivirus that you can download from the internet. Here are the steps you can follow:
- Connect your Seagate external drive to your computer.
- Open the antivirus you’re using, either Windows Defender or a third-party antivirus.
- Select the option to scan for external devices or drives connected to your computer.
- Wait for the scanning process to complete. If your antivirus finds a virus or malware, select the option to remove or quarantine the malware.
- Once the erase process is complete, try connecting your Seagate external drive again and see if it has been detected by Windows.
Step 5: Bring the Drive to a Seagate Service Center
The fifth and final step you can take is to take your Seagate external drive to the Seagate service center closest to you. This is the last step you can take if none of the previous steps fix your Seagate external drive issue. Most likely, your Seagate external drive has suffered physical damage that cannot be repaired by ordinary means.
Physical damage to your Seagate external drive can be caused by many things, such as:
- Impact, falling, or being hit by a hard object
- Overheating, humidity, or dust
- Static electricity, voltage surges, or short circuits
- Prolonged age or usage
Physical damage to your Seagate external drive can cause several symptoms, such as:
- The drive does not spin or sound strange
- The drive is not detected by BIOS or Windows
- Hard disk detected but cannot be accessed or formatted
- Hard disk detected but data lost or corrupted
To bring your Seagate external drive to a Seagate service center, you will need to do the following:
- Find the address and phone number of the Seagate service center closest to you. You can search for it on Seagate’s official website or the internet.
- Contact a Seagate service center and request information about procedures, costs, and repair times for your Seagate external drive. If you still have a warranty, ask if you can claim a warranty for the repair of your Seagate external drive.
- Bring your Seagate external drive to a Seagate service center according to the specified schedule. Don’t forget to bring your purchase note, warranty card, and ID.
- Wait for your Seagate external drive to finish repairing. If the repair is successful, you can take your Seagate external drive and connect it to your computer. If repairs don’t work, you may need to purchase a new Seagate external drive.
That’s the article I made on how to fix Seagate’s external drive blinking but not detected in Windows. Hope this article is useful for those of you who are experiencing the same problem.