How to Calibrate Your Monitor Properly for Best Results

Optimal computer use requires high image display quality, especially when we work, play games, or even just surf the internet. One important step in achieving the best image quality is to calibrate your monitor.

A display monitor is one of the essential components in your PC, as it displays the images, videos, text, and graphics you see on the screen. A good display monitor should be able to display color, contrast, brightness, and viewing angles that are accurate and comfortable for your eyes.

However, not all display monitors are of the same quality, and some factors such as age, temperature, lighting, and factory settings can affect the performance of your display monitor. To get the best and most accurate view, the monitor needs to be calibrated periodically.

Monitor calibration is the process of adjusting monitor settings to fit certain color standards. With monitor calibration, the colors displayed on the monitor will be more accurate and match the original colors. It is important for various purposes, such as graphic design, photography, and video editing.
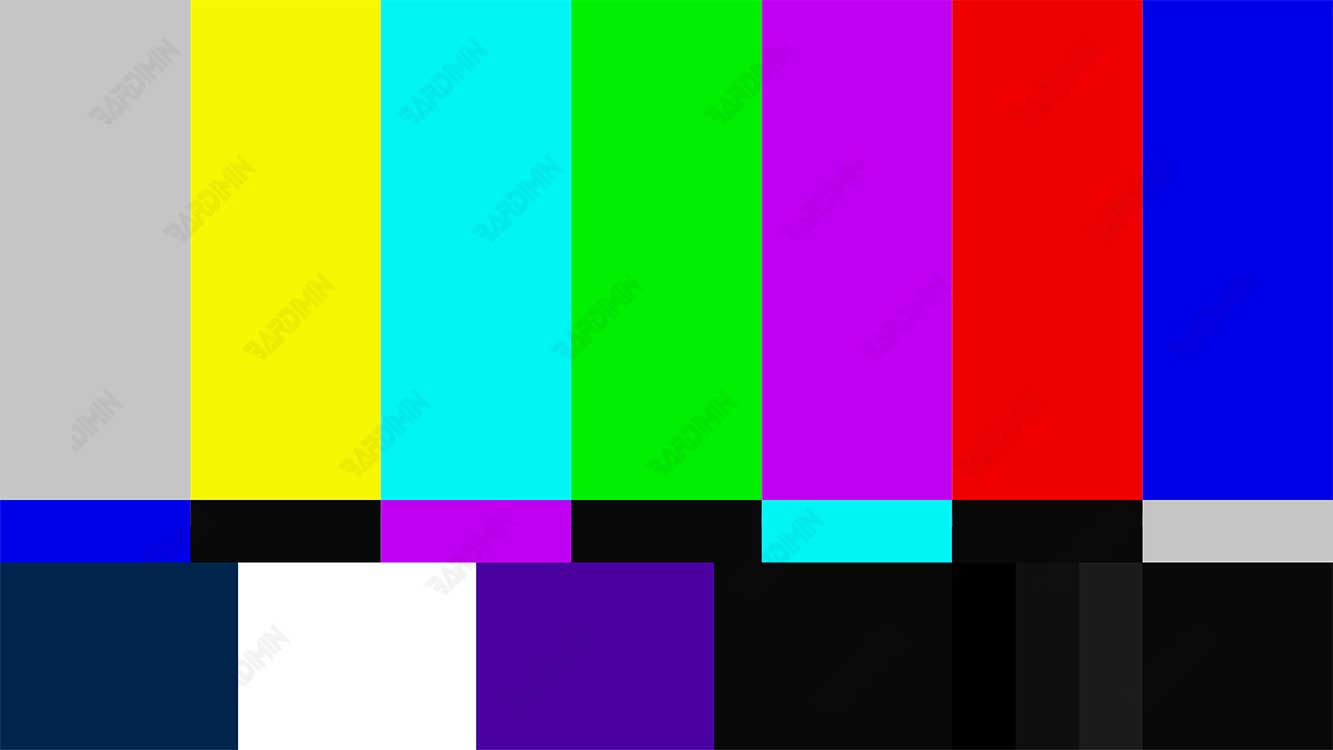
color calibration

Calibrating the display monitor is not difficult, especially if you are using a Windows 11 PC. Windows 11 PCs have built-in features that can help you calibrate your display monitor easily and quickly. This feature is called “Display Color Calibration”.

In this article, Bardimin will explain how to calibrate a display monitor on a Windows 11 PC by using the “Display Color Calibration” feature. We will also provide some tips and tricks to get the best calibration results according to your needs.

Why Do You Need to Calibrate Your Display Monitor?

Before we get into the practical steps, let’s understand why calibrating a monitor is such an important step. Monitor calibration is important to get the best and most accurate view of the monitor.

It is important for various purposes, such as graphic design, photography, and video editing. Here are some of the advantages of calibrating a monitor:

  • Guarantees the accuracy of the colors displayed on the monitor.
  • Improve the display quality of images and videos.
  • Reduces tired eyes.
  • Increase work productivity.

What is Display Color Calibration?

Display Color Calibration is a built-in feature of Windows 11 that can help you calibrate your display monitor easily and quickly. This feature can adjust the color, contrast, brightness, gamma, and white balance settings on your display monitor to match your industry or personal standards.

Display Color Calibration works by providing some guiding steps that you should follow to calibrate your display monitor. These steps include:

  • Adjust the brightness and contrast of your display monitor so that it is not too dark or too bright.
  • Adjust your display’s monitor gamma so that it doesn’t get too low or too high.
  • Adjust the color of your display monitor so that it is not too warm or too cold.
  • Adjust the white balance of your display monitor so that it’s not too red, green, or blue.

After you follow these steps, you can see the difference before and after calibration by pressing the Finish button. You can also save your calibration settings as the default color profile for your display monitor.

How Do I Calibrate a Display Monitor in Windows 11?

Calibrating the display monitor in Windows 11 is very easy and fast. Here are the steps:

  1. Open “Settings” in your Windows 11. You can do this by pressing the keys (Windows + I) on your keyboard, or by clicking on the “Settings” icon in the “Start Menu”.
  2. Select the “System” menu, then select the “Display” sub-menu.
  3. At the bottom of the “Display” page, click the “Advanced display settings” link.
  4. On the Advanced display settings page, click the “Display adapter properties for Display 1” link. If you have more than one display monitor connected to your PC, select the display number corresponding to the display monitor you want to calibrate.
Display Color Calibration

  1. In the Display adapter properties window, select the “Color Management” tab, then click the “Color Management…”.
  2. In the “Color Management” window, make sure that the “Use my settings for this device” checkbox is checked. Then, click the “Advanced” tab.
  3. In the Advanced tab, click the “Calibrate display” button at the bottom of the page.
  4. In the “Display Color Calibration” window, click the “Next” button to start the calibration process.
  5. Follow the guidance steps provided by the “Display Color Calibration” feature to calibrate your display monitor. Each step will display some sample images and instructions that you must follow to adjust your display monitor settings. These steps are:
    • Adjust the brightness of your display monitor so that it is not too dark or too bright. Use the brightness keys on your display monitor or keyboard to do so.
    • Adjust the contrast of your display monitor so that it is not too low or too high. Use the contrast keys on your display monitor or keyboard to do so.
    • Adjust your display’s monitor gamma so that it doesn’t get too low or too high. Use the slider provided by the Display Color Calibration feature to do so.
    • Adjust the color of your display monitor so that it is not too warm or too cold. Use the slider provided by the Display Color Calibration feature to do so.
    • Adjust the white balance of your display monitor so that it’s not too red, green, or blue. Use the slider provided by the Display Color Calibration feature to do so.
  6. After you follow these steps, you can see the difference before and after calibration by pressing the Finish button. You can also save your calibration settings as the default color profile for your display monitor.

How to Calibrate a Display Monitor Using Online Tools

Several online tools can be used to calibrate a monitor. These online tools are usually free and easy to use. Here are some online tools for monitor calibration:

  • DisplayCAL
  • CalMAN
  • i1Profiler

To use the online tool for monitor calibration, you need to follow these steps:

  1. Open the monitor calibration online tool you selected.
  2. Follow the instructions given by the tool.
  3. The tool will ask you to perform several tasks, such as adjusting the white point, gamma, brightness, contrast, and color temperature settings.
  4. Once all the settings have been adjusted, the tool will save your calibration results.

How to Calibrate Your Monitor Using Professional Tools

Professional tools for monitor calibration are usually more accurate and advanced than online tools or Windows built-in tools. Professional tools usually use color sensors to measure the colors displayed on the monitor.

Here are some professional tools for monitor calibration:

  • X-Rite i1 Display Pro
  • Datacolor SpyderX Elite
  • CalMAN Ultimate

To use professional tools for monitor calibration, you need to follow these steps:

  1. Connect a professional tool to your computer.
  2. Follow the instructions given by the tool.
  3. The tool will measure the colors displayed on your monitor.
  4. Once the measurement process is complete, it will save your calibration results.

Conclusion

Calibrating your monitor in Windows 11 is a simple but important step to ensure that you get the best image quality. By following these guidelines, you can ensure that the display of your monitor matches your preferences, which will enhance your work and entertainment experience.

Feel free to repeat this process if the lighting environment changes or if you feel your image is not quite what you wanted. With proper care, your monitor will always provide the best image quality you expect.

Hope this article has helped help you achieve optimal image display quality on your computer.

Latest Articles