A computer can work well for more than five years if properly maintained, but if the user does not protect his hardware, the computer will not last long. This is why taking care of a computer is so important.
This article is the second part of Computer and Laptop Hardware Maintenance Procedures that will guide you to keep your computer working properly. If you want to keep your device secures, you can follow the following procedure:
9] Save Product Key
Before you reinstall Windows or format someone’s computer, be sure to write down the Product Key. When you reinstall Windows, it will usually ask for a key, and sometimes it will require you to use the original key. You can find it in the registry or in a file named “system.1st” on drive C: if the file exists.
You can also get the Windows Product Key by using Command Prompt or Windows PowerShell. Use the following command to display it.
“wmic path softwarelicensingservice get OA3xOriginalProductKey”
10] Check Port
Make sure the USB port is working properly before you complete a major upgrade. You can use the printer or loopback plugs with a testing program. Be sure to test the COM port with a loopback plug if you’ve replaced the motherboard or if you’ve recently built a new system for someone.
11] Scan Bad Sectors
Before you reinstall Windows on a computer that has problems, be sure to perform a thorough scan of the entire surface of the hard drive for bad sectors. You can do this from the DOS utility or Safe Mode. This may take time, but the result is well worth it. You don’t want to start all over again repairs just because there’s one part that broke or failed at the start of the drive that you didn’t think was bad.
To scan for bad sectors on a hard disk drive (HDD), you can use the built-in tool in the Windows operating system called “Check Disk” (CHKDSK). If any bad sectors are found, CHKDSK will try to repair them or isolate the damaged sectors. It is important to remember that scanning and repairing bad sectors can take time and there is a possibility that data affected by bad sectors cannot be recovered.
12] CD-ROM Test
Test the CD-ROM drive if it is installed. If you can, make sure that the drive letter is set to the same letter as before, using the letter after the final letter that the disk drive uses. Usually, when you add a new hard drive or other storage device it will use an unused initial letter.
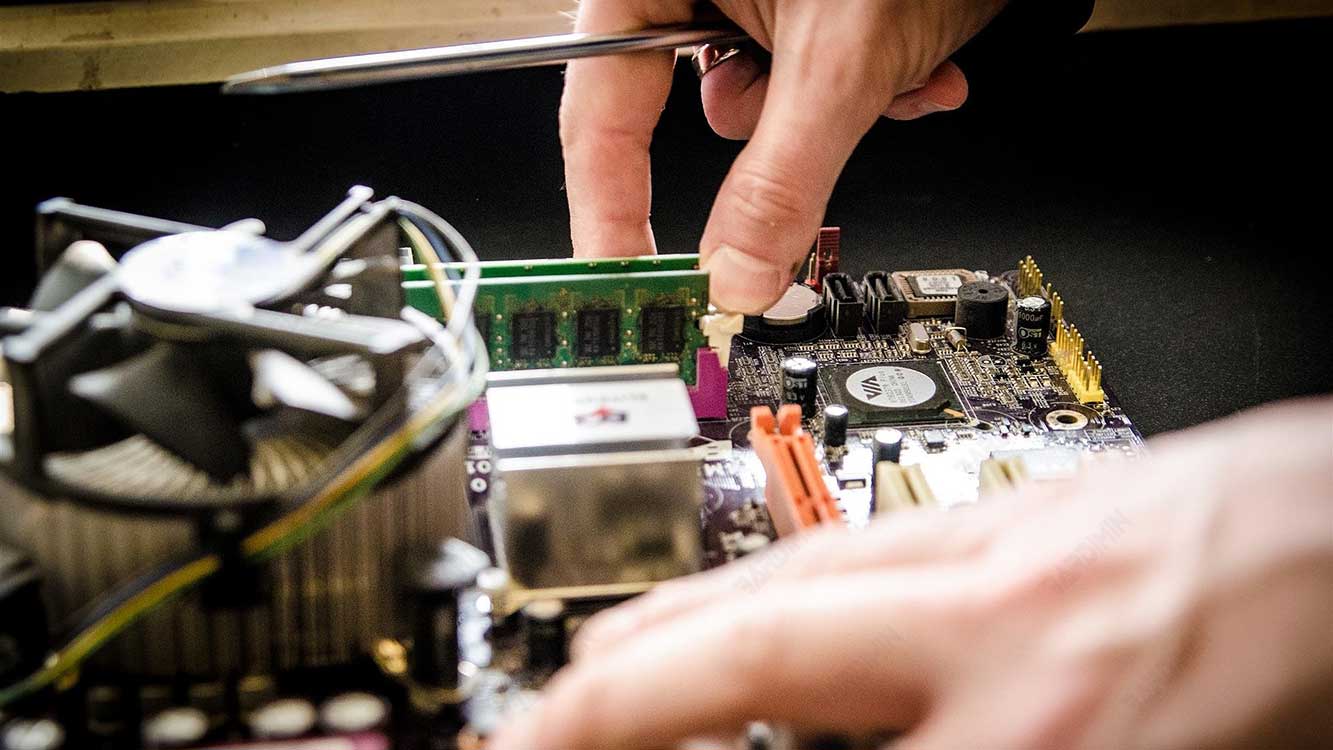
13] Device Conflict Detection
Check Device Manager for problematic devices. If you need to adjust settings to make a particular card work, be sure to take note of the settings. Be sure to provide a copy of the settings to the owner of the computer you are working on.
Conflicts can occur due to problematic or inappropriate drivers. Incorrect IRQ (Interrupt Request) settings on hardware can also lead to conflicts, which can occur when two devices use the same IRQ.
Hardware that uses the same resources, such as excessive use of USB ports or use of adjacent PCI slots can cause conflicts.
14] CMOS Battery Test
The CMOS (Complementary Metal-Oxide-Semiconductor) device on the computer motherboard serves to store BIOS settings and the system clock. If the CMOS battery is damaged or weakened, the following characteristics may occur:
- System Date and Time Return to Default Values. Every time the computer starts up, the system date and time will revert to default or inaccurate values.
- BIOS Settings Return to Default Settings. Settings you’ve configured in the BIOS, such as boot order, device settings, or overclocking, may revert to default settings.
15] Sound Tests
Once you’ve added a new sound card to your computer, you may want to test it by playing a video file to make sure everything is working properly.
You can use the “dxdiag” utility built into the Windows operating system to perform tests on your computer’s voice or audio. If the test sound is successfully heard without problems, this indicates that the audio device is working properly. However, if there is no sound or the sound is abnormal, there may be a problem with the audio device.
In addition, in the “DirectX Diagnostic Tool” window, you can also explore other “Sound” tabs, such as “Music” and “Input”, to perform additional tests and configure sound settings.
16] Check the Mouse and Keyboard
Make sure the mouse and keyboard are physically connected to the computer through the appropriate ports (for example, USB or PS/2). Check cables and connectors to make sure there is no damage or loose connections. Outdated cables are usually easily visible when you inspect them.
If using a wireless device, make sure the battery is in good condition and the device is properly connected through the wireless receiver.
If you’re having problems with your mouse or keyboard, try restarting your computer. Some temporary problems can be resolved by restarting the system.
17] Overheated CPU
You may experience heat issues even though your CPU fan is not hot. The problem may be that the heatsink isn’t touching important parts of the CPU properly. Remove the adhesive tape used for heat transfer if it sticks to the heatsink, especially if you think it might be causing the problem. Remove the glue. Put a small amount of heat transfer compound or thermal lubricant.
18] Static Electricity
Always make sure to remove any static electricity that builds up from your body before touching anything. You can use a wrist strap for extra security, but it’s not essential. For simplicity, just touch the metal before touching the card or drive. A metal desk or filing cabinet will work well for this situation. As soon as you remove the component, be sure to immediately put it in an anti-static bag, even if only for a short time.