Accessing files on another server or computer becomes more practical by mapping a network drive in Windows 11. This feature allows you to connect a network folder as a local drive, so you can open it directly from File Explorer just like an internal hard disk. For professionals and teams, this method is highly efficient for managing centralized data.
Mapping a network drive is the process of connecting a virtual drive on your system to a shared folder on a local network (LAN) or even over the internet. This drive then appears in File Explorer with its own drive letter (for example, Z:). This way, you no longer need to remember or type long network addresses (UNC Path) every time you want to access shared data.
This feature is vital in collaborative work environments for accessing resources such as file servers, NAS (Network-Attached Storage), or a colleague’s computer. Before starting, ensure you have access permissions (credentials) to the target folder and your computer is connected to the same network.
Preparation Before Mapping a Drive
Before mapping a network drive, a few things need to be confirmed. First, the target folder must be in a “shared” status. Second, know the network address (path) of that folder, which usually takes the form \\SERVER_NAME\folder_name or \\192.168.1.100\share. Finally, prepare the username and password if the folder is protected.
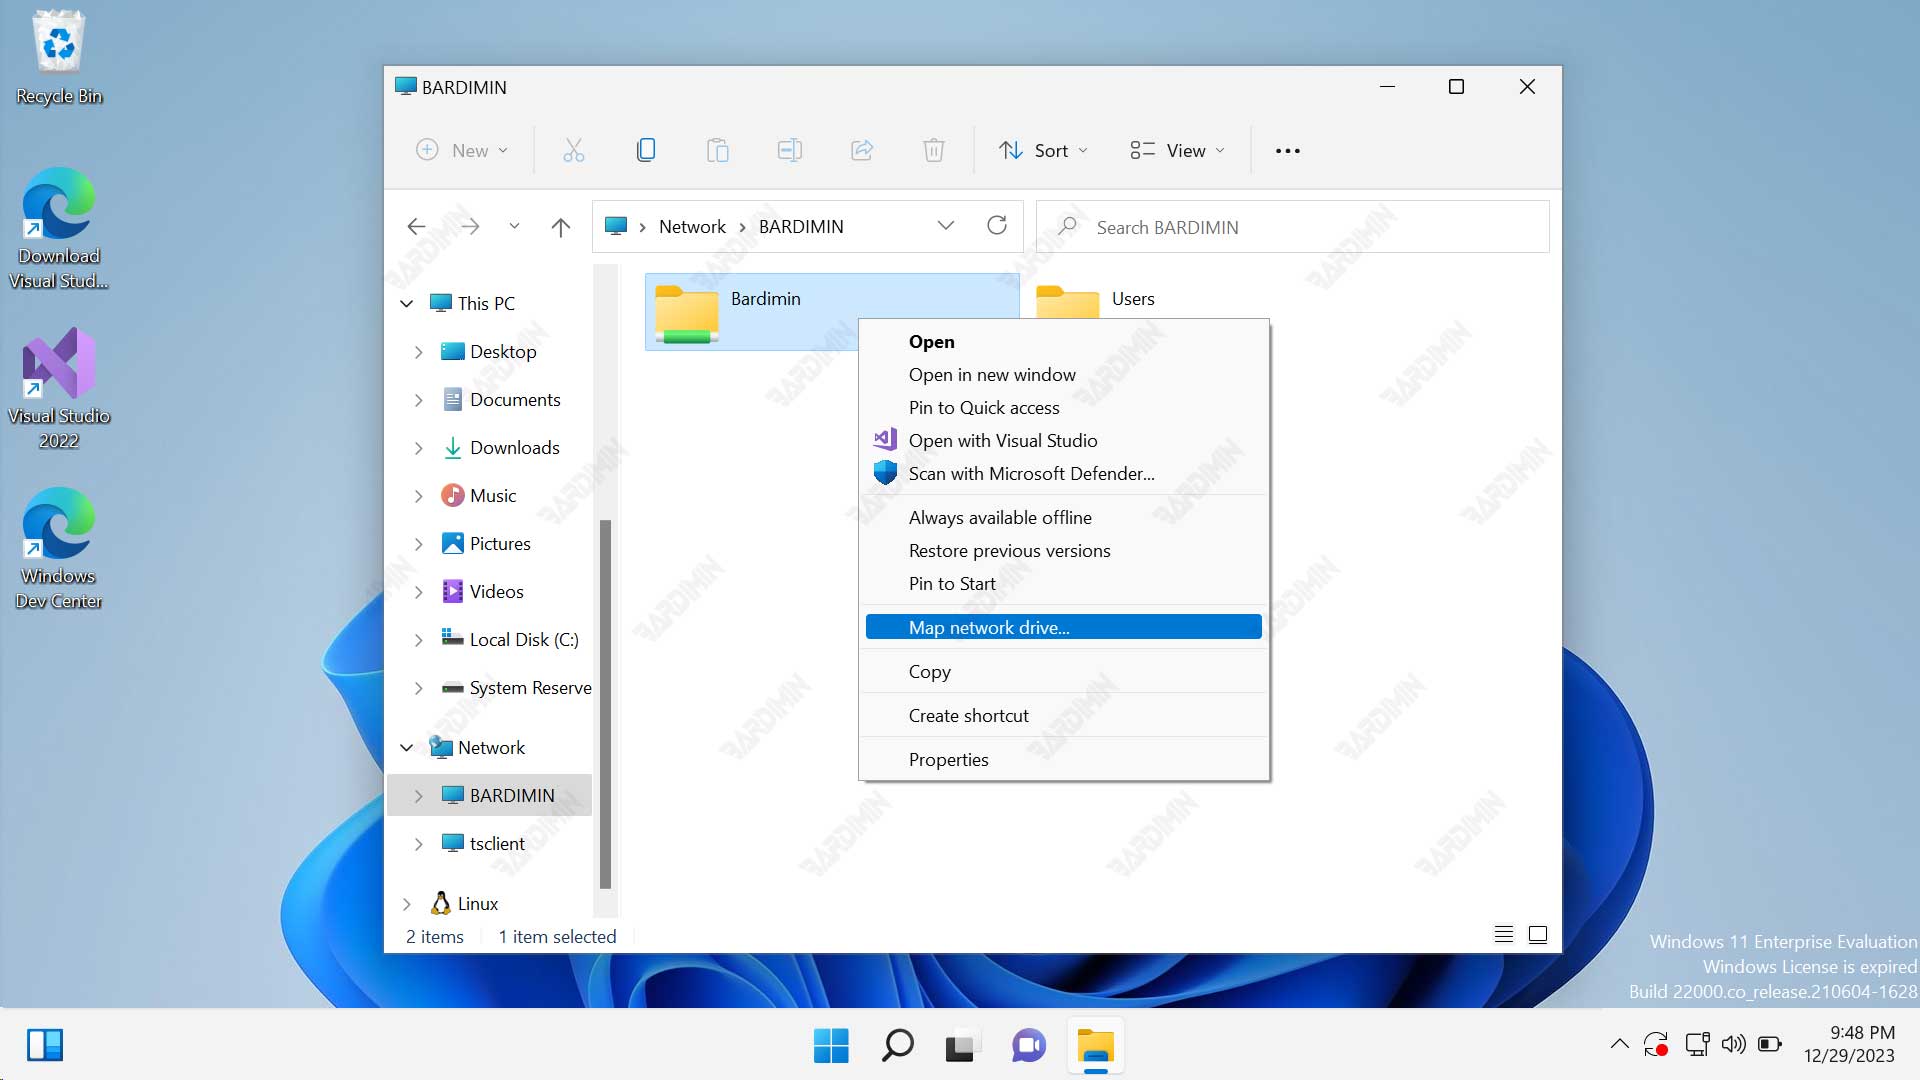
How to Map a Network Drive via File Explorer
The method through File Explorer is the most intuitive and recommended way for most users. The steps are simple and GUI-based.
- Open File Explorer by pressing the Windows + E keys.
- In the left panel, right-click on This PC, then select Map network drive….
- In the window that appears, choose the desired drive letter from the dropdown (e.g., Z:).
- In the Folder field, enter the network address of the target folder. You can click Browse… to search for it manually.
- Check the Reconnect at sign-in box to have the drive connect automatically at every login.
- Check Connect using different credentials if you need to enter a specific username and password.
- Click Finish. If prompted, enter your access credentials.
After that, the new network drive will appear in the “Network locations” section under This PC. You can use it like a regular drive.
Guide to Map a Network Drive with Command Prompt
For technicians or users who prefer automation, mapping a drive via Command Prompt or PowerShell offers speed and can be scripted. This method is very useful for setting up multiple computers at once.
net use Z: \\SERVER\SharedFolder /user:DOMAIN_NAME\username password /persistent:yesHere is an explanation of the command above:
Z:is the drive letter to be assigned.\\SERVER\SharedFolderis the UNC address of the network folder./user:followed by credentials for authentication./persistent:yesmakes the mapping permanent.
Run Command Prompt as administrator to avoid permission issues. Once the command is executed successfully, the drive will be immediately available.
Tips and Best Practices for Mapping Drives
To make using mapped network drives in Windows 11 more optimal and secure, consider the following tips:
- Use Secure Credentials: Do not store passwords carelessly on shared computers. Use domain accounts if available.
- Ensure Stable Connection: For drives mapped to remote locations (WAN), a slow or unstable network connection can cause timeouts.
- Utilize PowerShell for Advanced Scripting: You can use the
New-PSDrivecmdlet in PowerShell for more flexible mapping options, including connections to cloud resources.
How to Remove (Unmap) a Network Drive
If a network drive is no longer needed, you can easily remove it. Through File Explorer, simply right-click on the drive you want to remove and select Disconnect. Through Command Prompt, use the command net use Z: /delete (replace Z: with the appropriate drive letter).
Troubleshooting: Drive Does Not Reconnect Automatically
A common issue is the drive not reconnecting upon startup. This is often caused by password changes, the target computer being off, or network policy issues. Recheck the credentials and ensure the source computer is active when you log in. For in-depth technical information on the SMB file sharing protocol in Windows, you can refer to the official Microsoft documentation here.
By mastering how to map a network drive in Windows 11, your collaborative workflow will become smoother and more productive. This method eliminates the complexity of manual navigation, allowing you to focus on the content, not on how to access it.