Step-by-Step Guide to Using the Canon Service Tool
One of the biggest advantages of Canon Service Tools is their ease of use. You don’t need to be an experienced technician to do a waste ink reset or fix Error 5B00. Just follow the steps below carefully, and your Canon printer will be back to normal in just a few minutes.
Commemoration:
Before starting the process, make sure that the ink is not leaking, that the absorber is cleaned (if possible), and that the printer is connected using a genuine Canon USB cable. Avoid using hubs or USB extension cables to reduce the risk of communication failures between the printer and the computer.
Step 1: Setting Up the Printer in Service Mode
In order for the Canon Service Tool V6000 to correctly detect the printer, you must first insert the printer into Service Mode.
Service Mode is a special mode that allows the software to communicate directly with the printer’s firmware.
Here’s how to enter Service Mode based on printer type:
For Canon G1000, G2000, G3000 Series
- Turn off the printer first (make sure the power cord is still plugged in).
- Press and hold the Stop/Reset button.
- While holding down the Stop/Reset button, press the Power button and hold both buttons for ±5 seconds.
- Release the Stop/Reset button, then press it 5 times in a row.
- After that, release all the buttons. The printer will light up with a steady green light, meaning it has successfully entered Service Mode.
For Canon MP287, E400, E410 Series
- Unplug the USB cable from the computer first.
- Press and hold the Power button.
- While holding Power, press the Stop/Resume button 2 times.
- Release both buttons at the same time.
- Wait for the green indicator light to illuminate without flashing; this is a sign that the printer is already in Service Mode.
If the printer is not detected in the software later, repeat the Service Mode step above until the computer reads the printer as a new device (USB printing support).
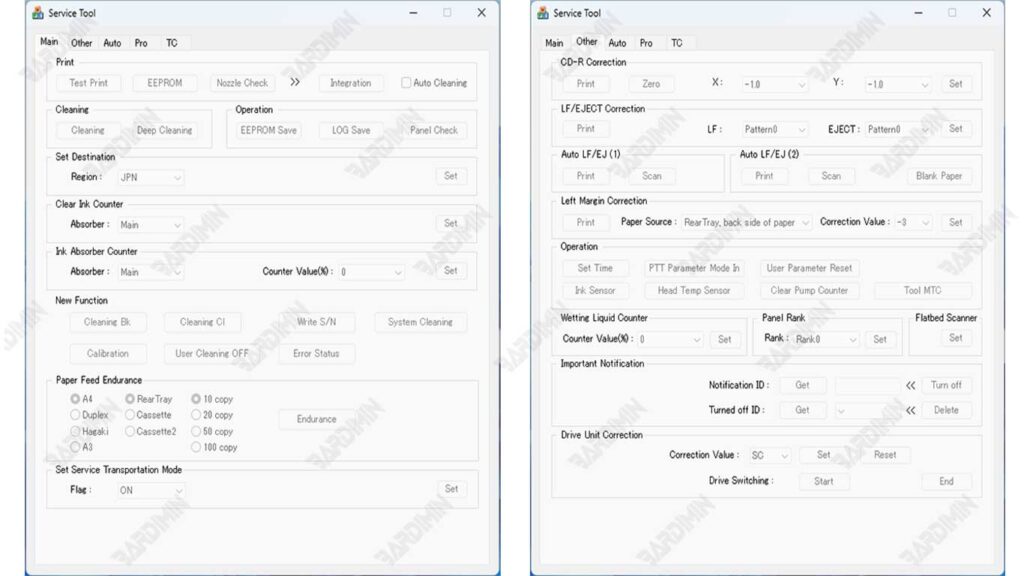
Step 2: Run the Canon Service Tool and Identify the Printer Port
- Run the Canon Service Tool.exe app (no installation required).
- Make sure the printer is connected to the computer via a direct USB cable.
- At the top of the app window, you’ll see a “USB Port” column.
Click the drop-down menu and select the detected Canon printer port (usually listed as USB001 – Canon G2000 series or similar). - If the printer has not appeared, press the Refresh button or repeat the Service Mode process.
Do not proceed to the reset stage before making sure the printer port has been correctly detected in the software.
Step 3: Perform a Reset with the “Play” or “EEPROM” Option
Once the printer is recognized by the Canon Service Tool V6000, you can immediately perform the reset process with two common methods:
Method 1 – “Play” button
- Click the Play button on the main display of the software.
- The printer will process the command for a few seconds.
- If successful, the printer will automatically print a test print containing the words “D=000.0” or “Absorber Counter = 000%”.
This means that the Waste Ink Counter has been successfully reset to zero.
Method 2 – “EEPROM” button
- Click the EEPROM button to perform a deep (deeper) reset.
- The printer will print an EEPROM report containing various system data such as printer ID, print count, and counter status.
- The print results show that the internal initialization and reset process was successful.
For most series, like the Canon G2010 or G3010, just use the Main command. However, for older models such as MP287, you should run EEPROM so that the reset results are completely clean.