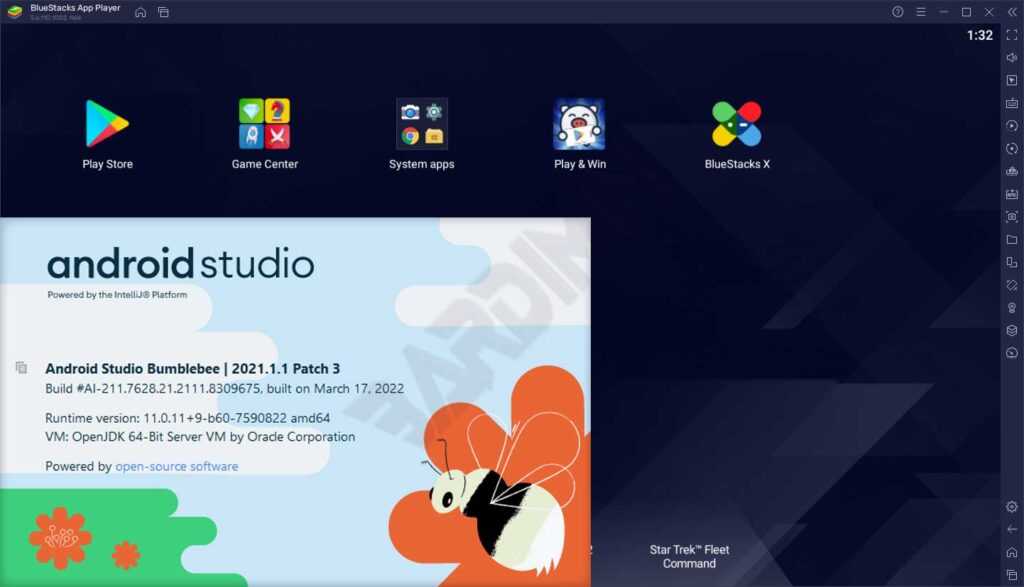
BlueStacks is lighter and faster than the Android Studio Emulator, so it is very suitable as an alternative Emulator.
As an android developer, you are probably used to running your android projects using an Android Virtual Device (AVD). To run AVD smoothly requires good PC/Laptop specifications. If your PC specifications are not good, using an AVD will feel very slow and annoying.
BlueStacks is one of the most popular android emulators because it is light and fast. You can use BlueStacks as emulator of Android Studio to run your project.

In this tutorial using:
- Android Studio Bumblebee
- BlueStacks 5
How to connect BlueStacks to Android Studio
1. Enable Android Debug Bridge (ADB) in BlueStacks
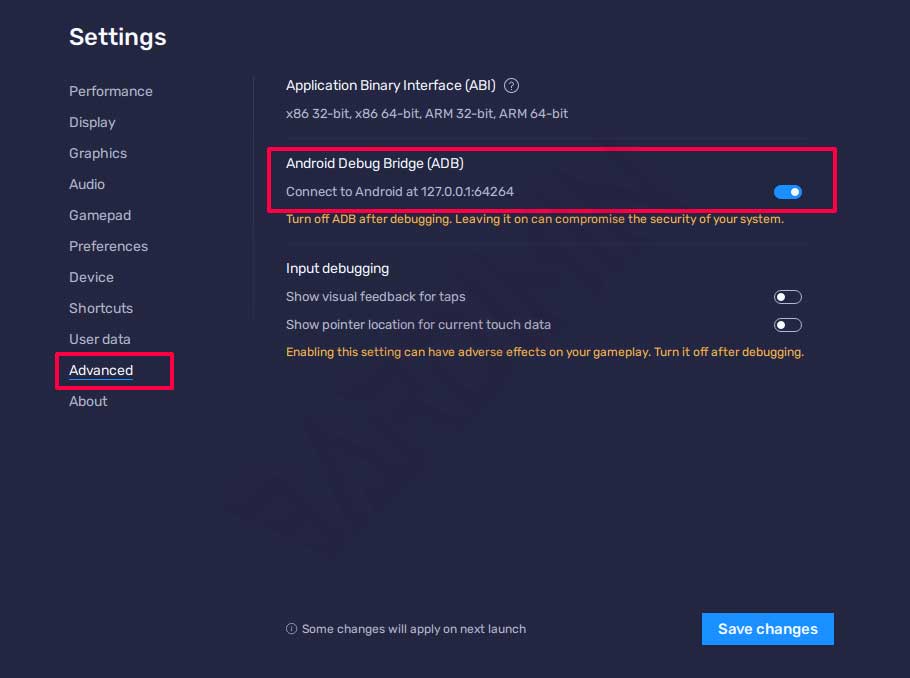
To enable ADB you navigate to “ Settings > Advanced ”. Then on the right panel on “Android Debug Bridge” turn it on by sliding the switch to the right. Then click the “Save changes” button to save the changes.

2. Connect adb to BlueStacks
Before connecting, you must first note the ADB port used by BlueStacks.

In the example image, BlueStacks can be connected to ” 127.0.0.1:64264 “.
The port used will change every time you start BlueStacks.
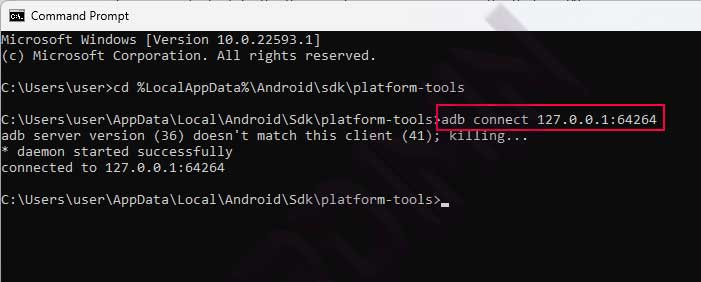
Connect adb which is located in the directory ” C:\Users\ UserName \ AppData \Local\Android\ Sdk \platform-tools” or ” % LocalAppData %\Android\ sdk \platform-tools”.
Open Command Prompt (CMD) and navigate to that directory, then connect adb to BlueStacks with the command
adb connect 127.0.0.1:64264

3.Use BlueStacks as AVD
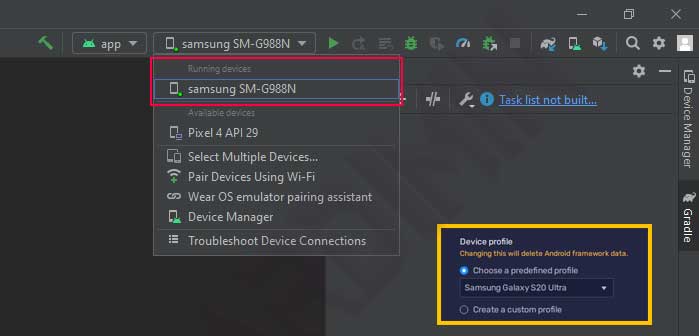
Next you open the project you created in Android Studio. In the device selection you will see a new device with the name “Samsung SM-G988N” according to the device name from BlueStacks.

Then you can use BlueStacks as an emulator to run your project.

